A NAS for the Masses
I had decided a while ago that I needed to come up with a better way to store my files. My old file storage system consisted of several USB thumbdrives, some cloud storage, and at least two 3.5” desktop hard drives sitting in a cradle. With all of that storage spread around, there wasn’t any real opportunity to figure out a backup plan, other than keeping multiple copies of things in different locations. Nothing was mirrored, and redundancy was more of a manual process. My old file server was a Pentium 4 that I had picked out of the trash at an old workplace. Overhauled through the years, the machine had done its job for quite some time, but its aging hardware was failing. Several caps on the board were bulging, and it was only a matter of time before the Slackware-based OS failed to boot.
After researching several different solutions, I came up with a list of criteria for my new file server and a new storage scheme for most of my files:
Built with commodity parts
Lots of storage for a low cost
Linux or FreeBSD
Samba, NFS, and FTP access
Low cost of ownership and maintenance
After thinking through these different requirements, I began to research smaller computing boards. Simple and inexpensive, a Raspberry Pi would do the job, but they tend to lack the “oomph” needed to really push performance. An Intel NUC would offer more performance, but was a little more complicated and expensive.
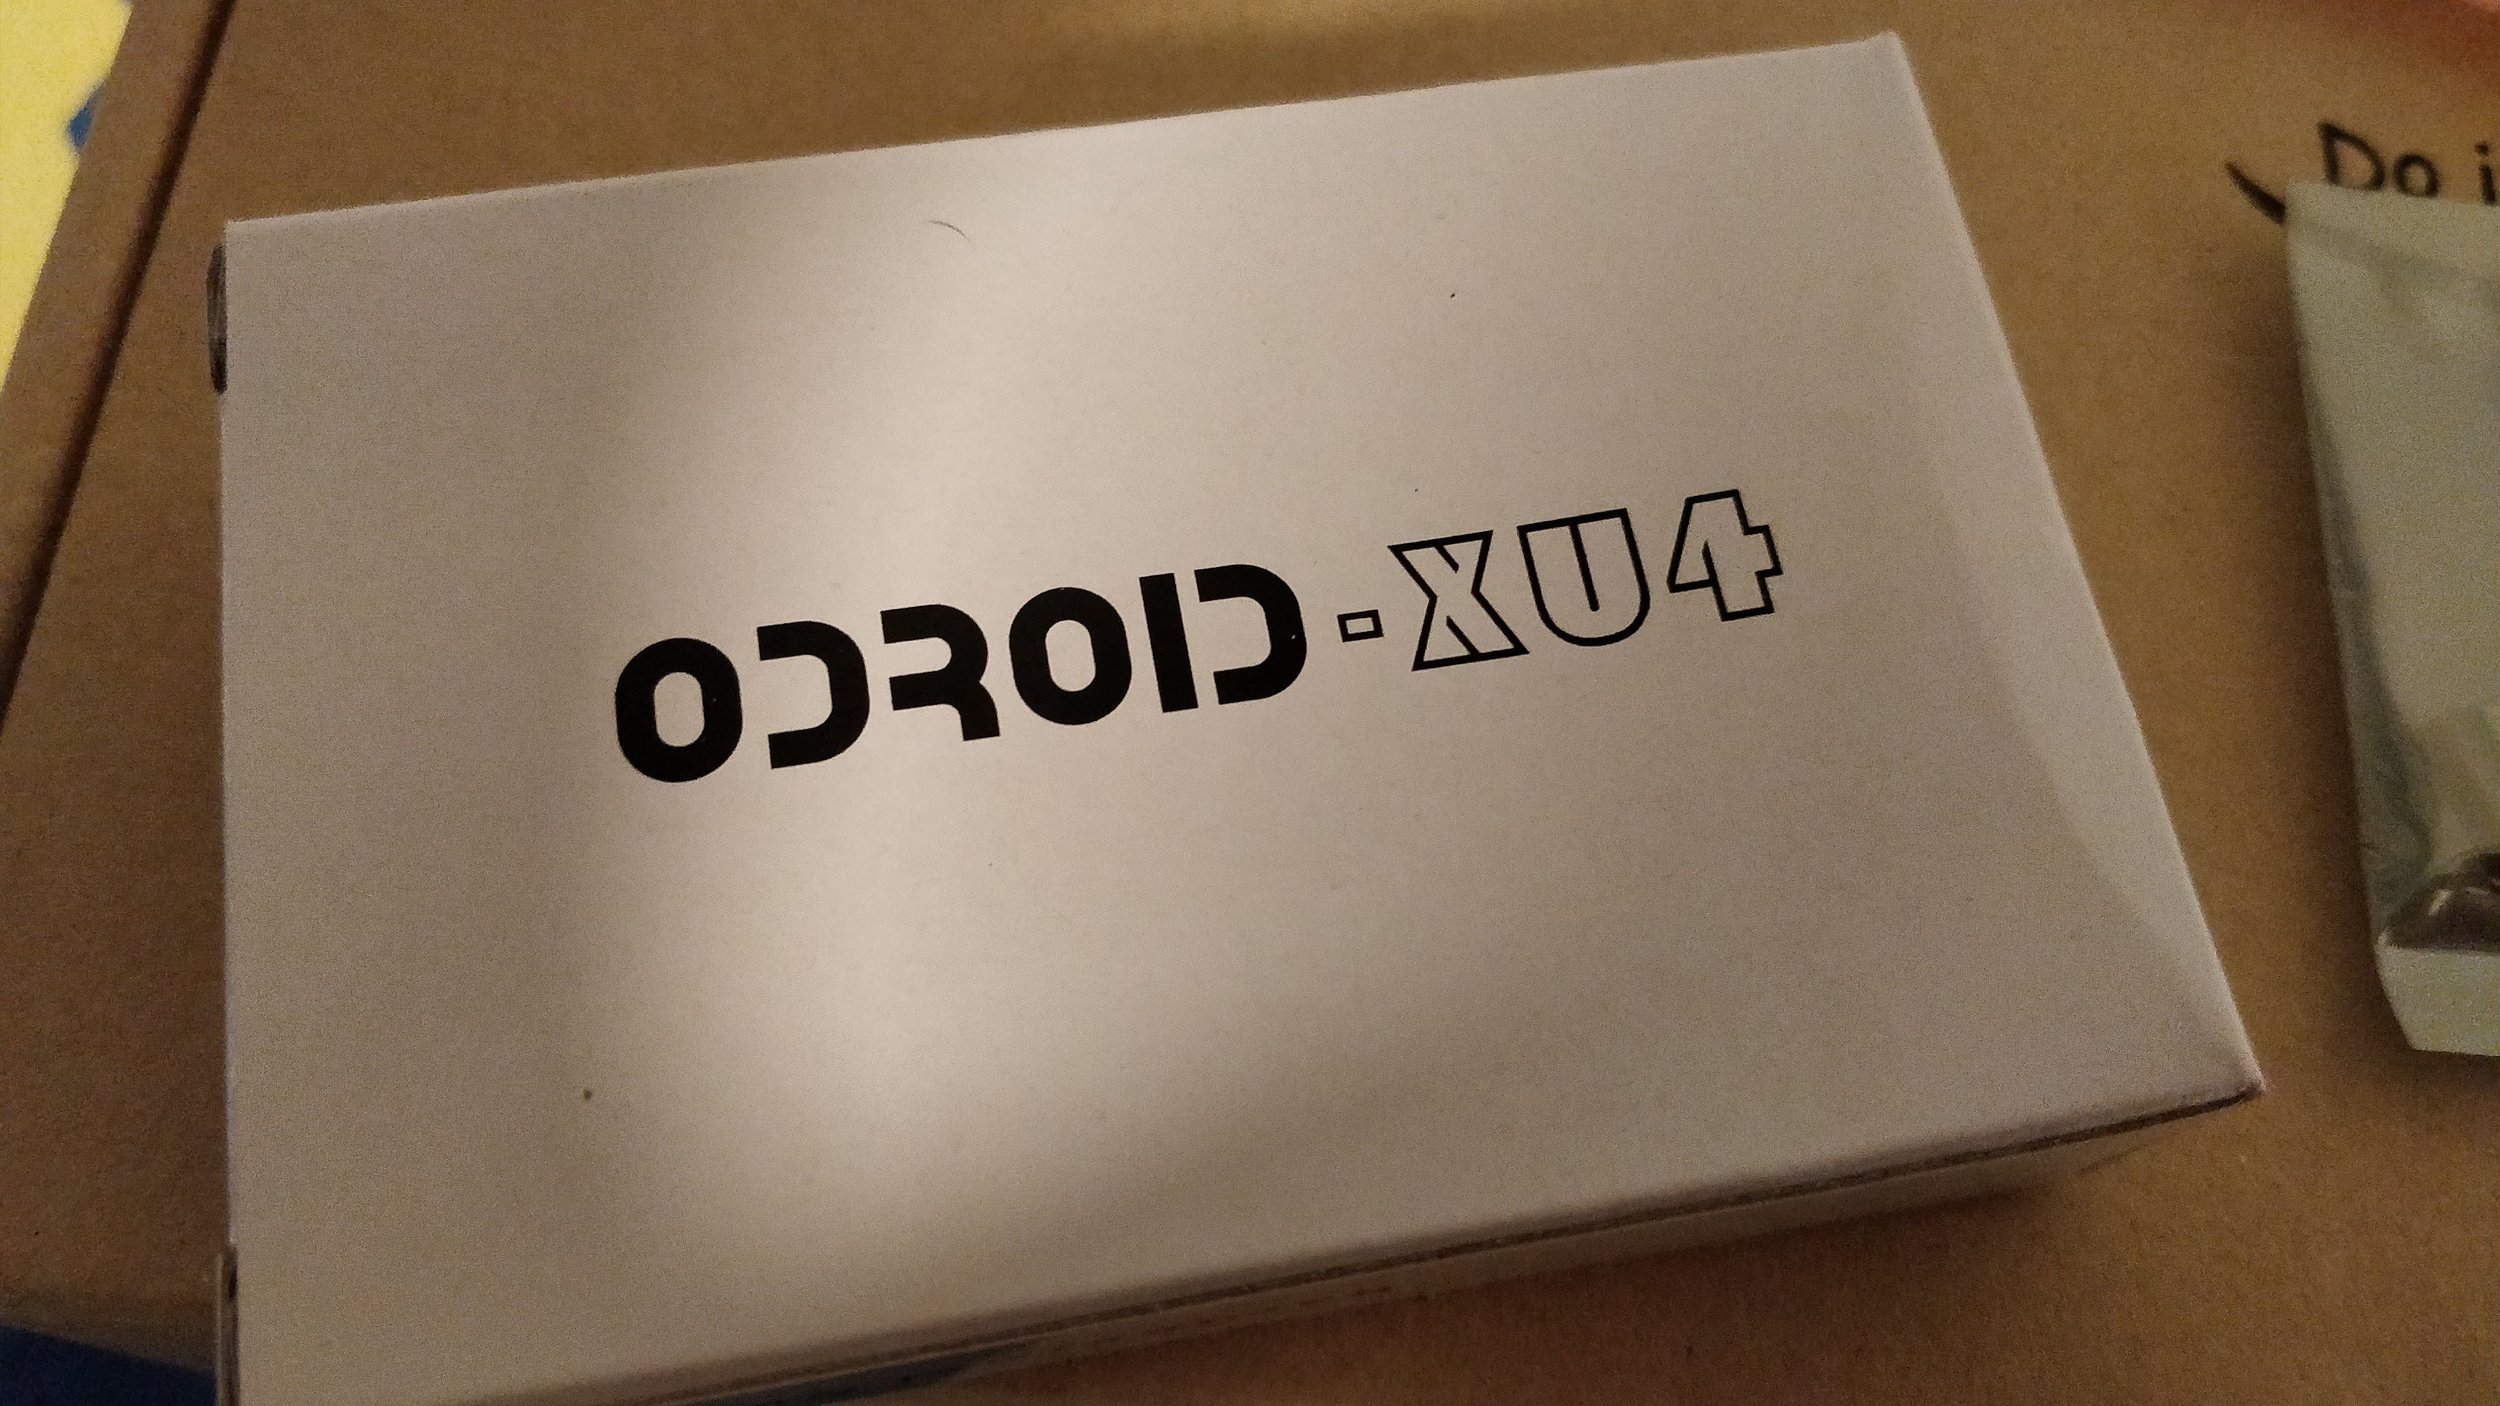
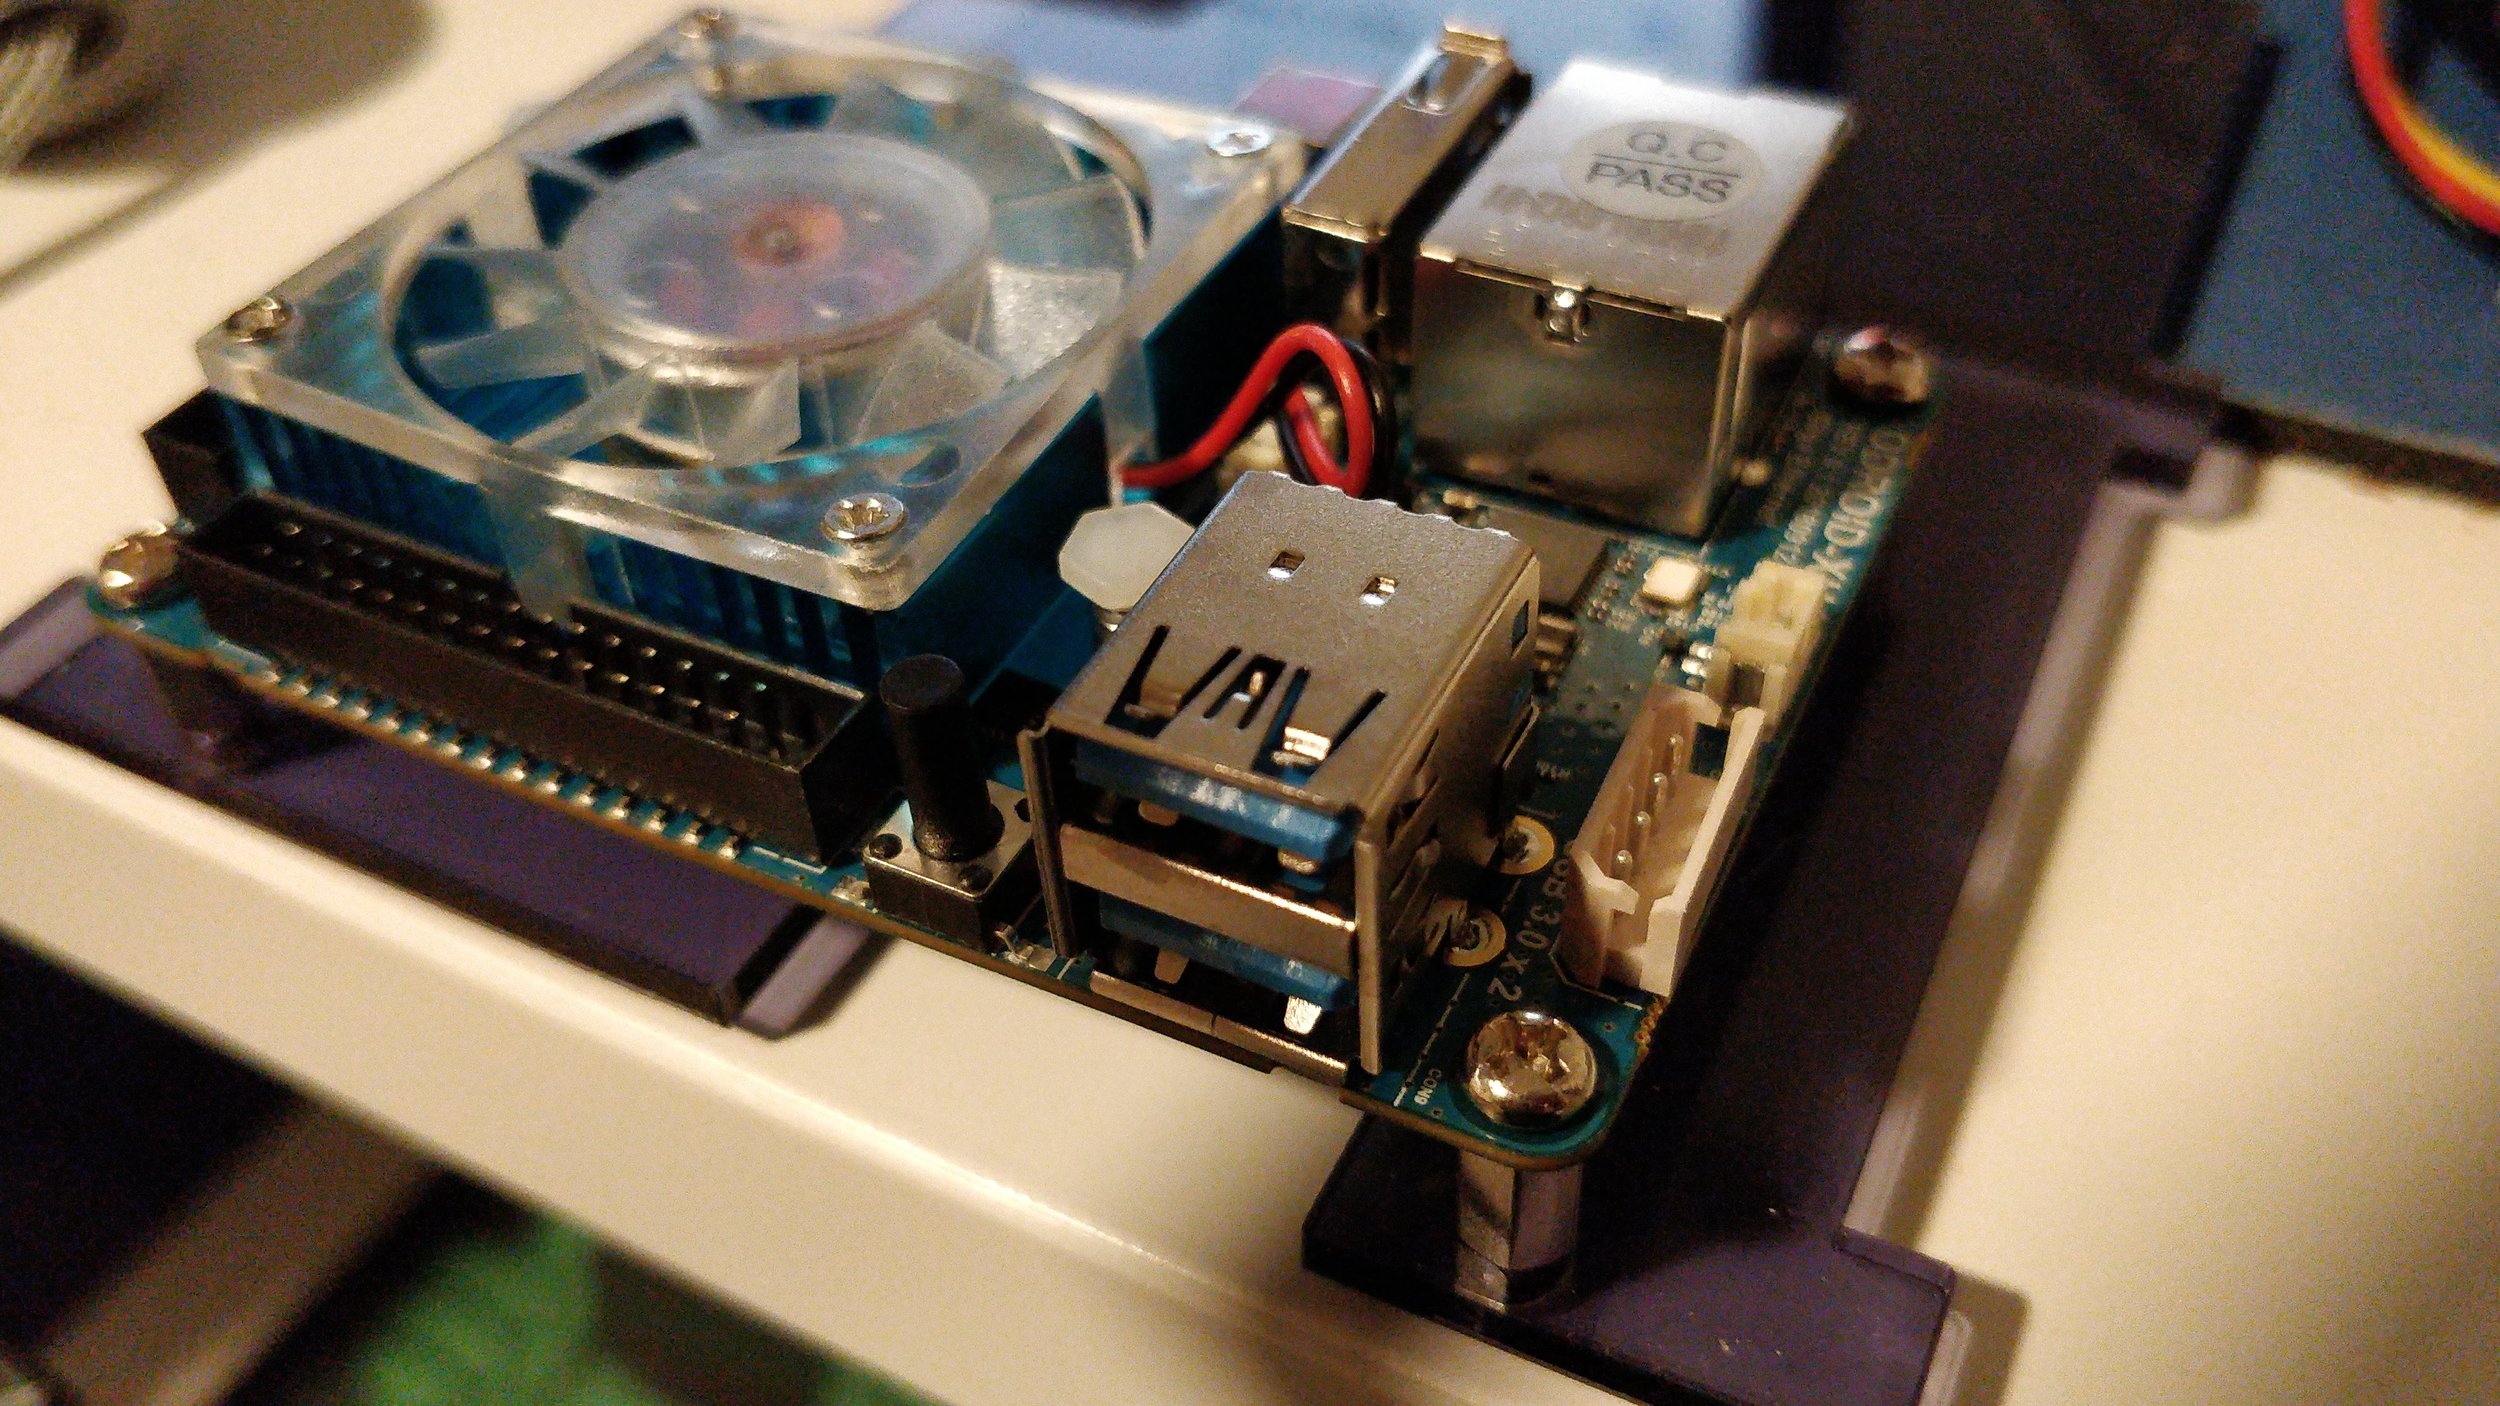
A small Korean company called Hardkernel has been producing their “ODROID” ARM-based single board computers for over ten years. One of these boards, the ODROID XU4, offered the simplicity of a single board computer with more performance power than the Raspberry Pi v3. Packed with dual quad-core processors and 2 gigs, of RAM, it would easily do as the basis of a good file server.
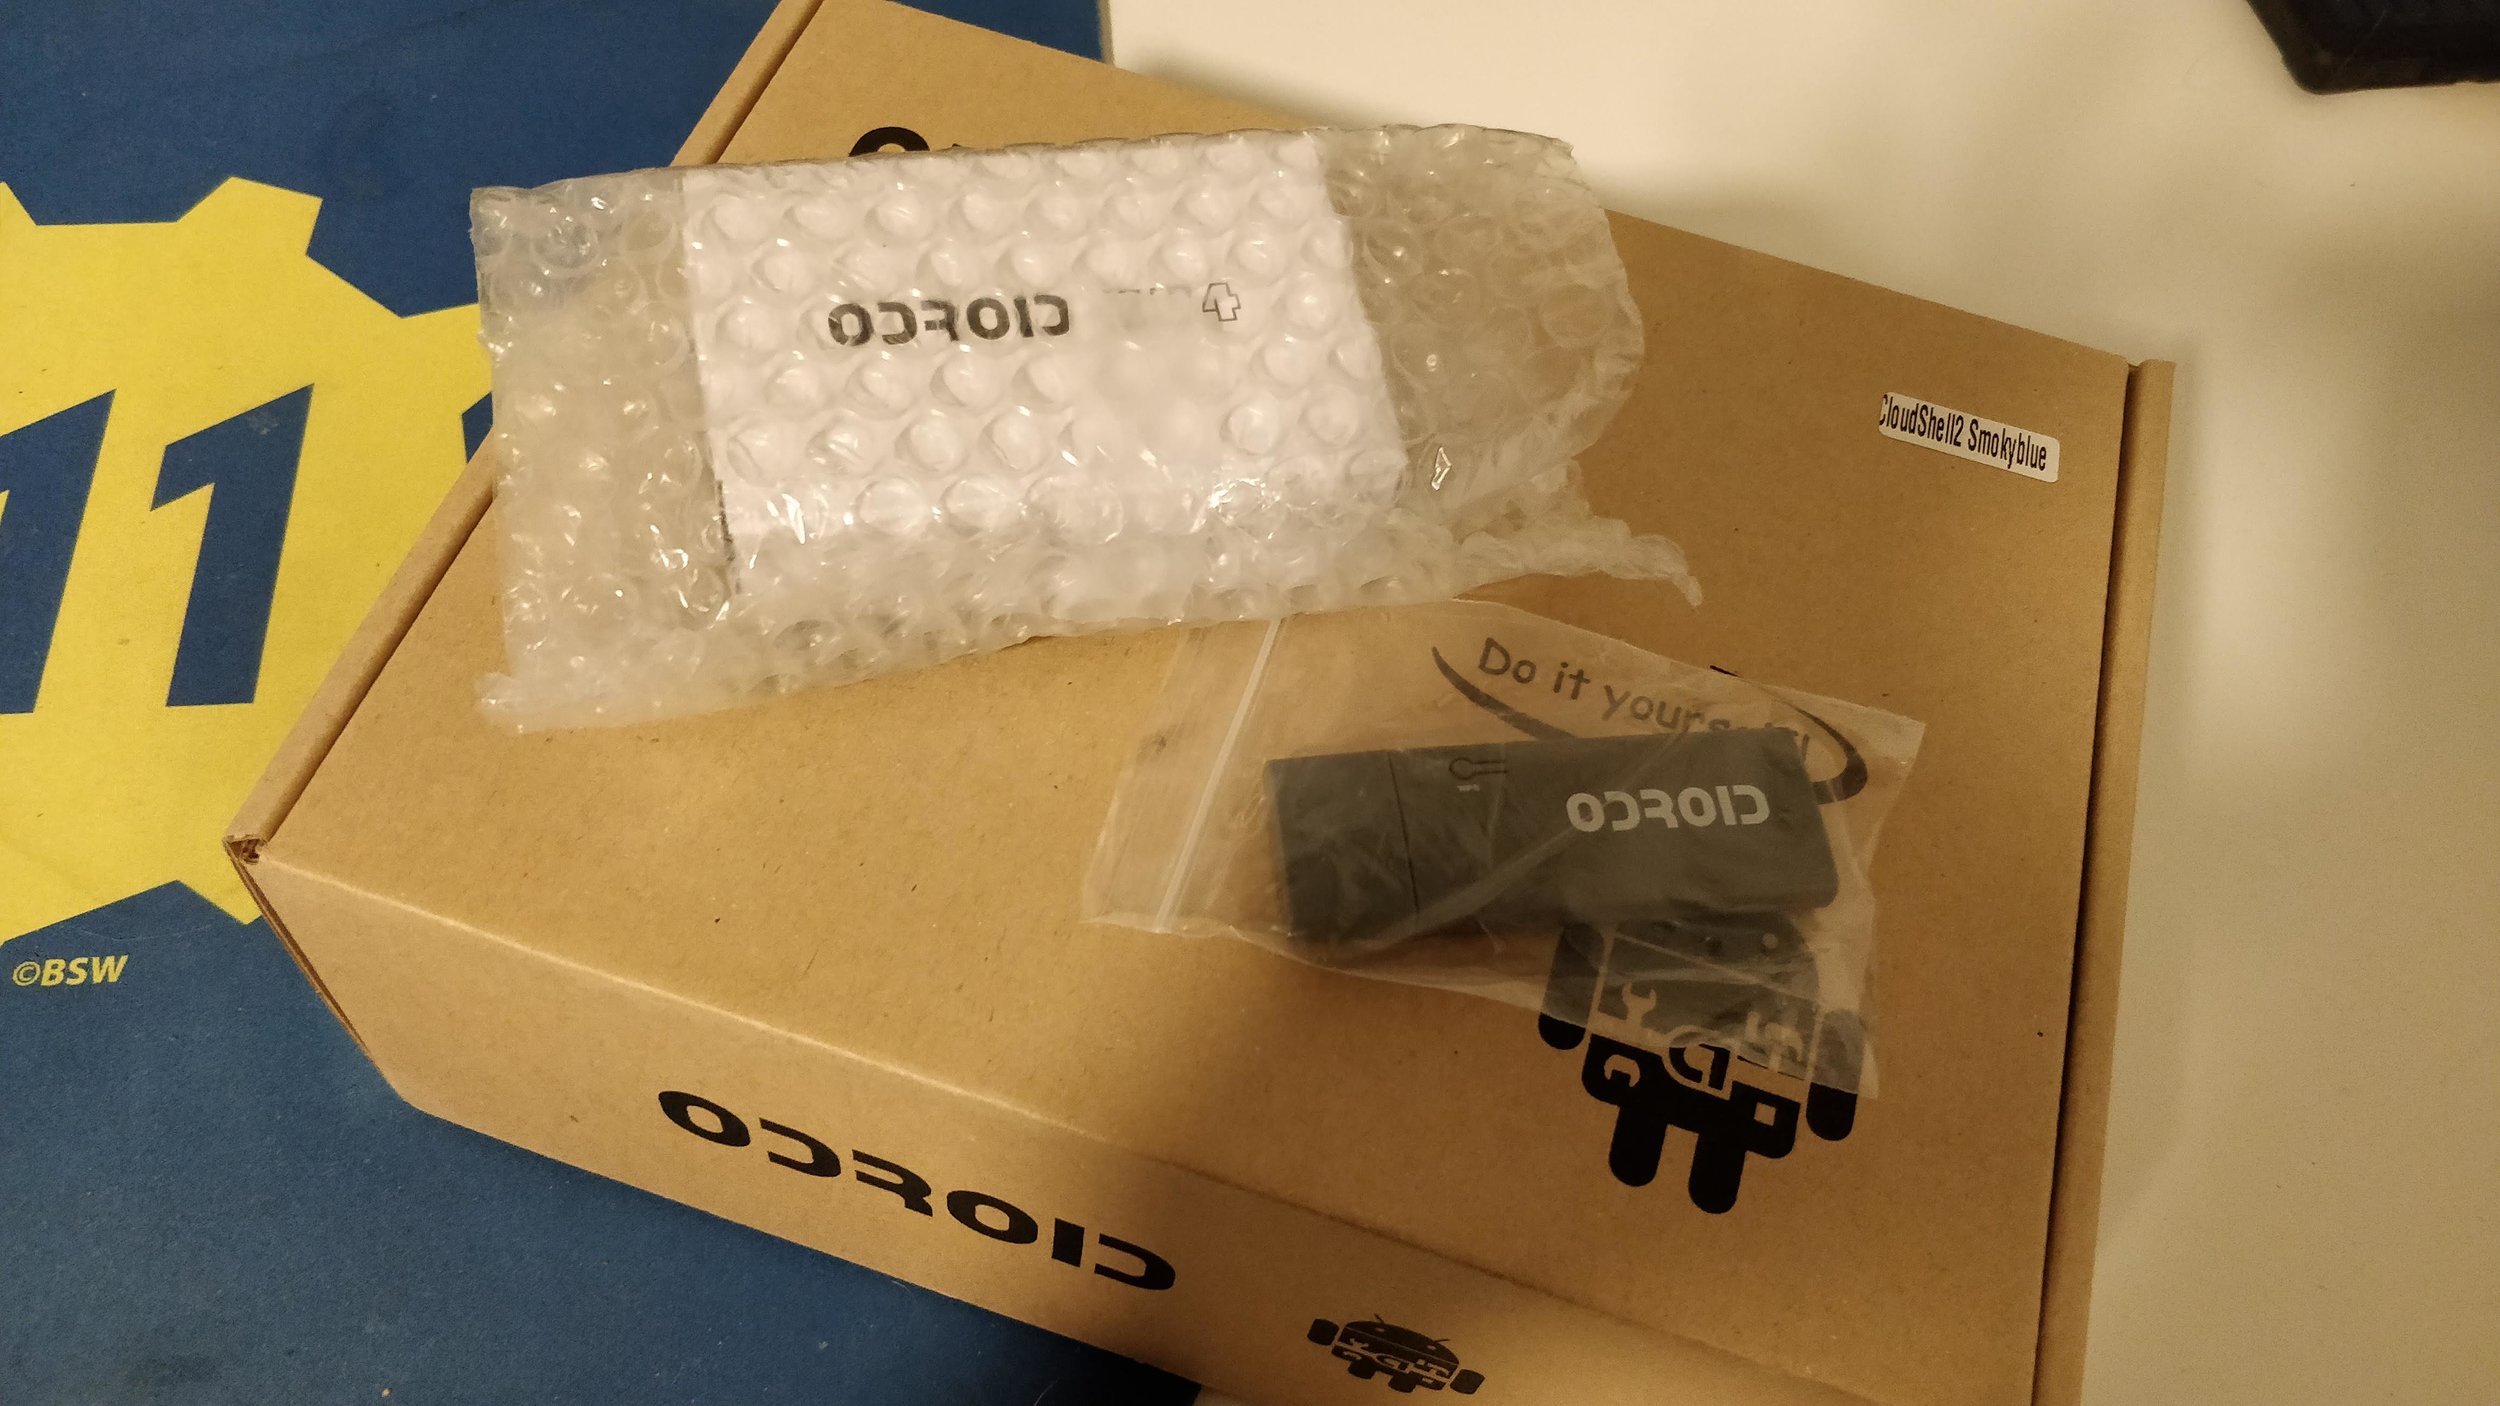
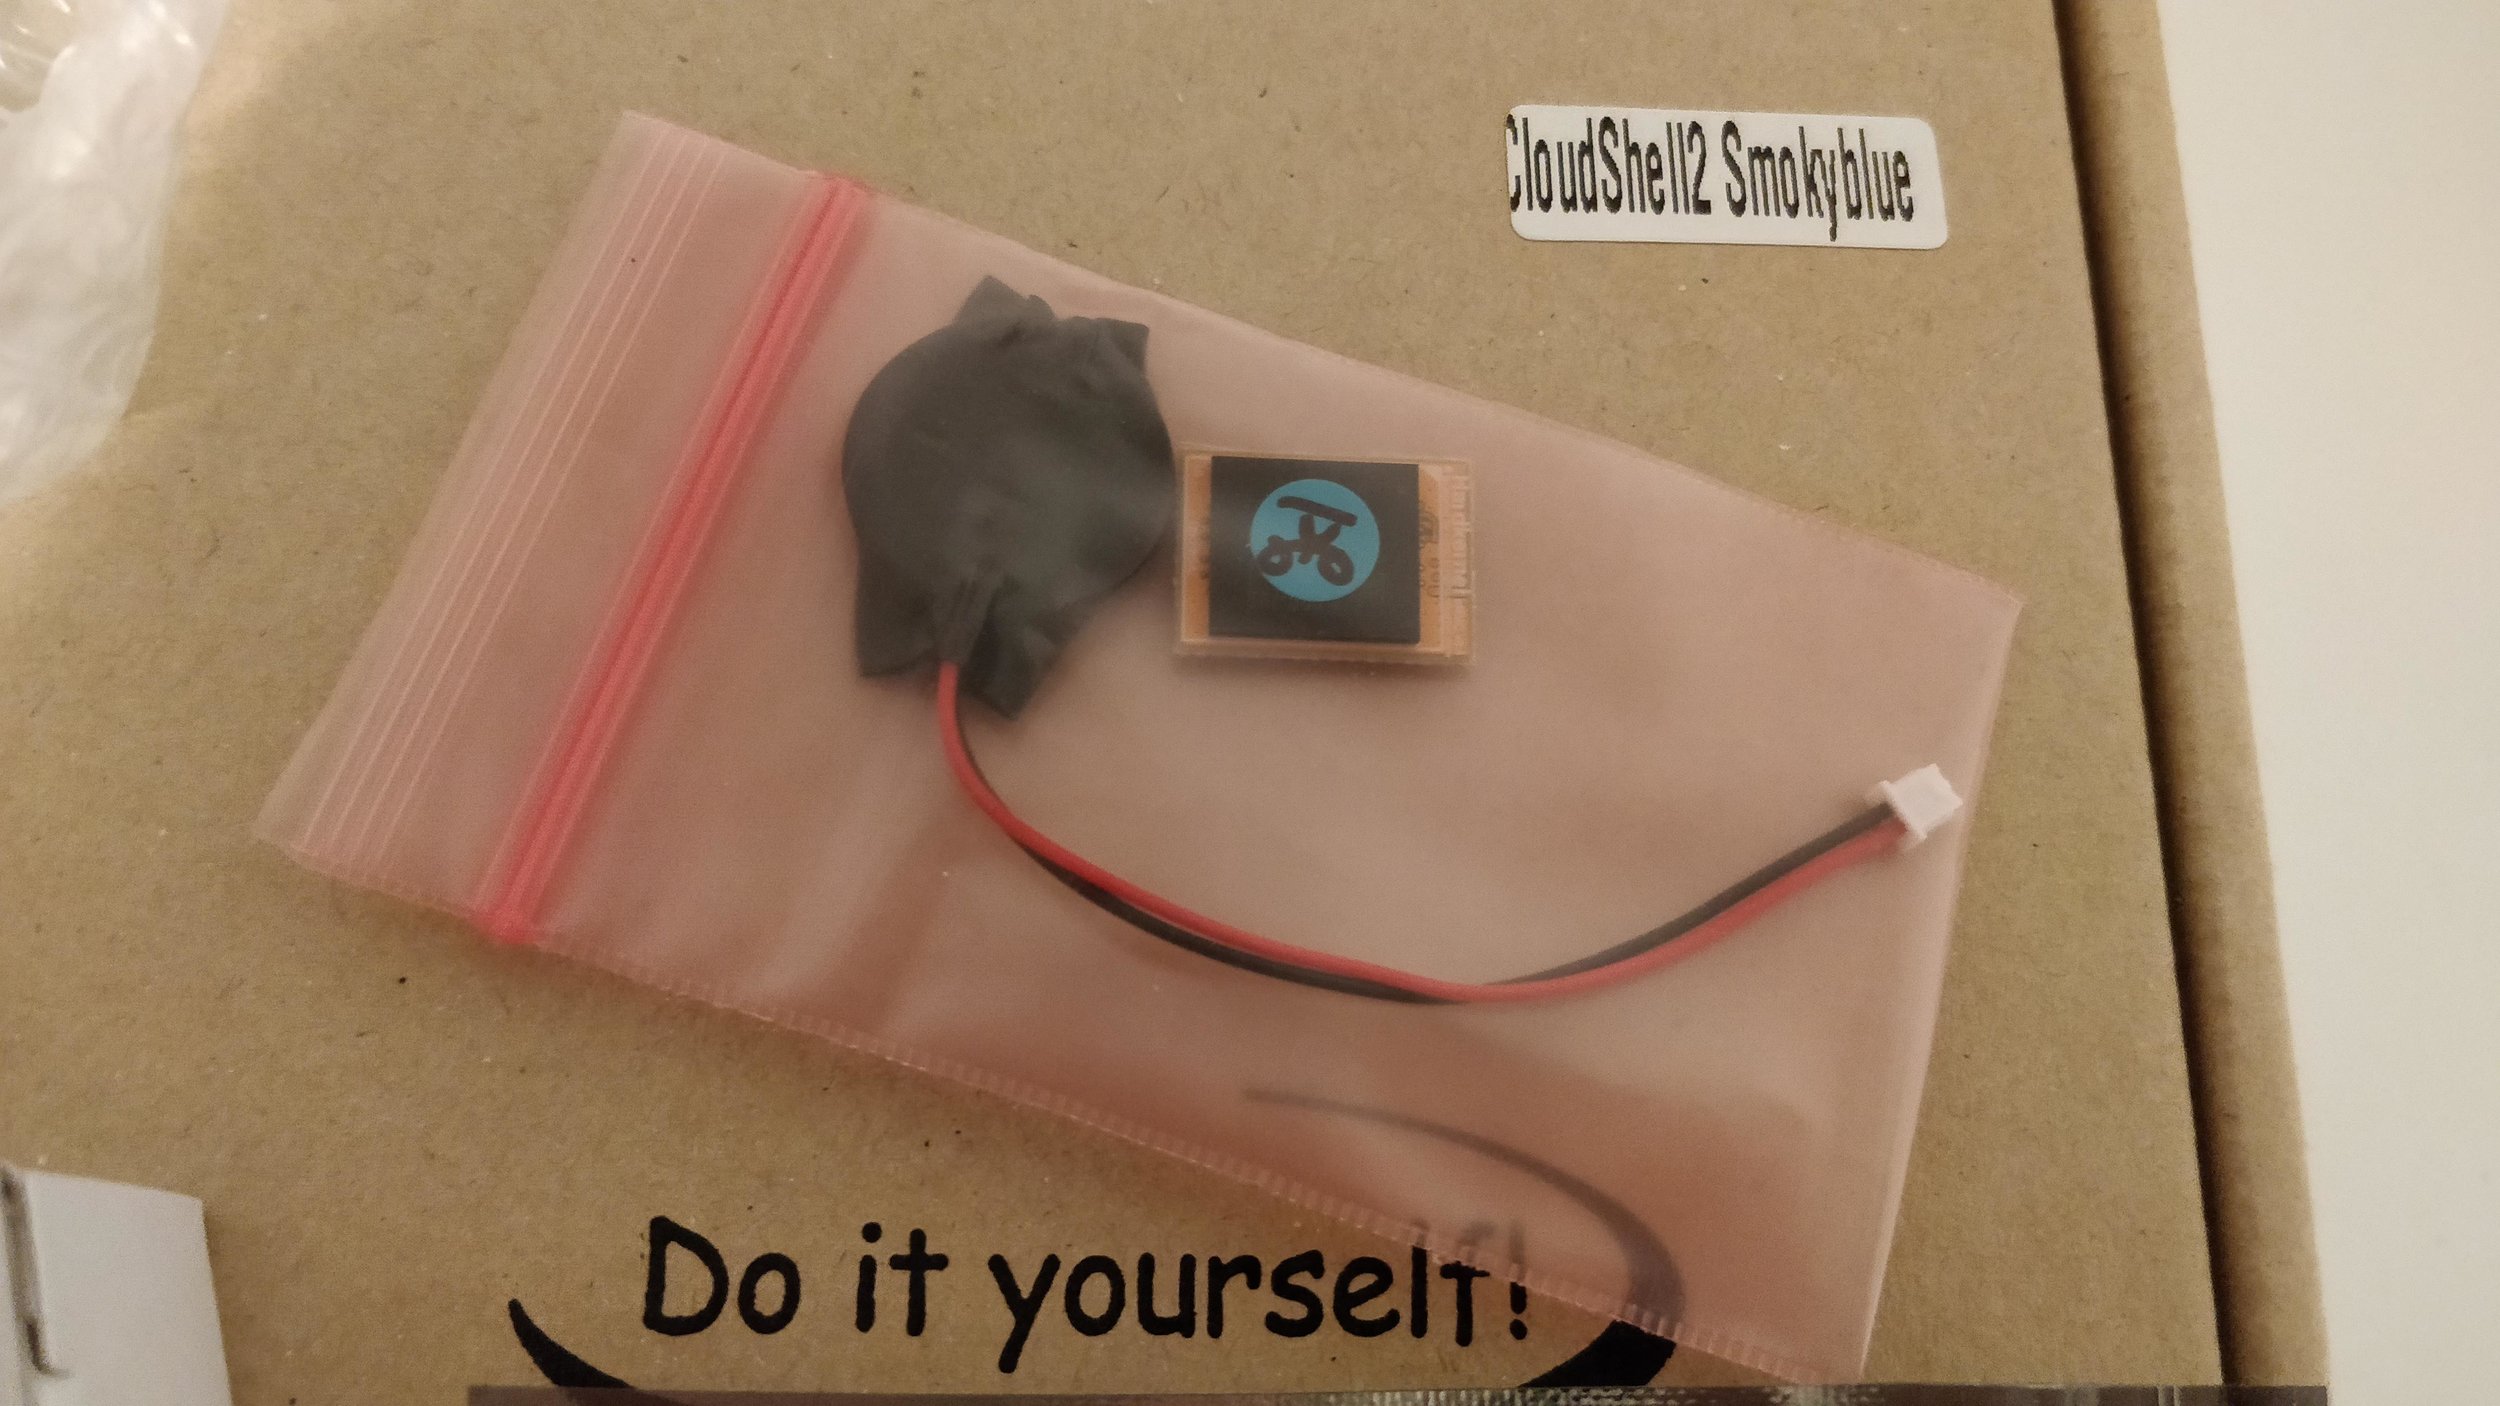
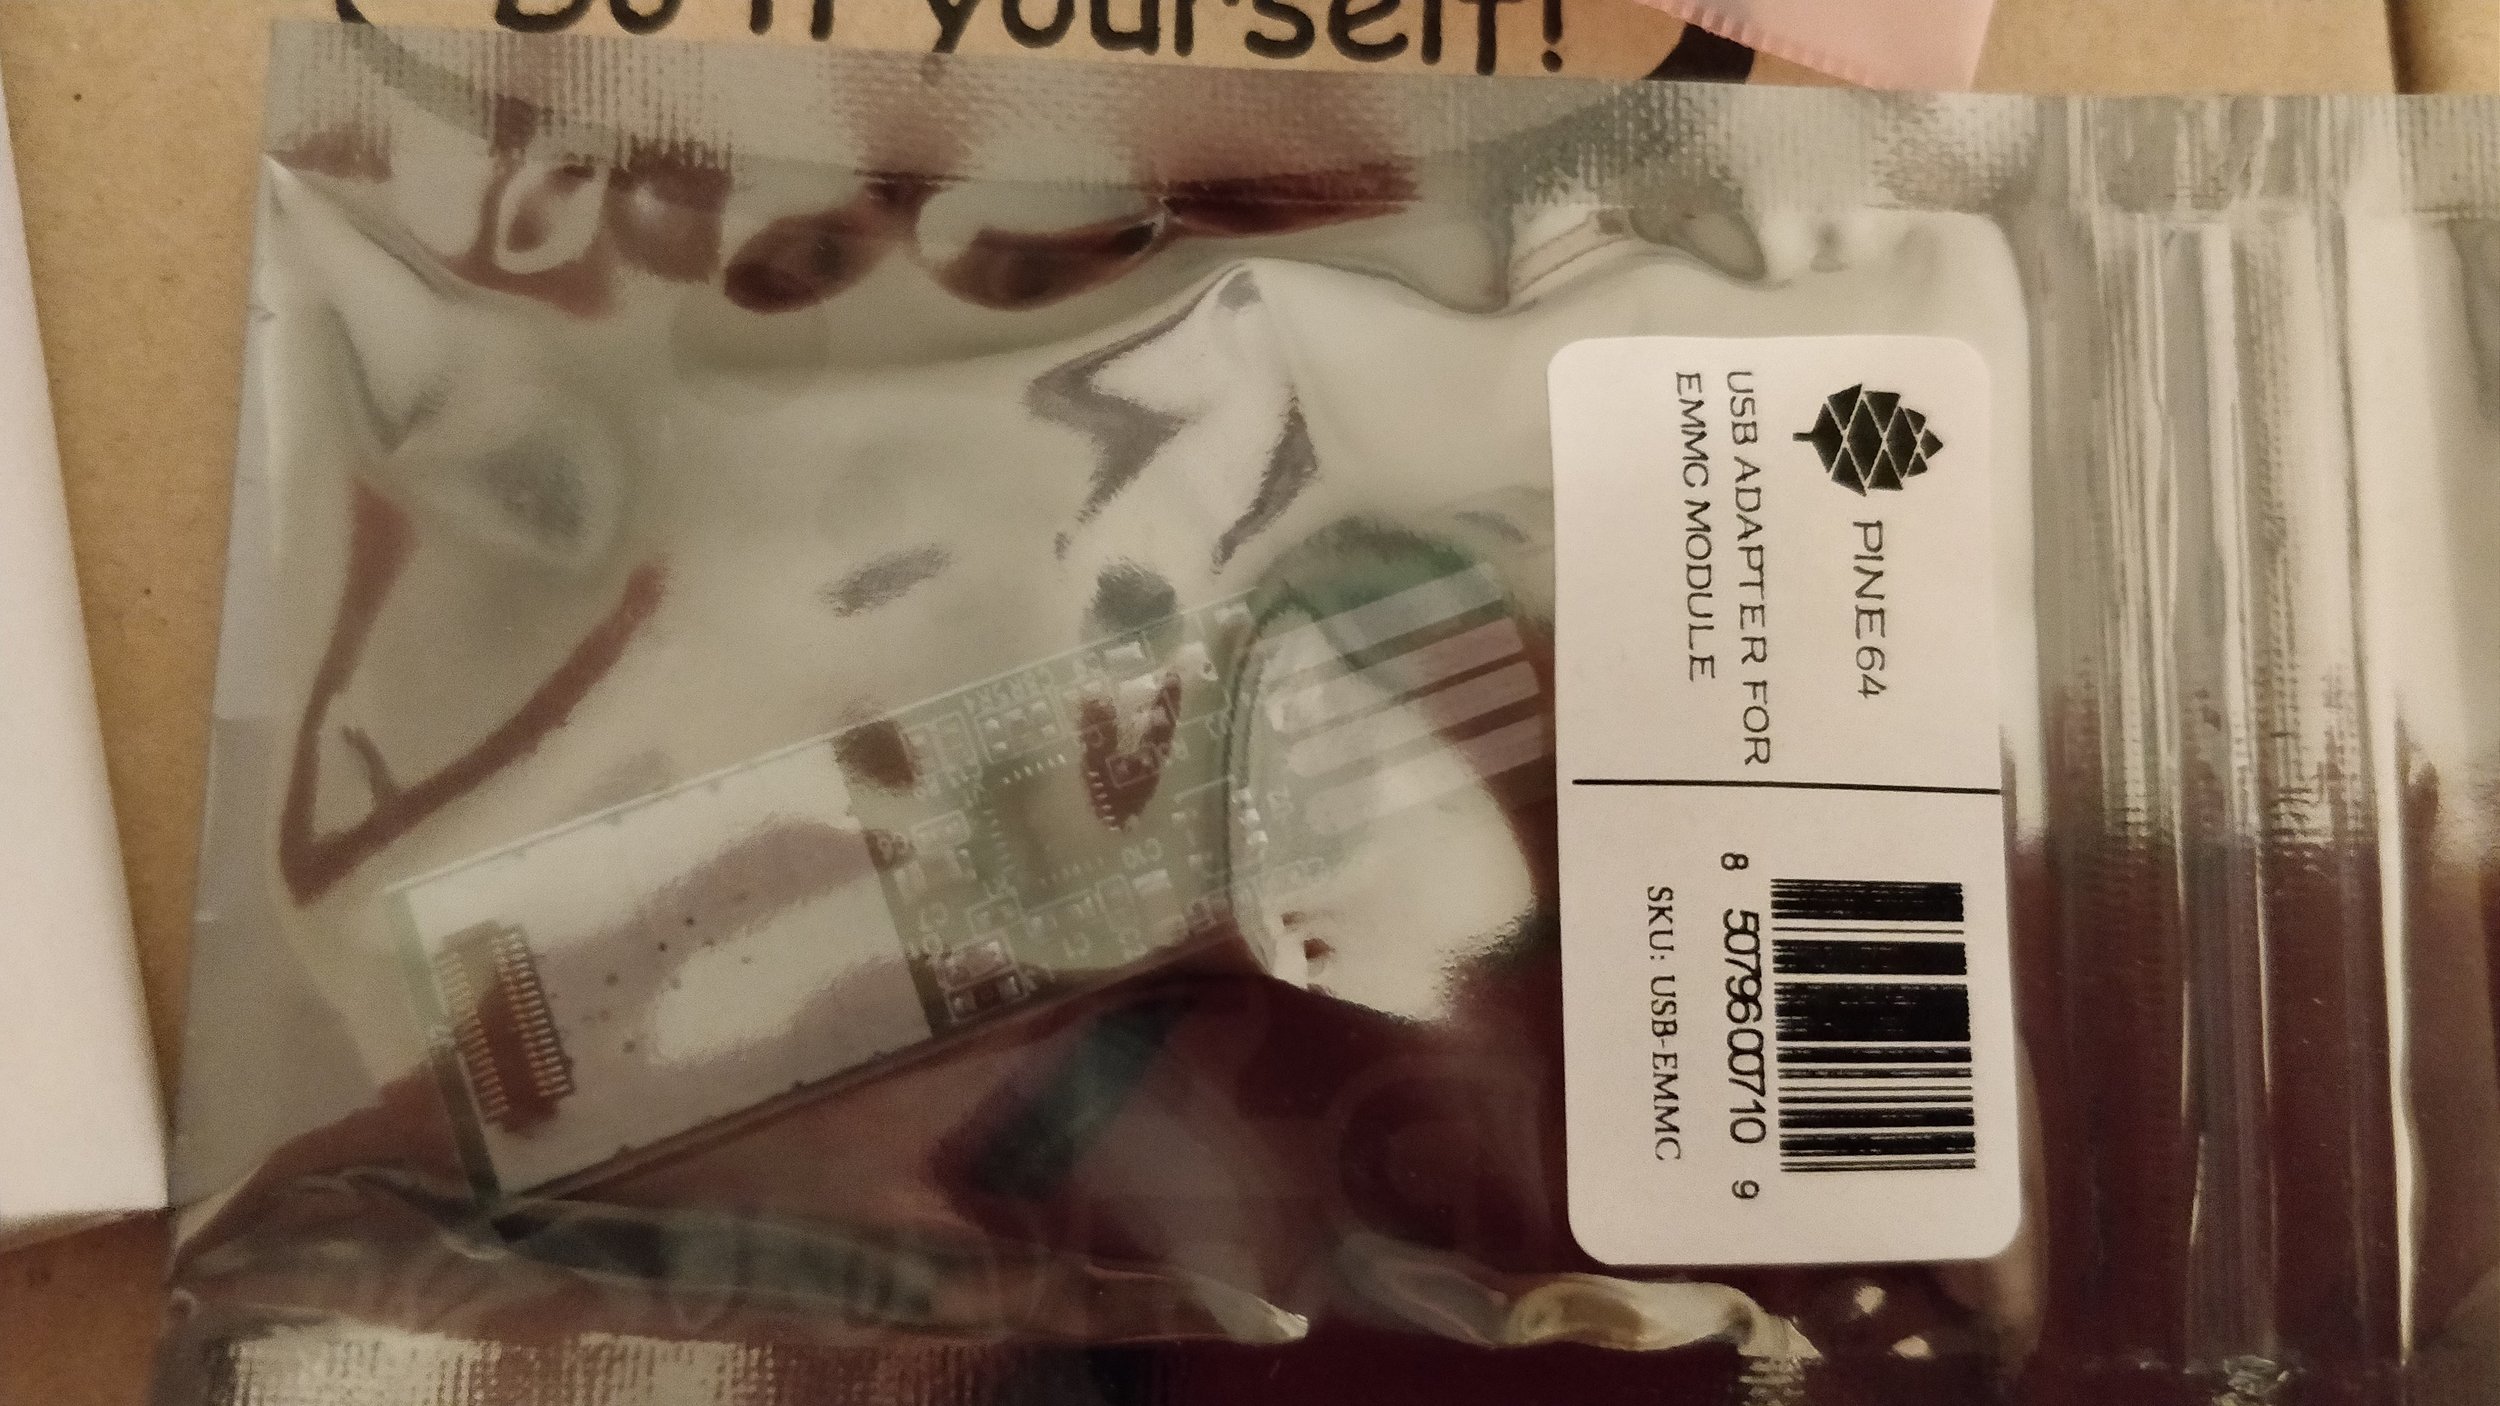
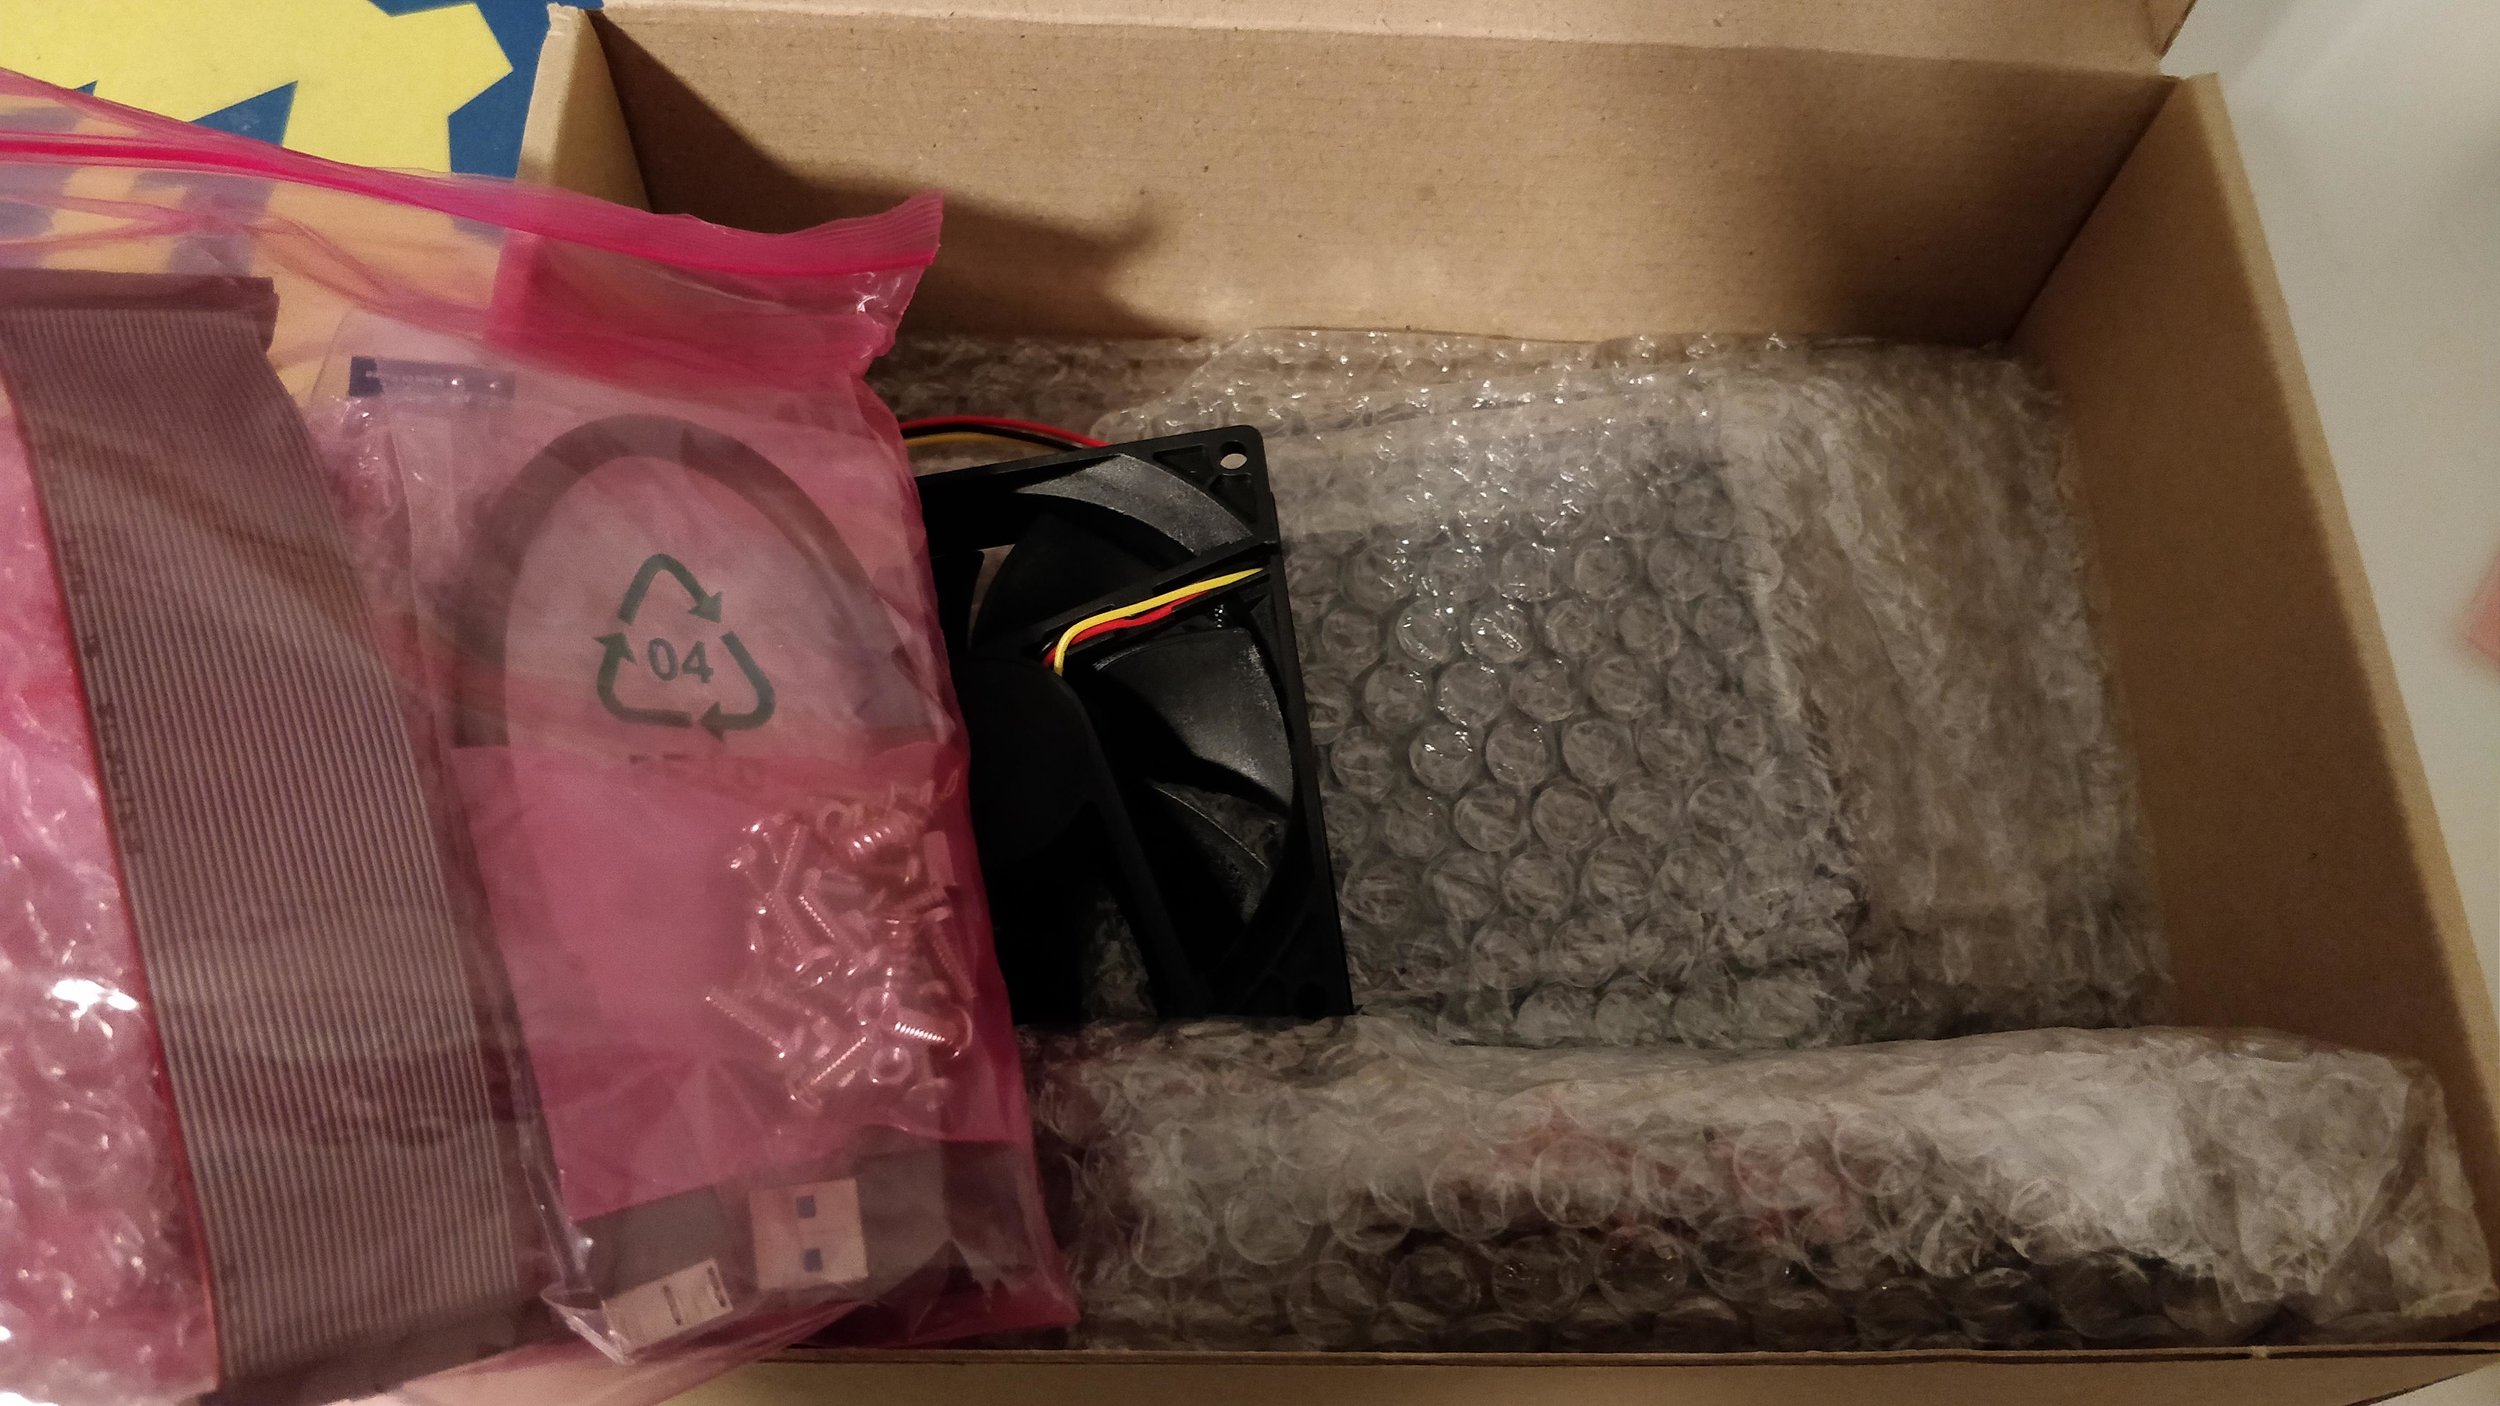
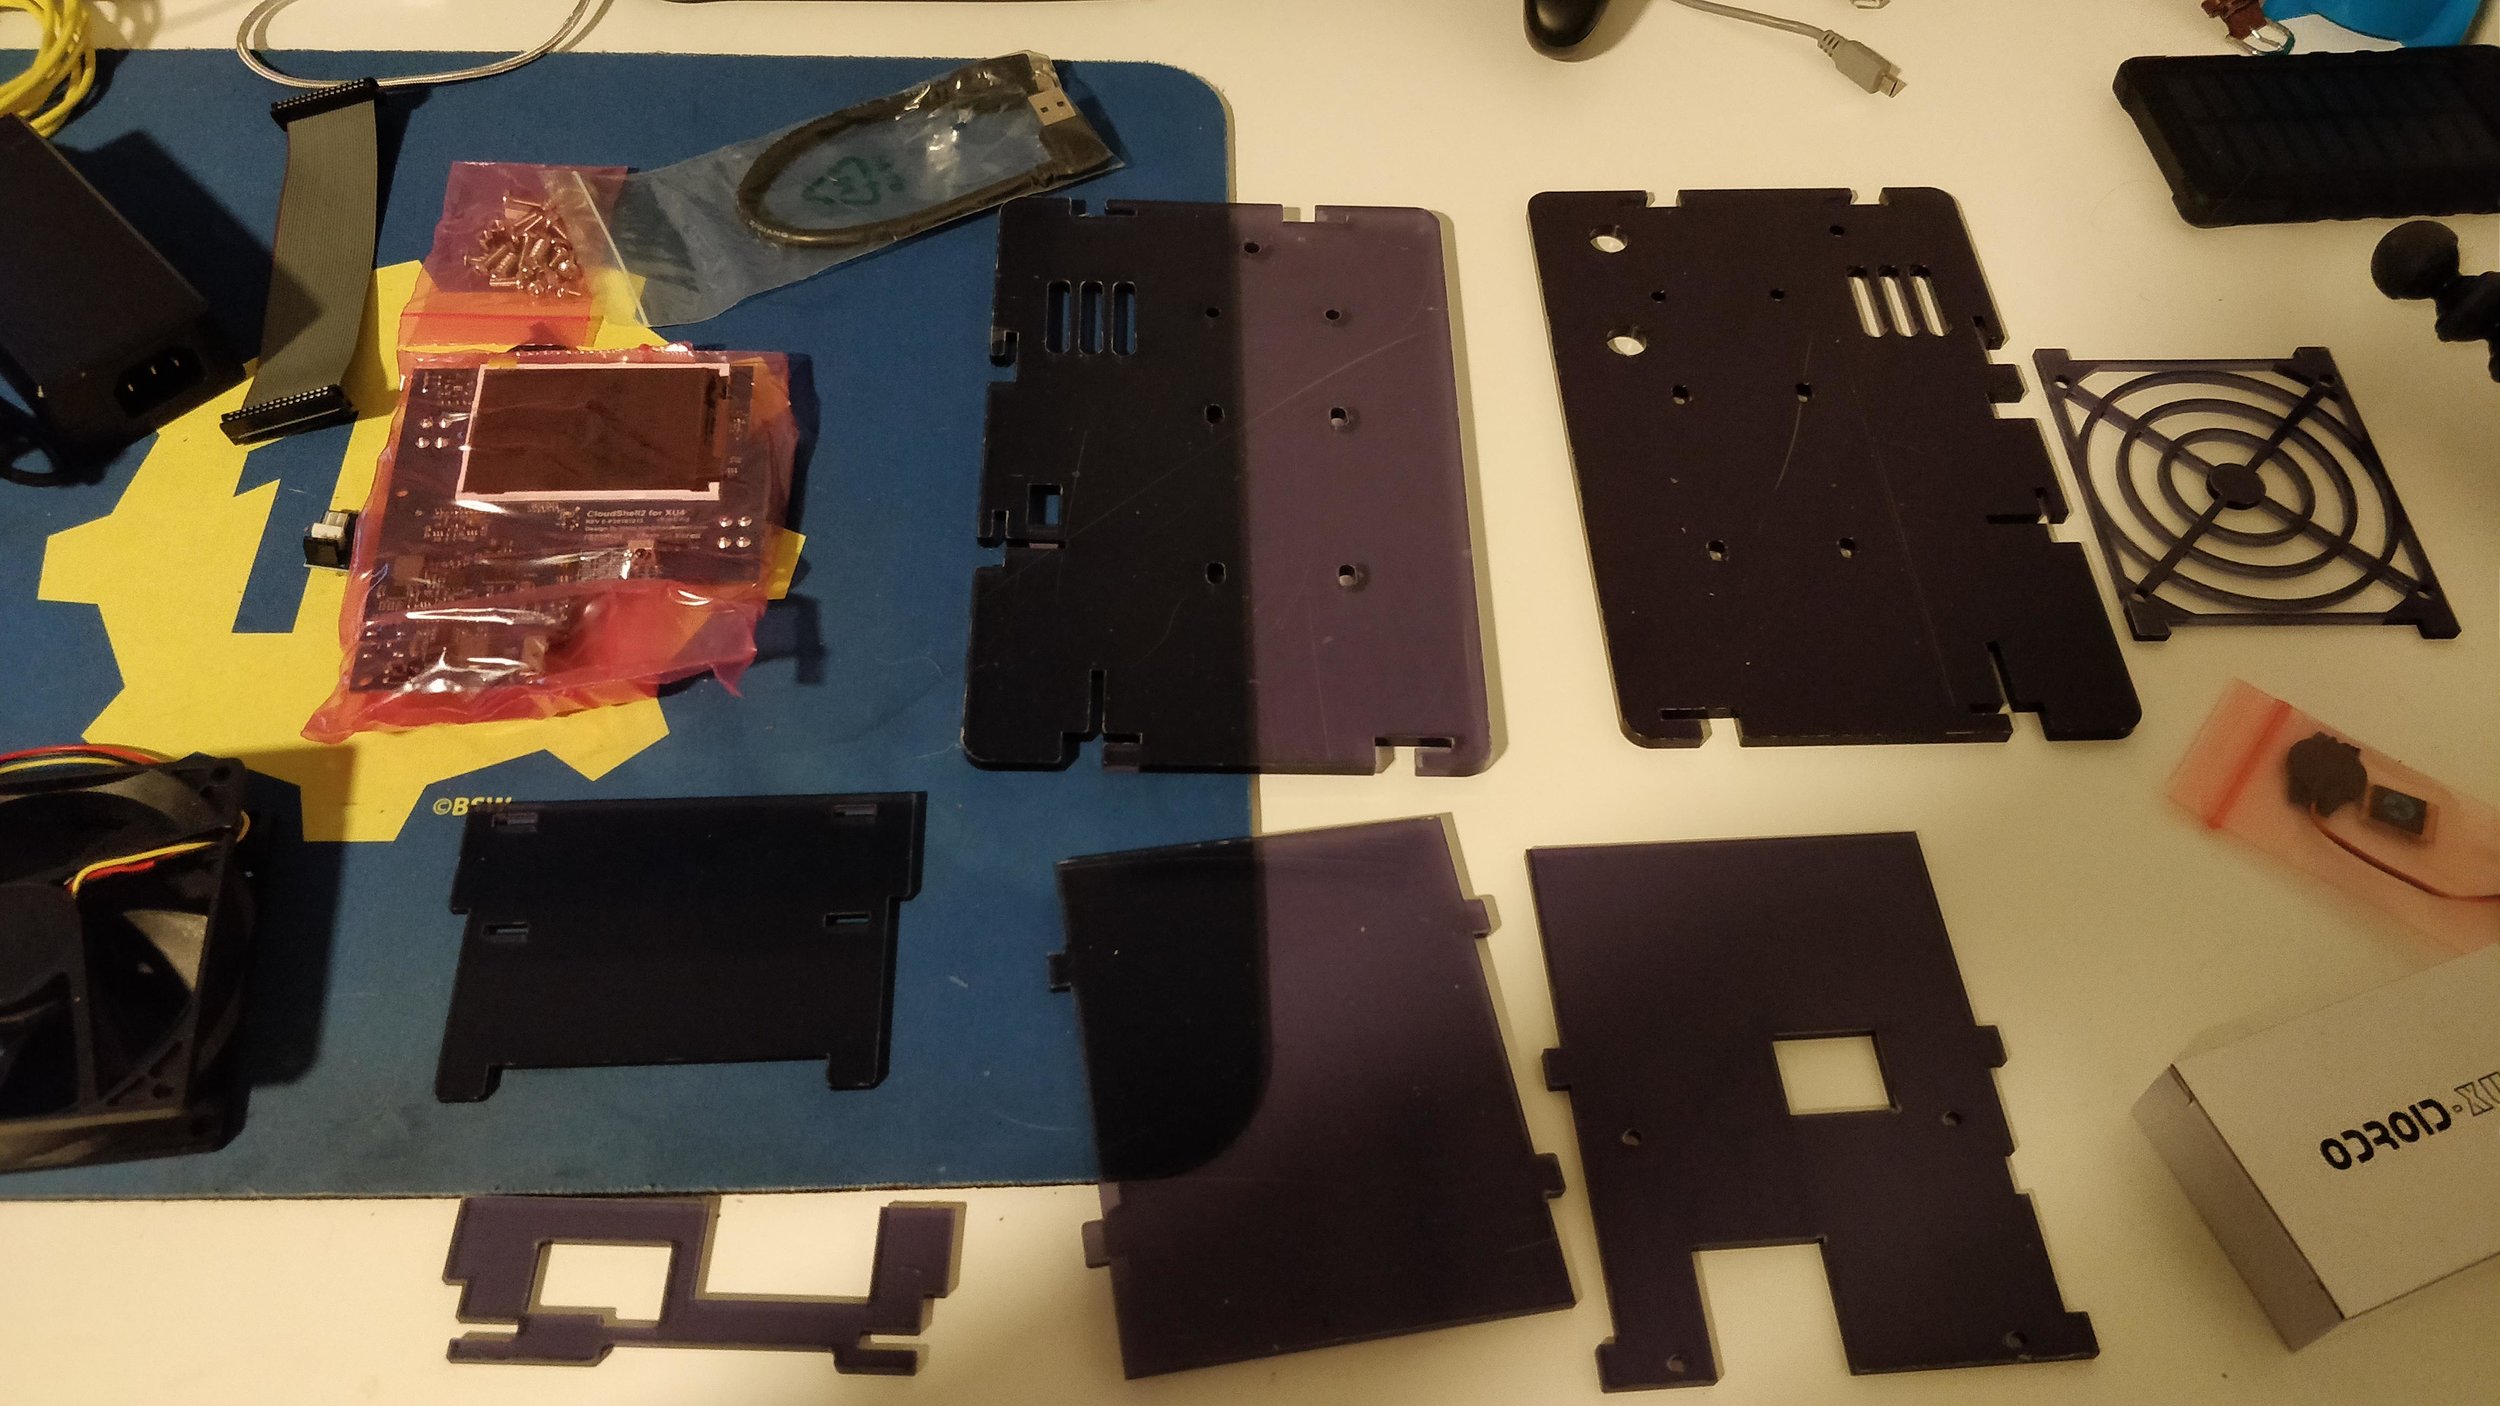
In fact, there is a kit sold by the same company for these purposes. The Cloudshell2 consists of an acrylic frame, a front-panel LCD, controller board with hardware RAID (JMicron JMS561), a 15v power supply, cooling fan, in-line current-limiting fan noise suppressor, ribbon cable, UAS cable, and a screw kit. I decided to order one of these kits, along with a wifi adapter, an RTC battery for the ODROID SBC, an eMMC with Xubuntu 16.04 LTS, and an eMMC writer (just in case). All of this was mine for a little over $200. The next thing to do was decide on a set of hard drives. The Cloudshell2 chassis can hold two SATA drives, connected by the front panel board.
I traveled to the local Fry’s and managed to snag a pair of Toshiba N300 8TB NAS-grade drives for $450. The WD Reds were slightly more expensive, and performance reviews of the Toshiba drives posted solid performance numbers, beating out the Seagate alternatives by a pretty significant margin. I had thought for a while on whether I prioritized performance over storage capacity, but it appeared as though I didn’t have to worry about that. The Toshiba 3-year warranty was also in line with Western Digital.
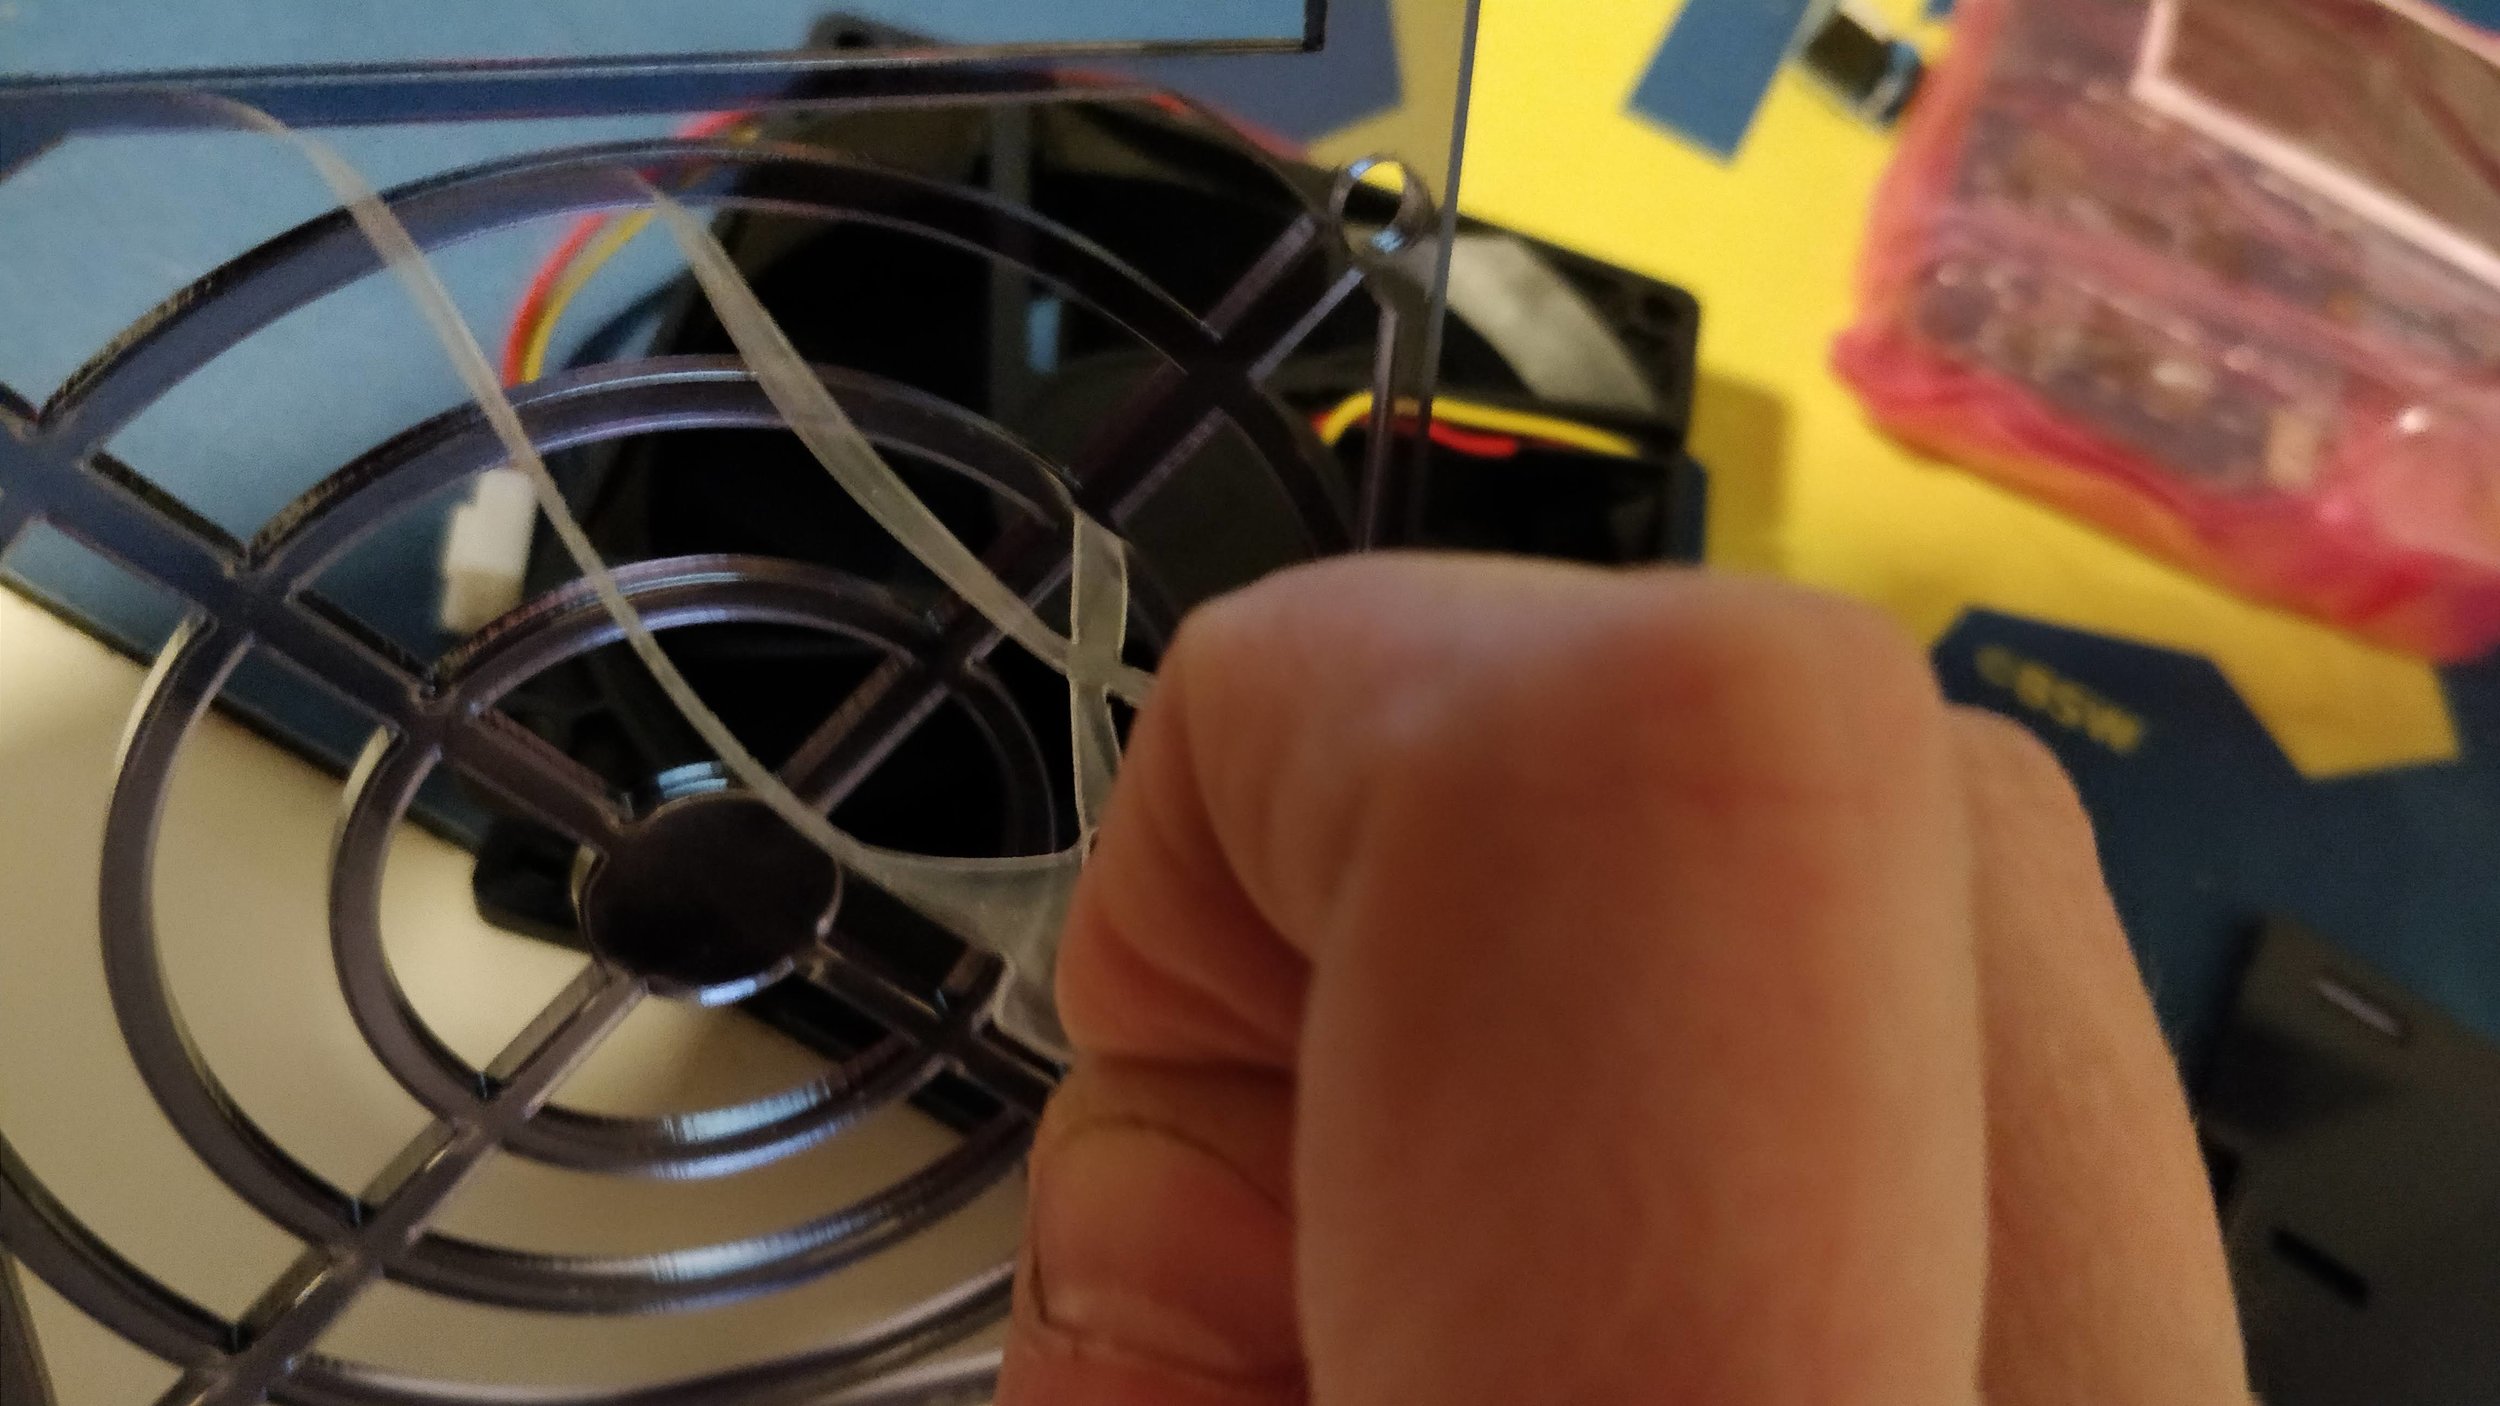
After procuring the storage, I proceeded to assemble the NAS. The first thing that I noticed was just how dusty the acrylic could get. After having its protective covering removed, the material seemed to attract every little spec of dust and debris on the desk and in the air. I was constantly trying to remove it or wipe it down to make the server look a little more presentable, but it proved to be futile. Moments later, it looked just as dusty as it did before I started.
The entire NAS is held together by interlocking with other pieces. Edges of the acrylic from one portion will fit against another, locking them into place. This means that in order to take the NAS apart or change drives, the unit requires complete disassembly. If a drive dies and needs to be swapped, the NAS will be field-stripped down to its base components. This doesn’t bother me, but if you are looking for a more “set it and forget it” or “build once and enjoy” type of solution, you might want to consider the kind of maintenance this takes.
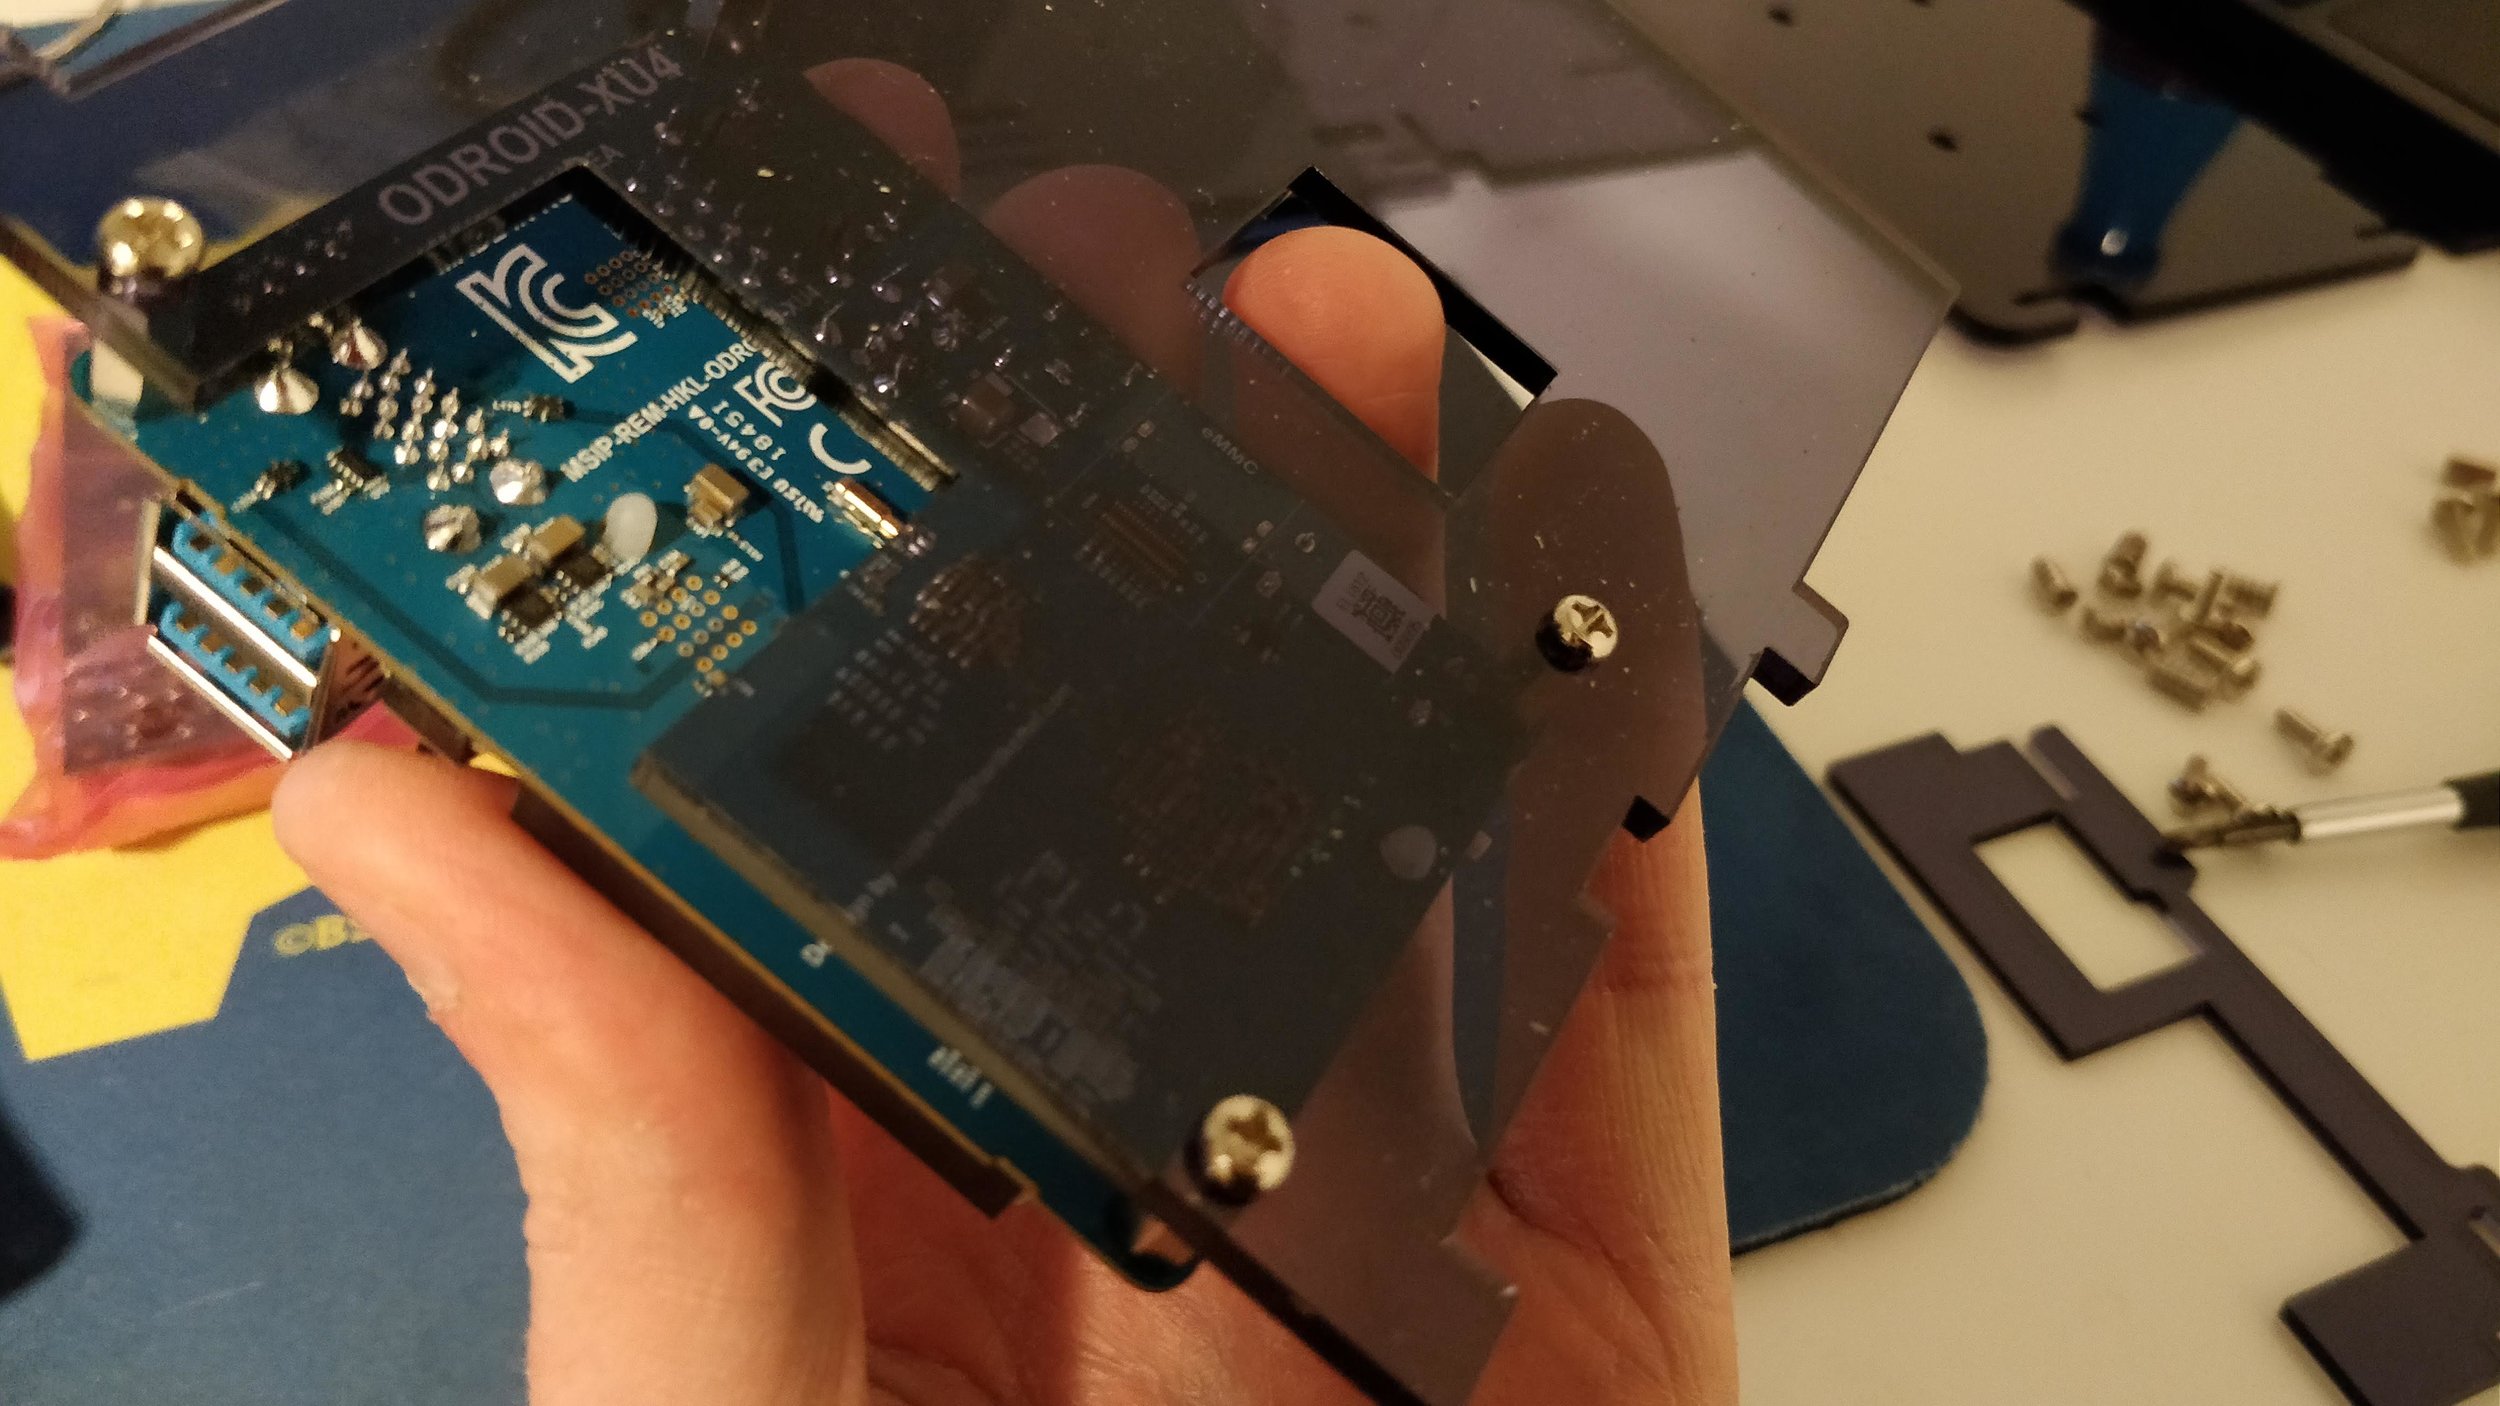
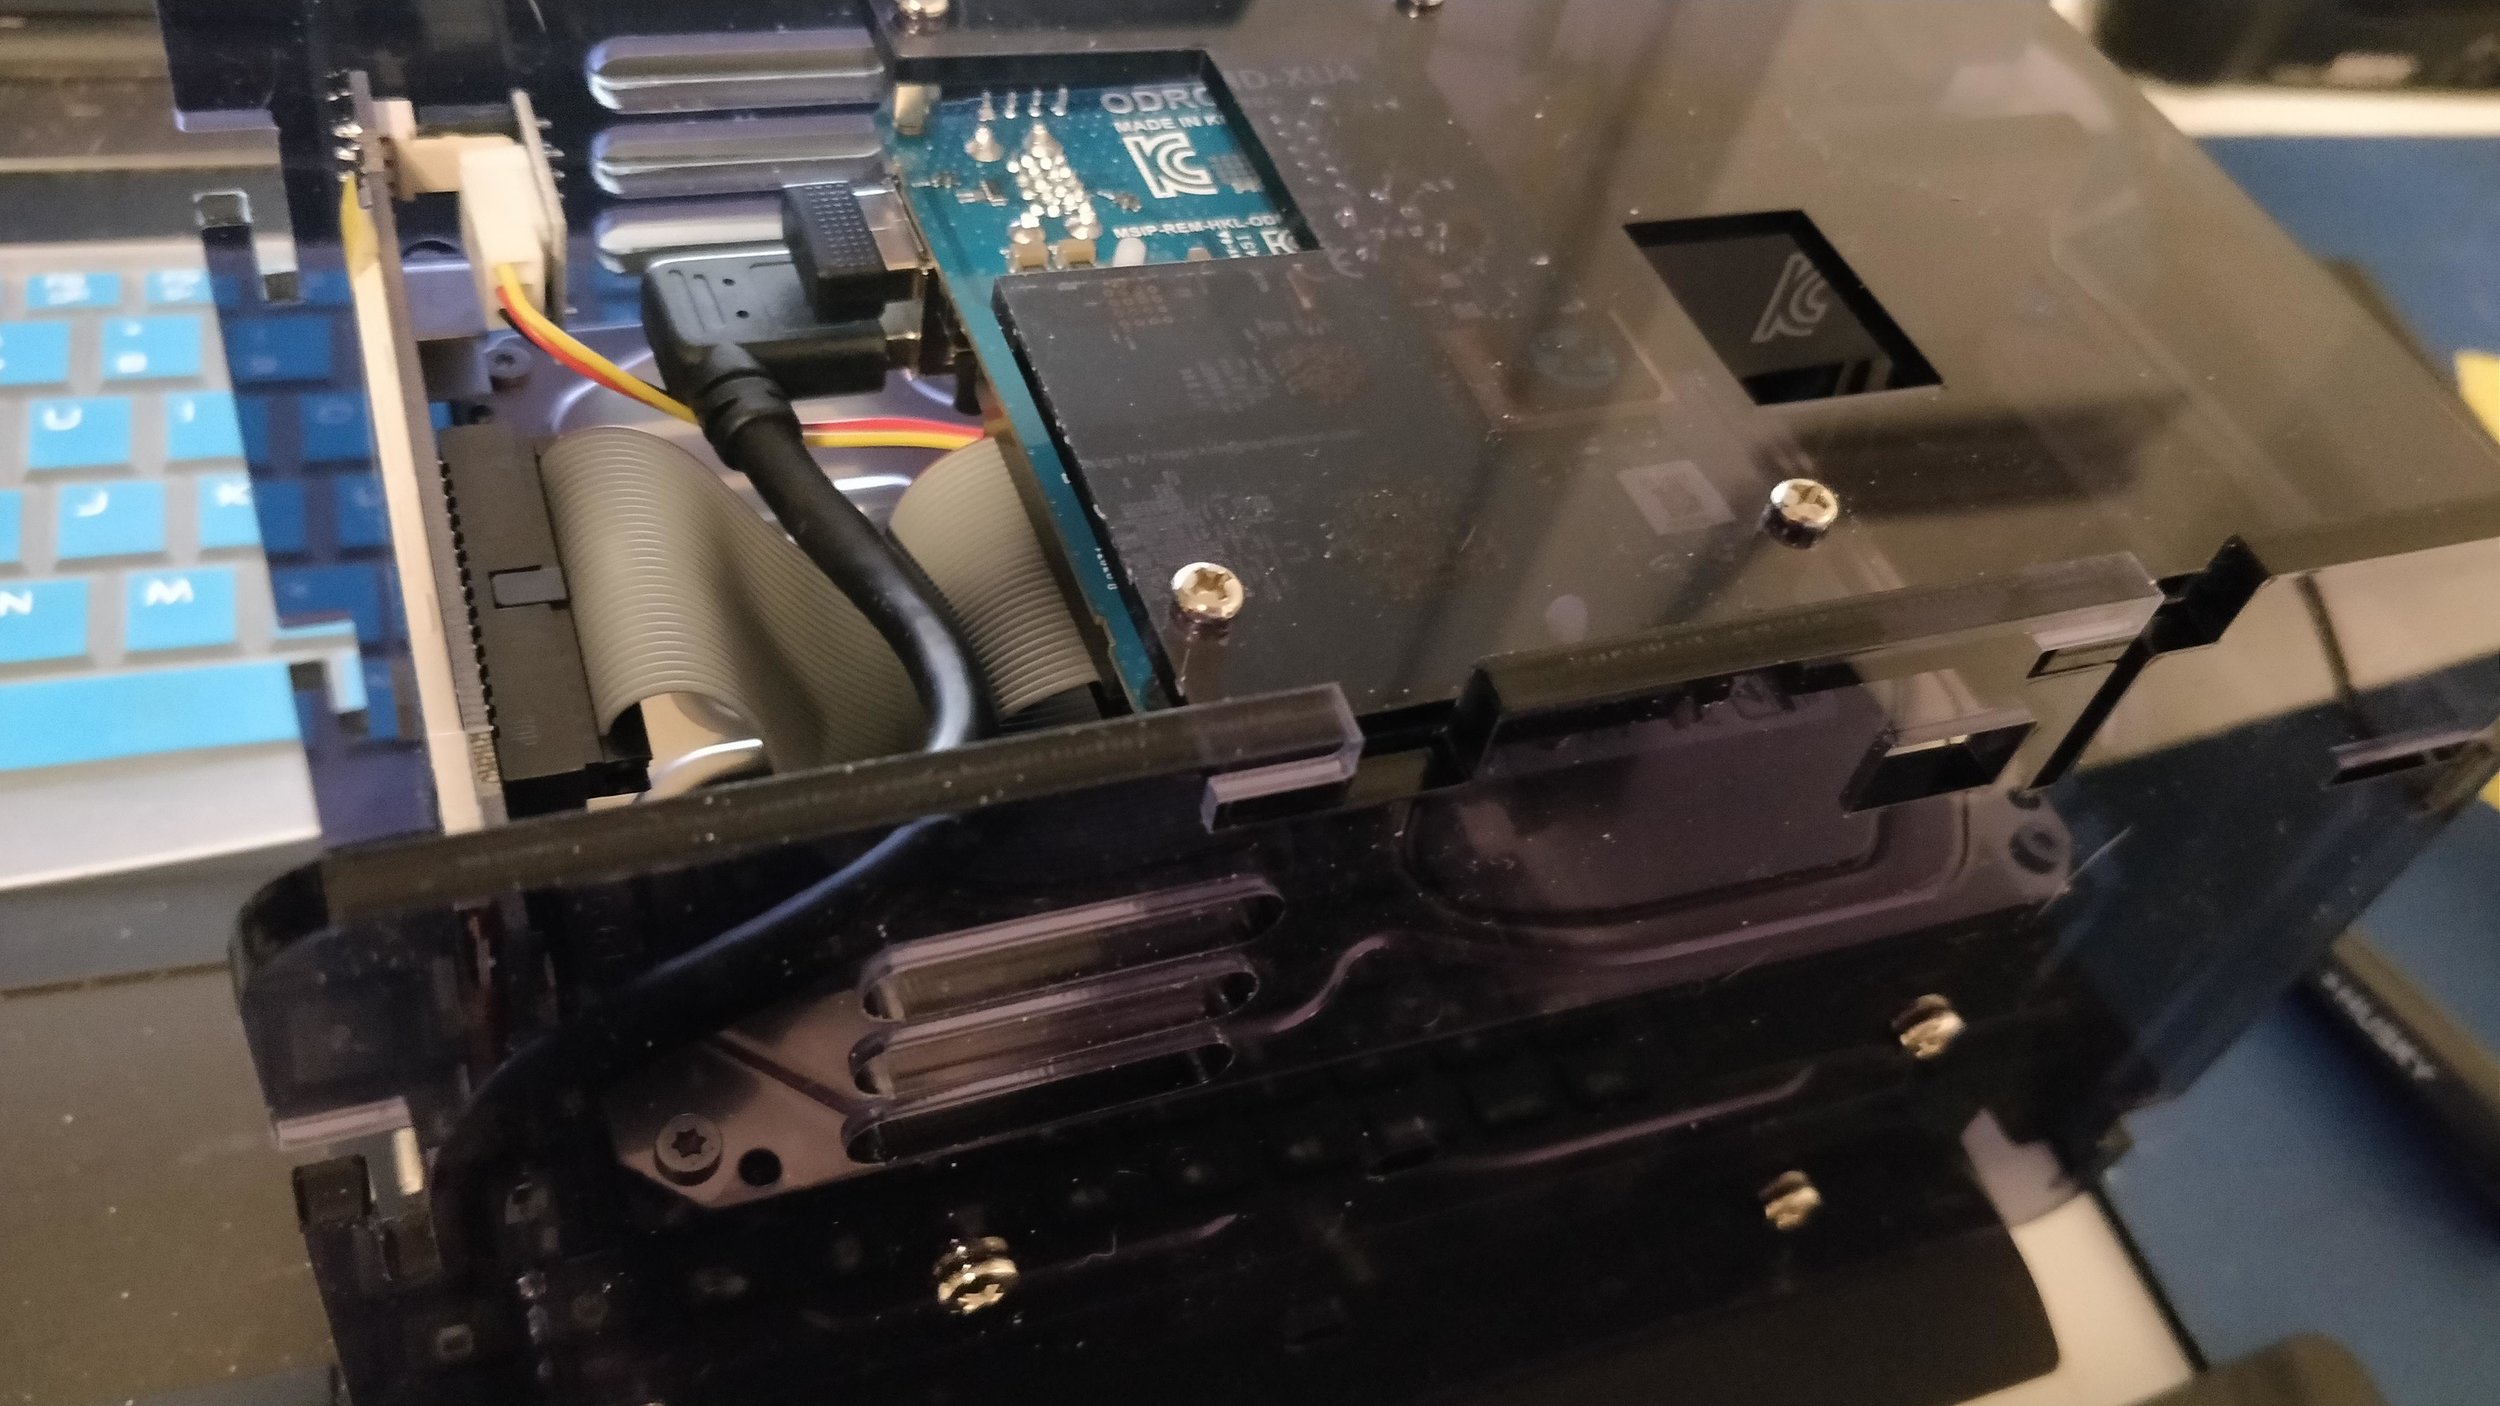
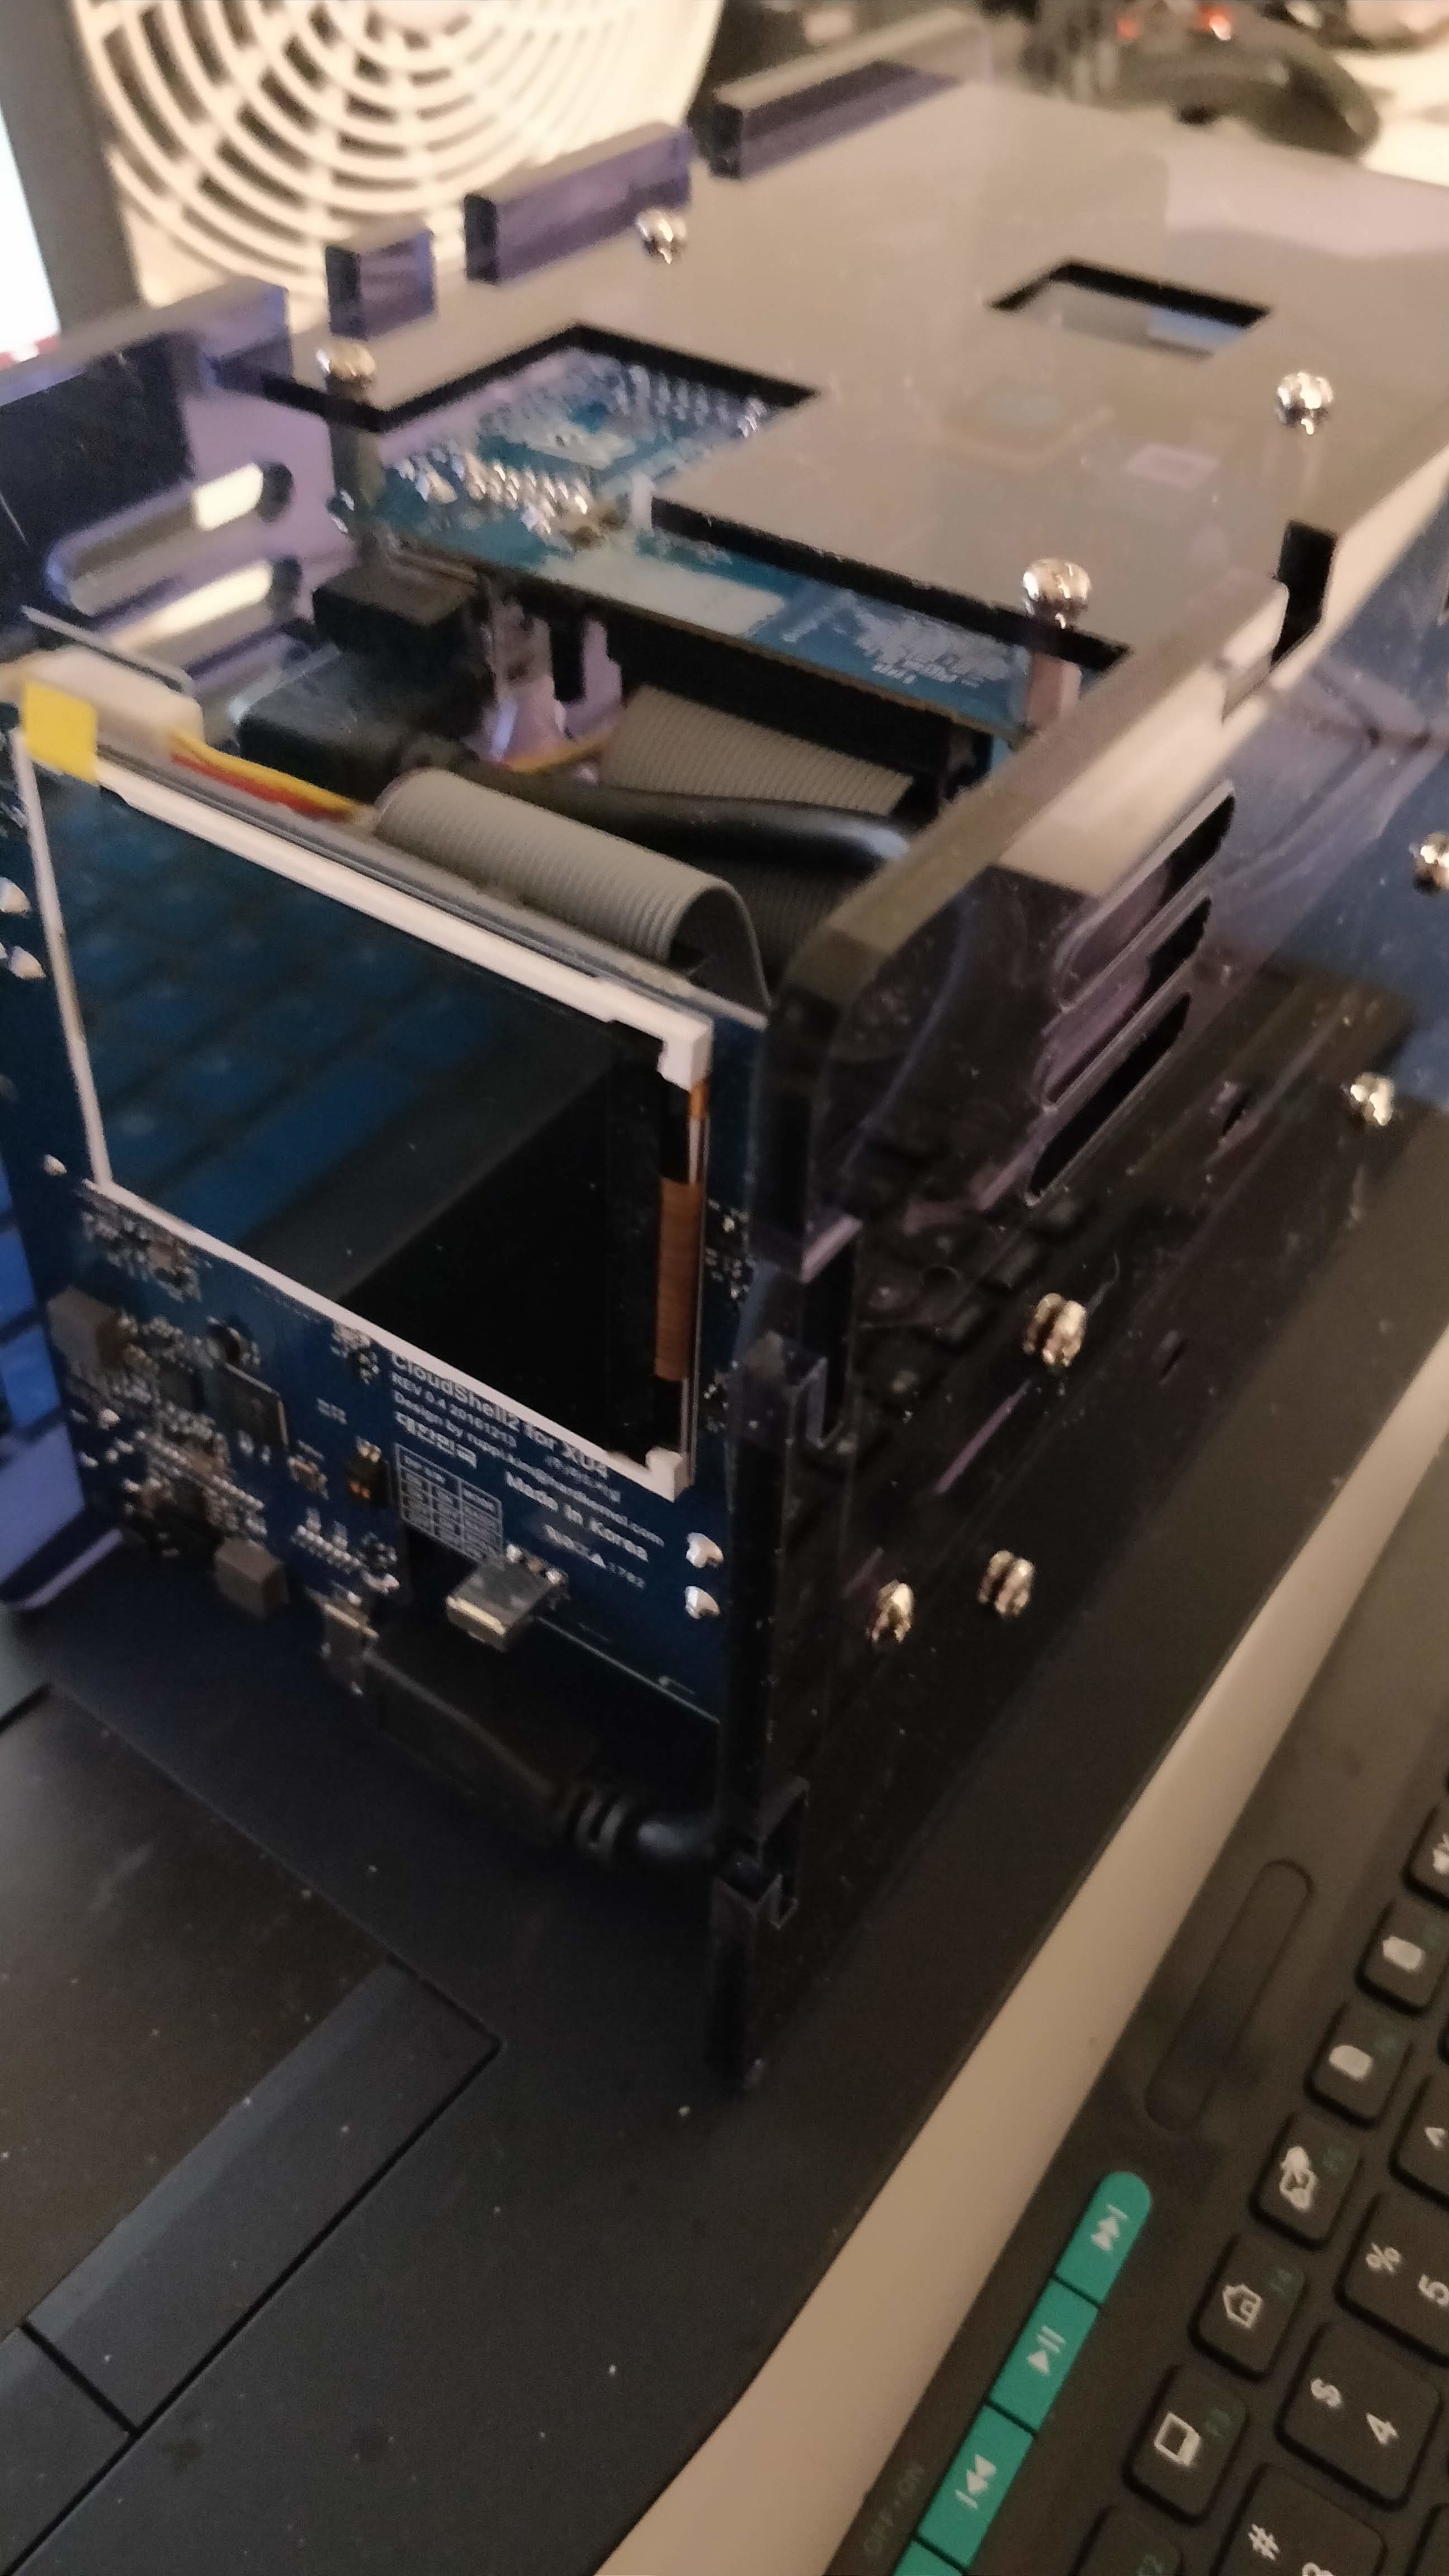
Construction starts with the disks themselves. The two larger pieces of plexiglass are screwed onto both disk drives, forming the base of the shell. From there, the front panel is placed onto the unit and screwed into the sides. The SATA connectors hold this front panel board in place while it is being fastened to the shell, which seemed a little shaky at first. Once the screws were in either side though, everything was pretty secure. I would advise checking to make sure that both SATA connectors are making good contact with the front board before and after screwing the front panel in place. After assembly, I could not see the second disk from within Ubuntu and ended up disassembling the entire thing. It ended up being the fitting of the SATA connector. Once I ensured a good connection was in place between the drives and that front panel board, things were right on track once again.
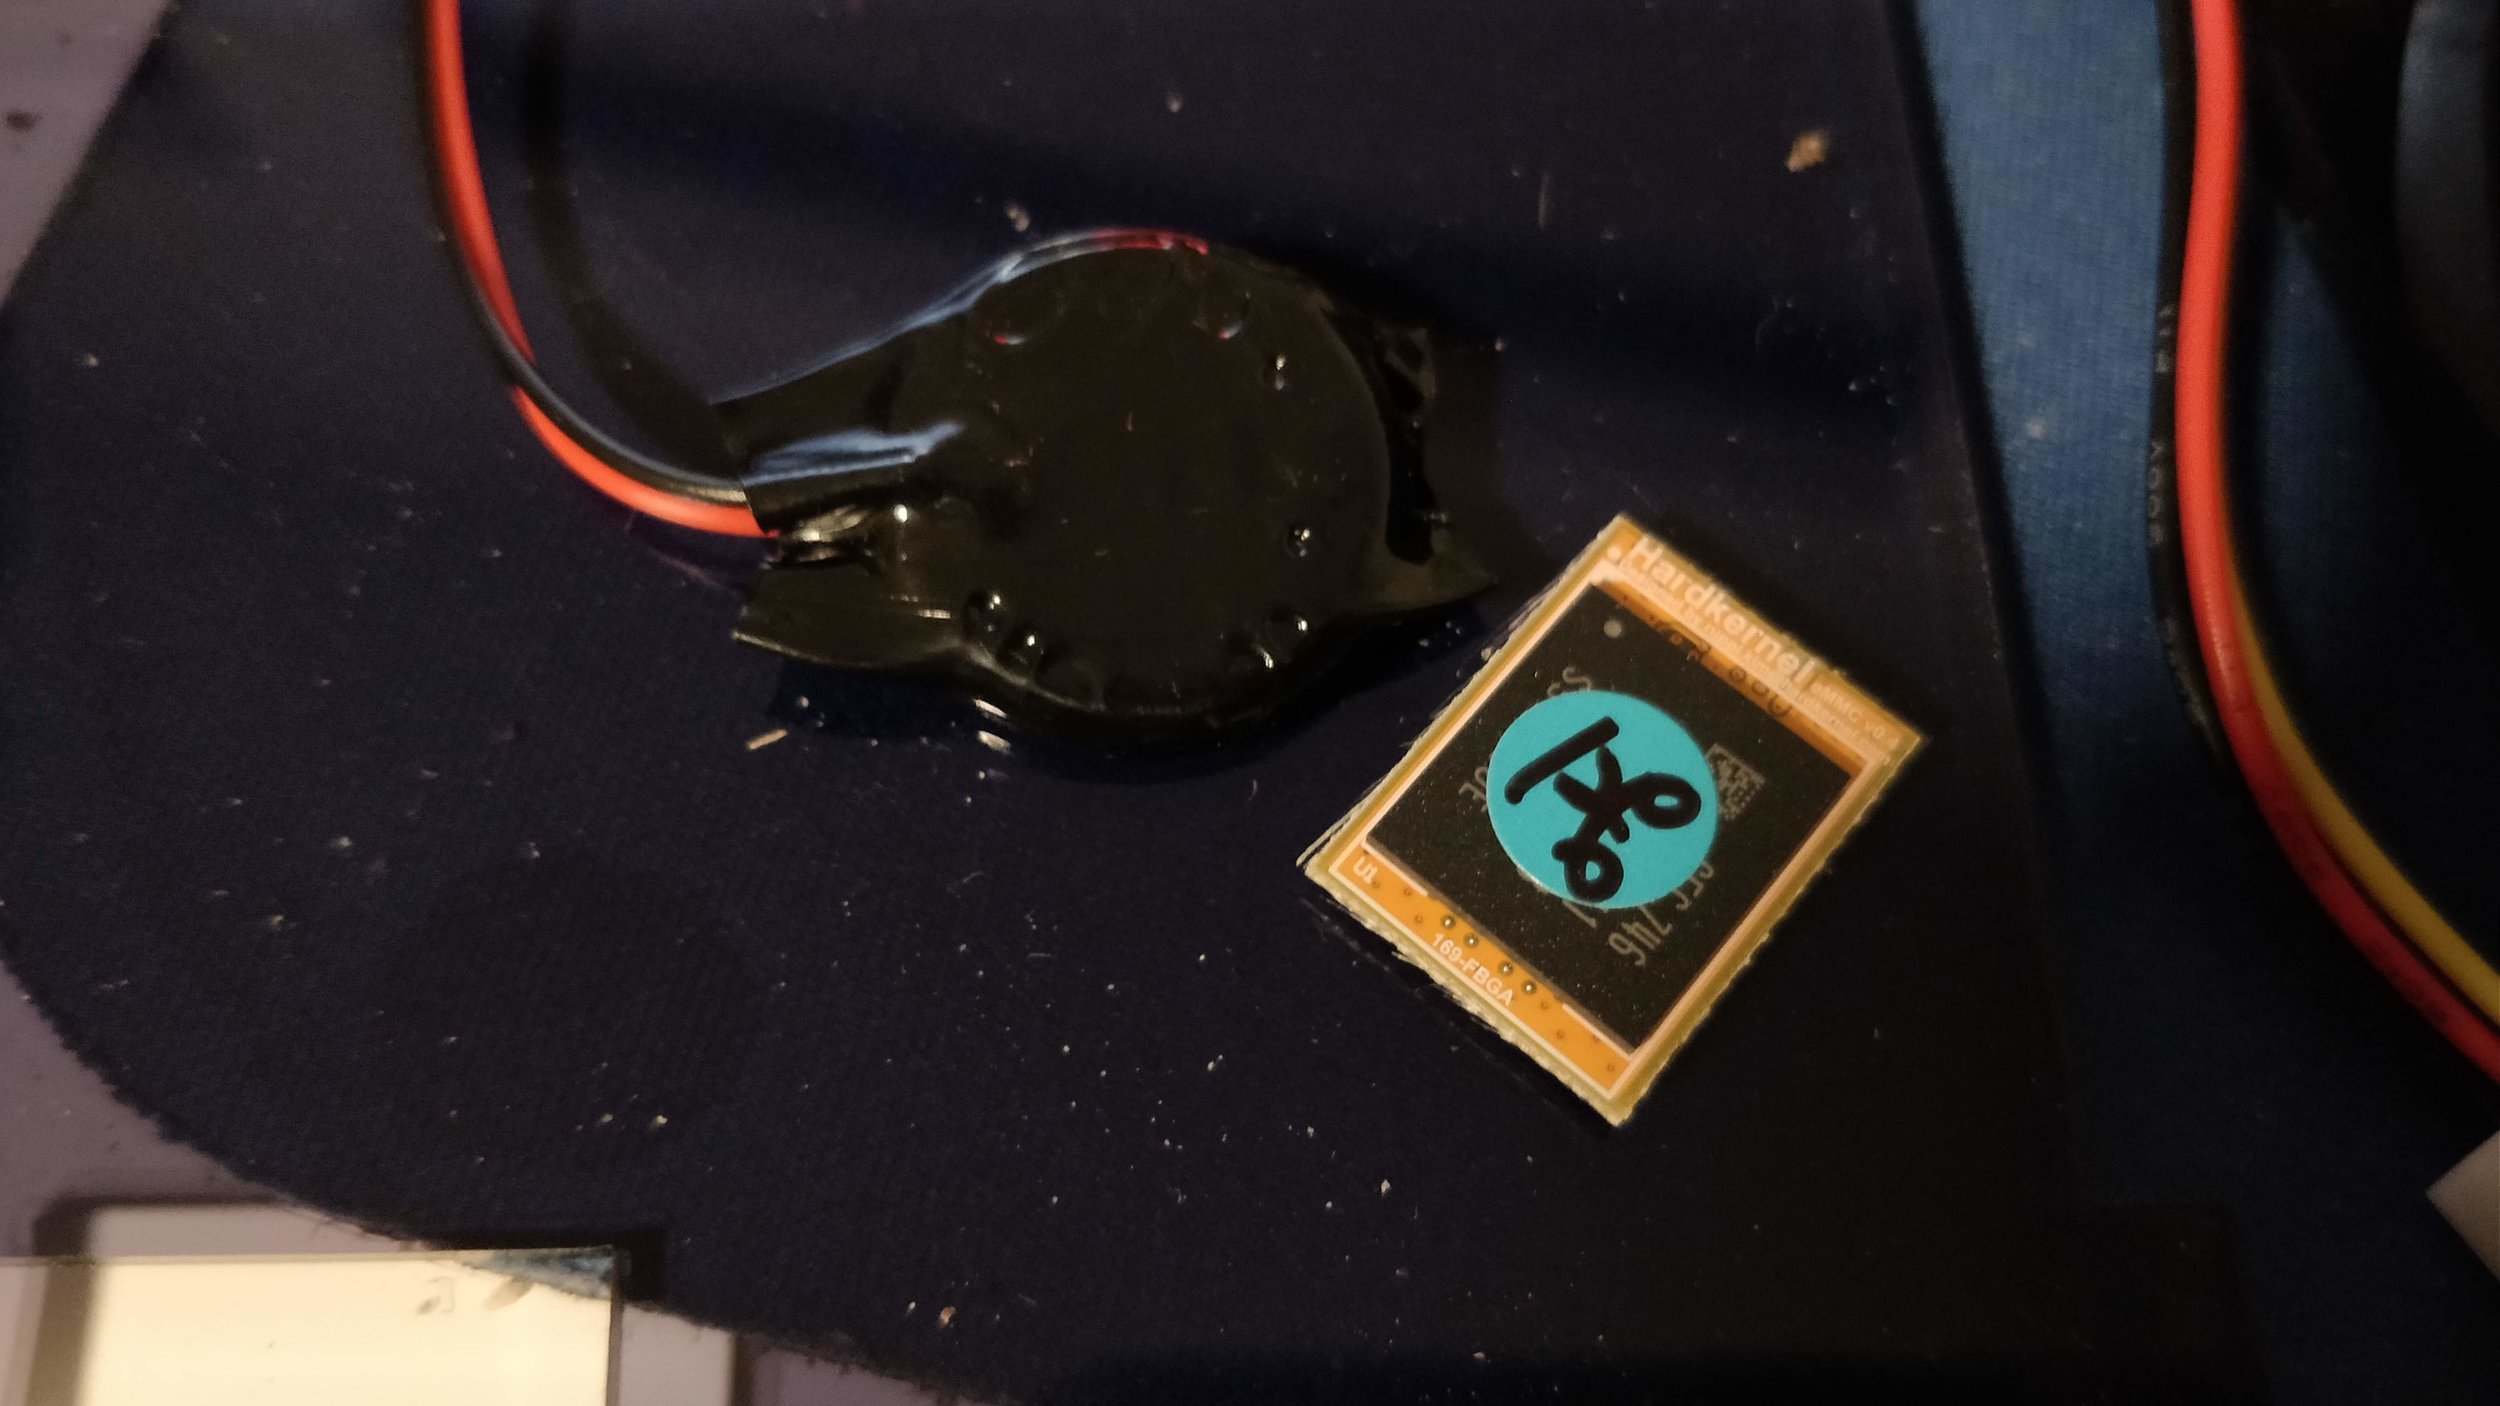
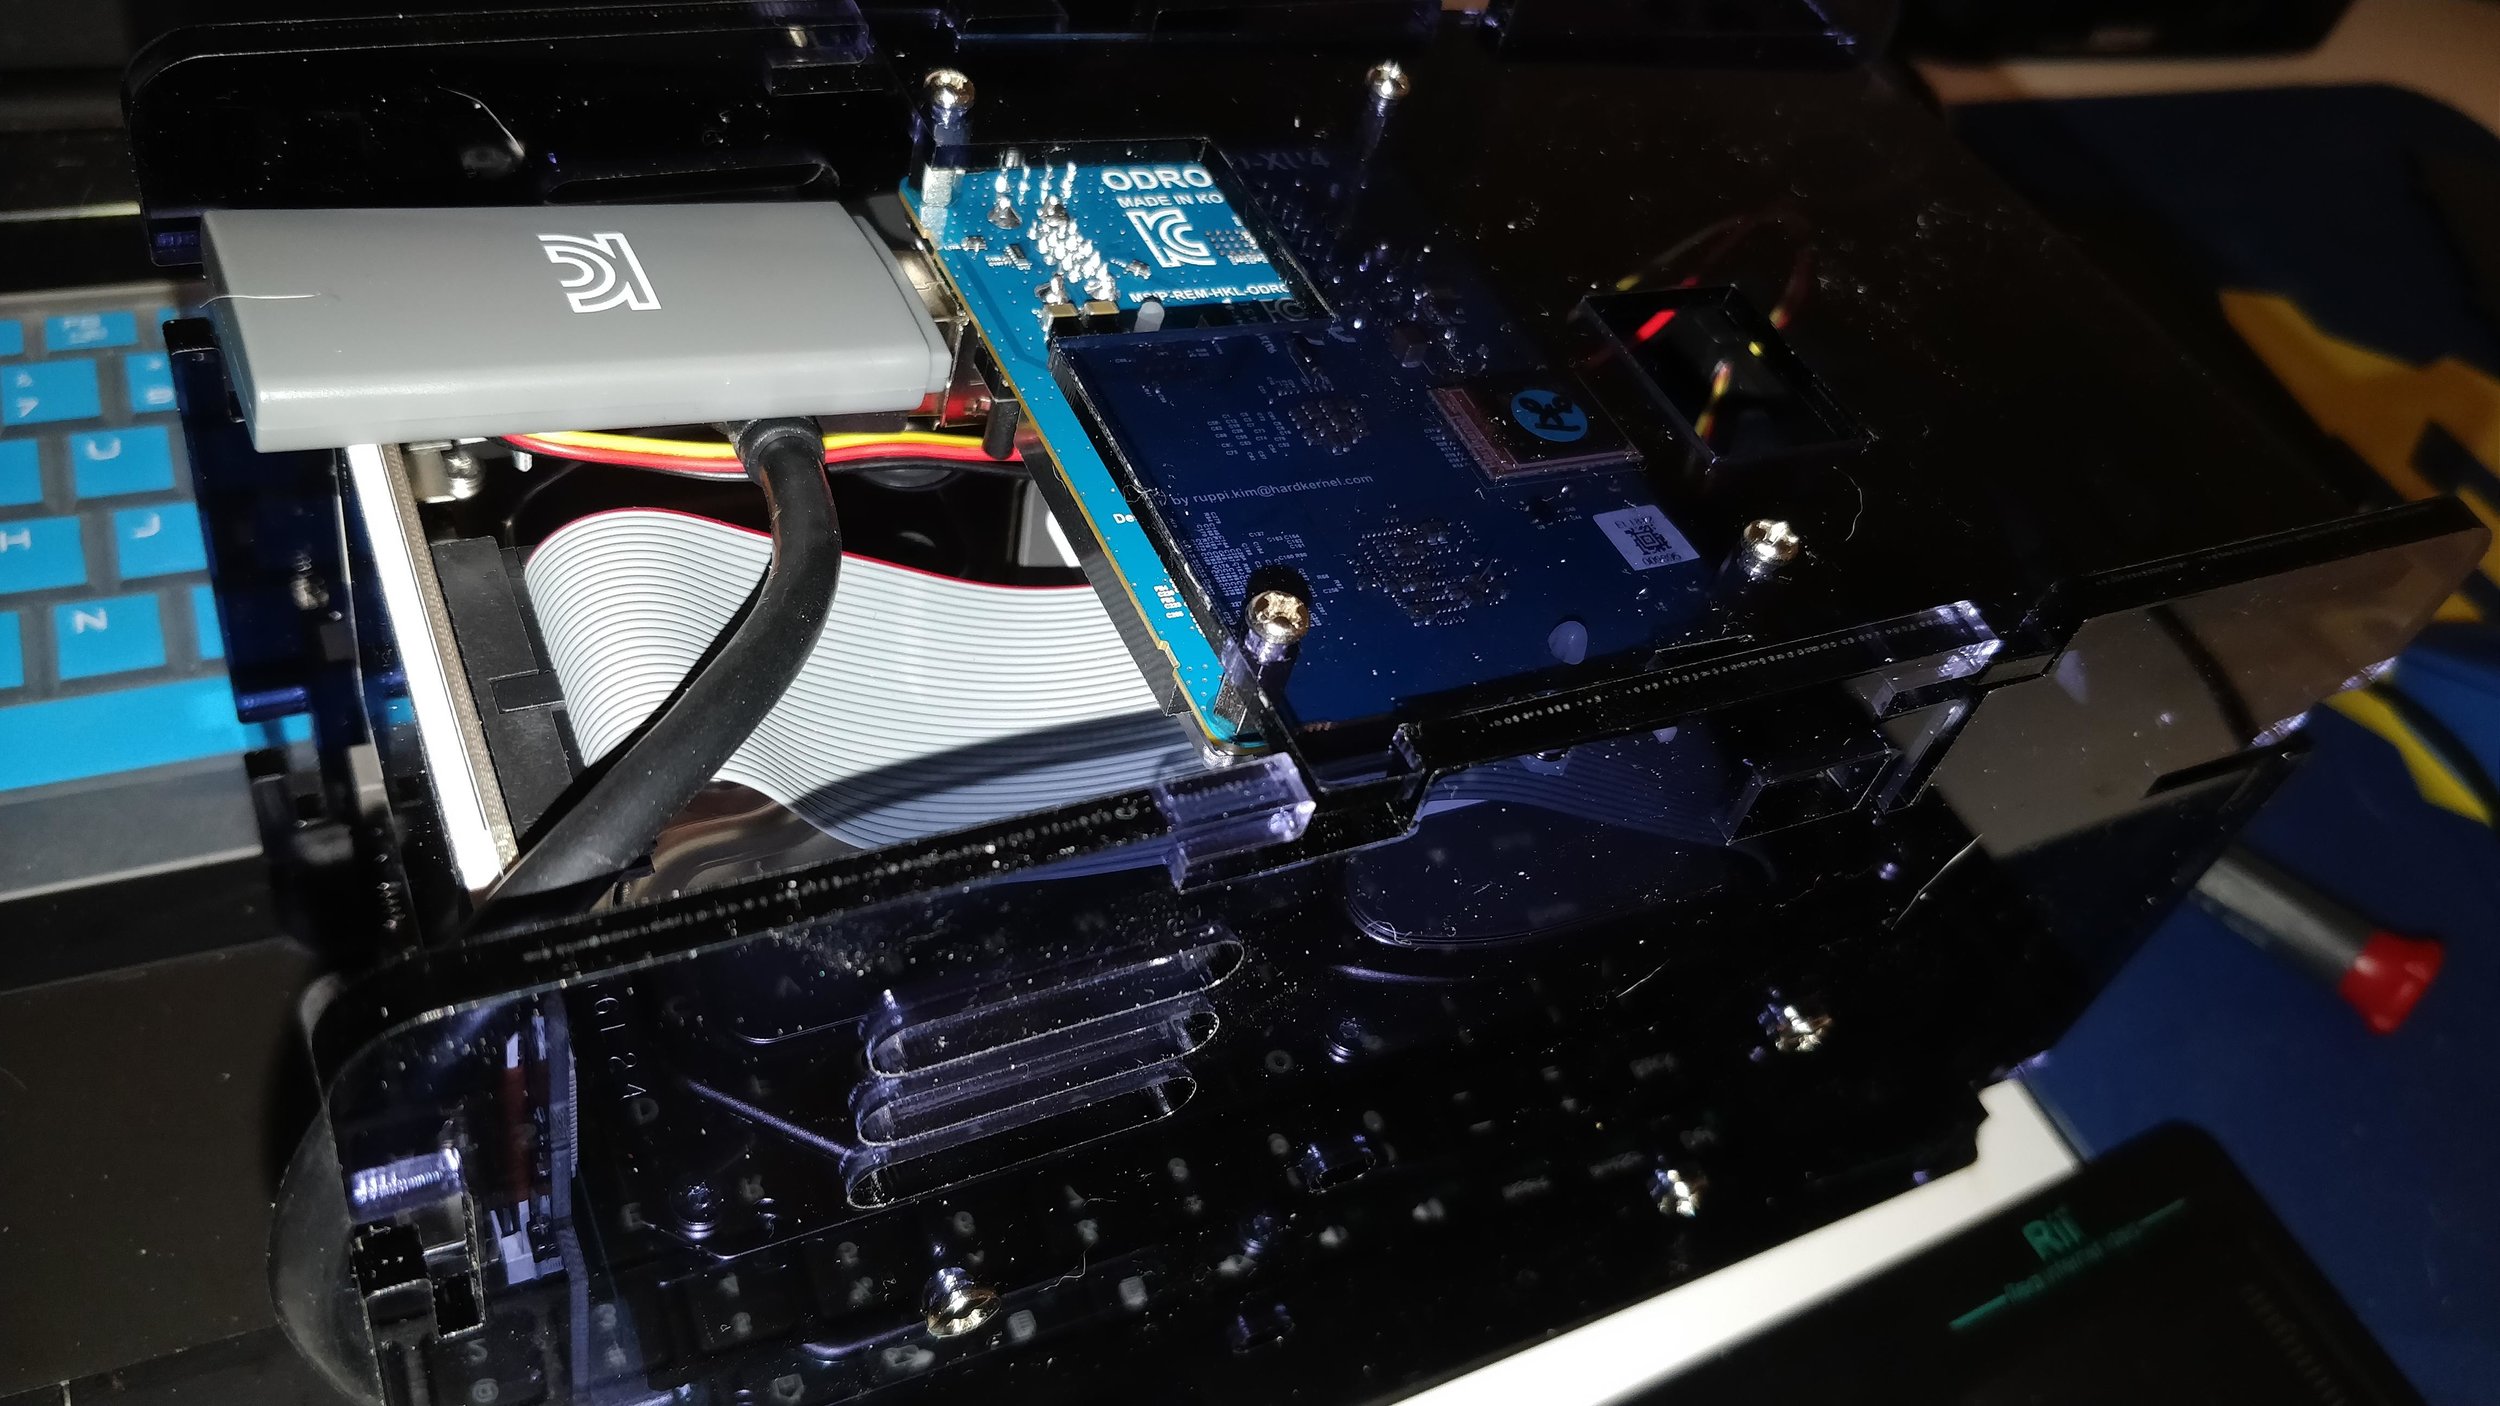
As the construction continues, the next steps are to bolt the ODROID board onto the top shell piece, slot the eMMC, plug in the RTC battery, and slide the top shell piece into place. One thing that might seem strange is that the RTC battery is on a long lead. After plugging it into the ODROID’s designated socket, the lead and battery flopped around the inside of the case. I secured this with a little hot glue, but once the rest of the acrylic is locked into the proper slots, the battery should stay in a relatively isolated space.
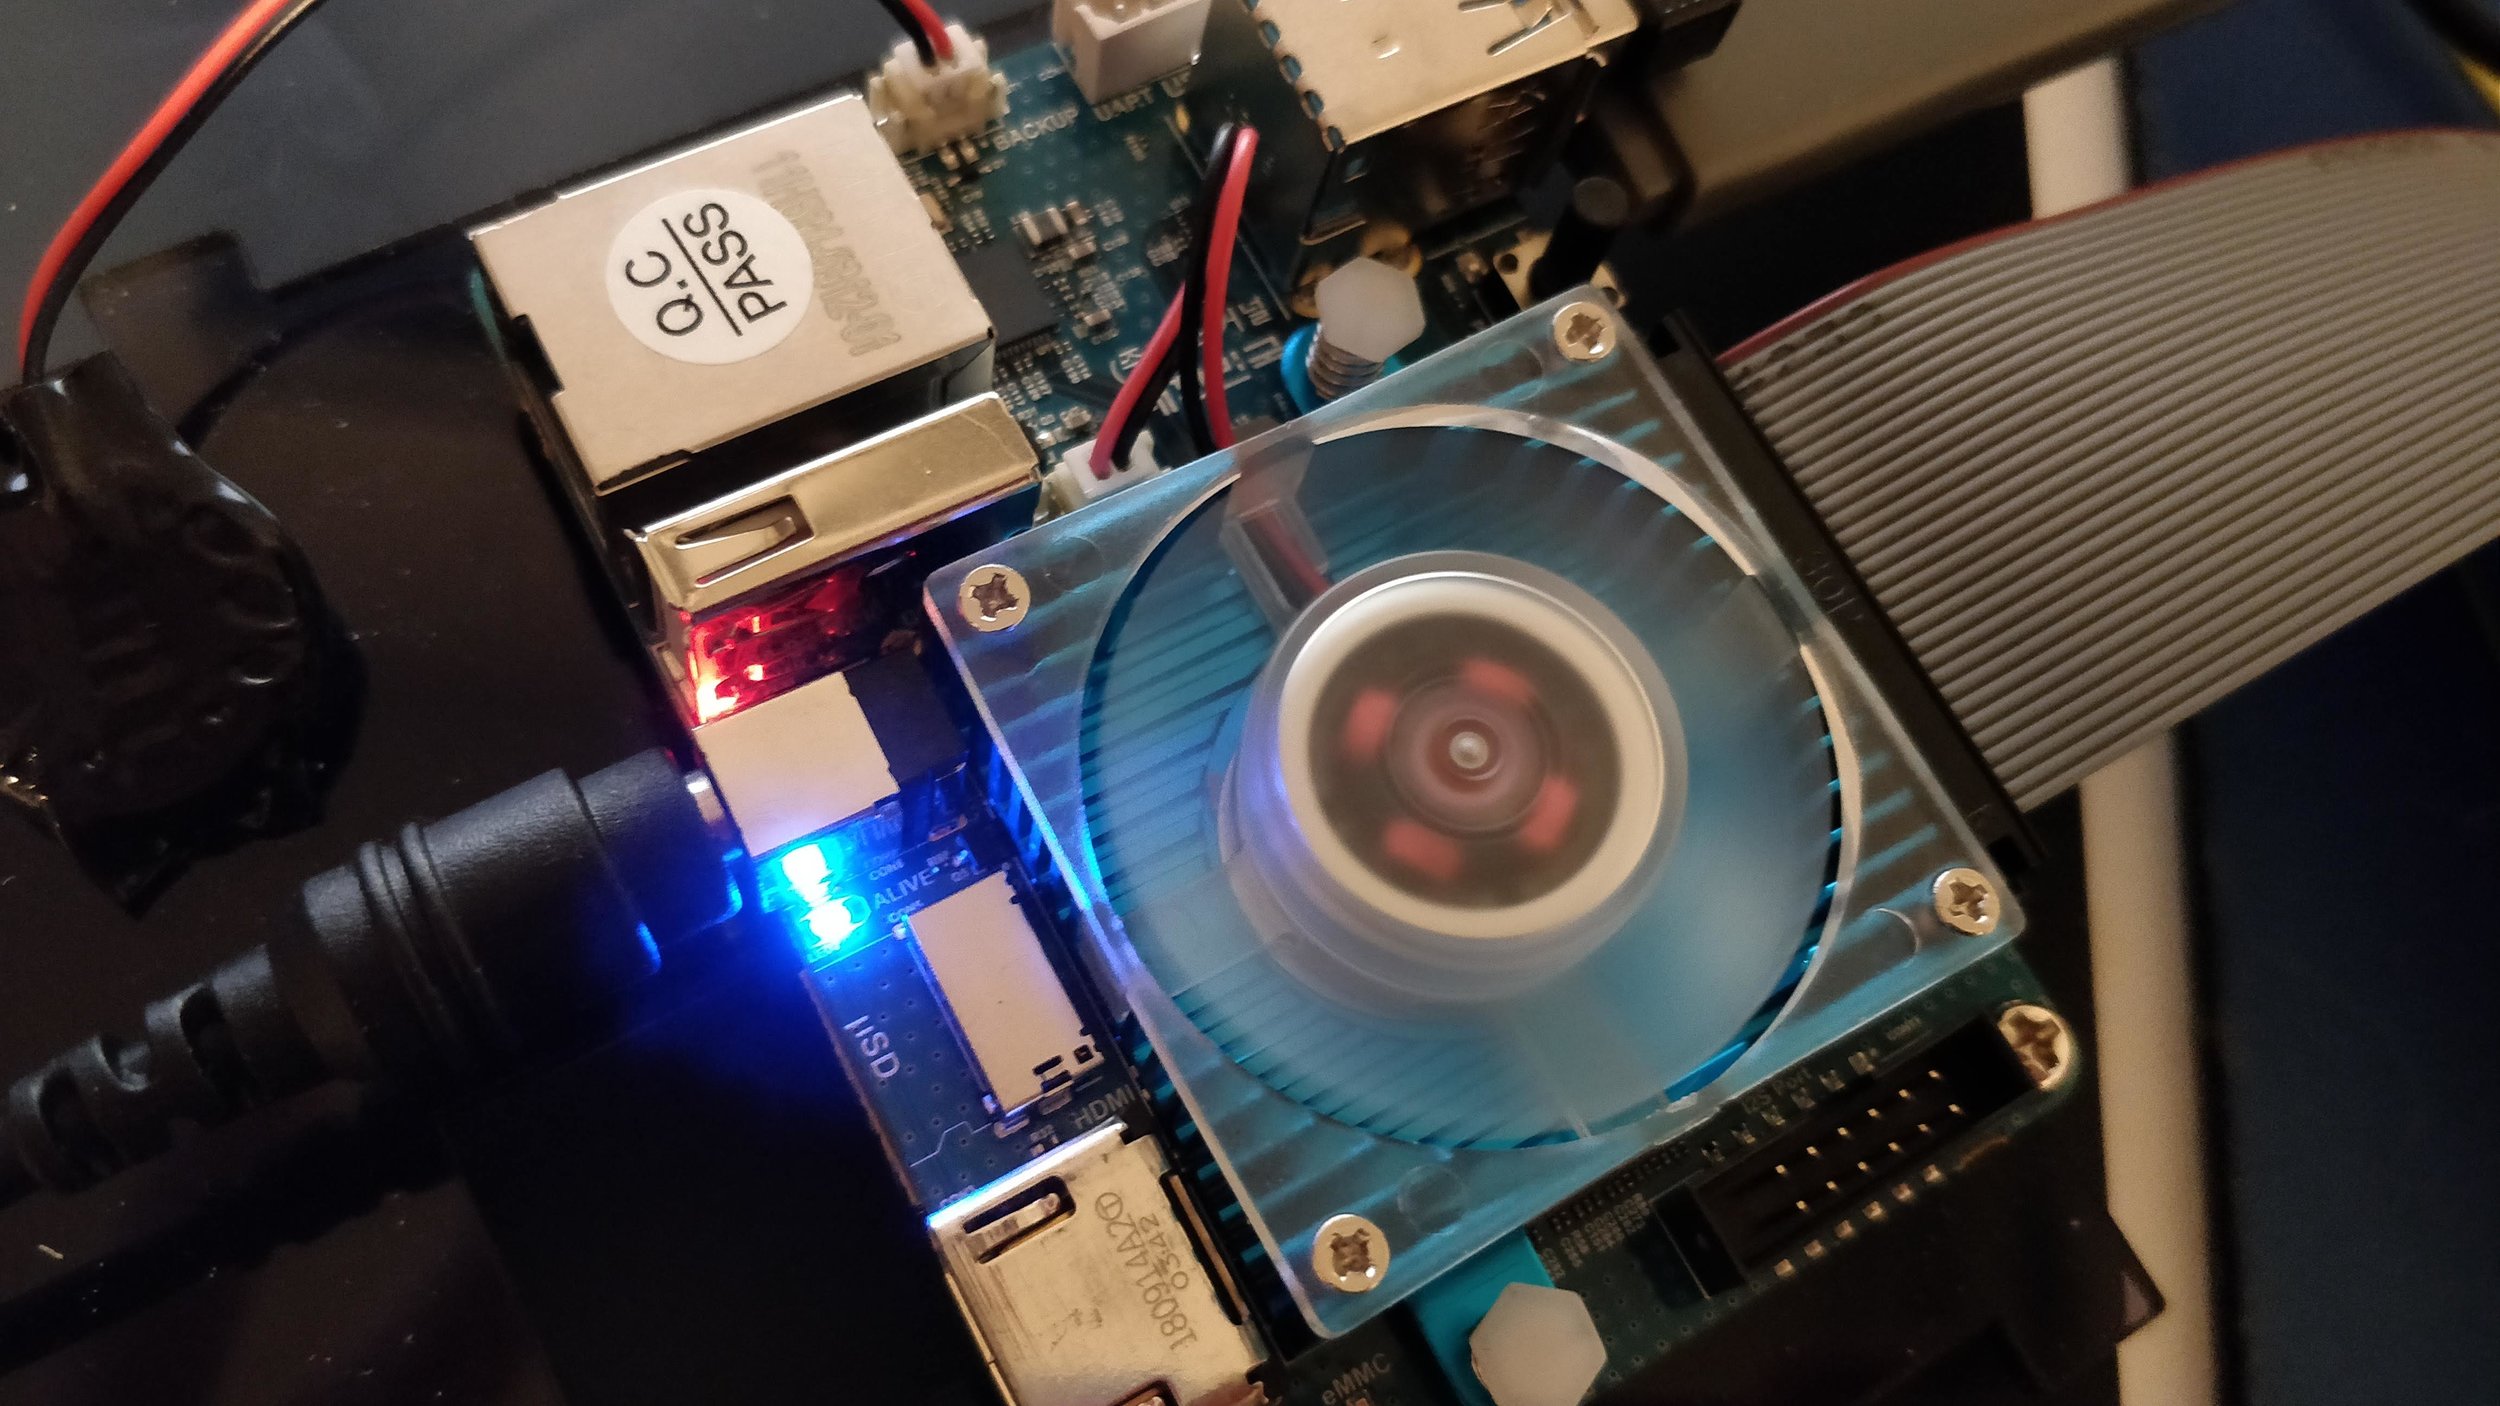
The exhaust fan is another thing dependent on user choice. Do you want maximum cooling or a whisper-quiet environment? The Cloudshell DIY kit comes with a small board that is essentially a current-limiting resistor with a plug. This resistor drastically limits the amount of energy flowing through the fan, which lowers its speed (and cooling performance) but makes the operation nearly silent. Without the resistor, the fan operates on power given directly from the front board. It’s much louder, but the drives will be in a much cooler environment. Your choice, really. I chose to omit the board, but kept it handy just in case I became tired of the constant whirrrr from my new storage companion.
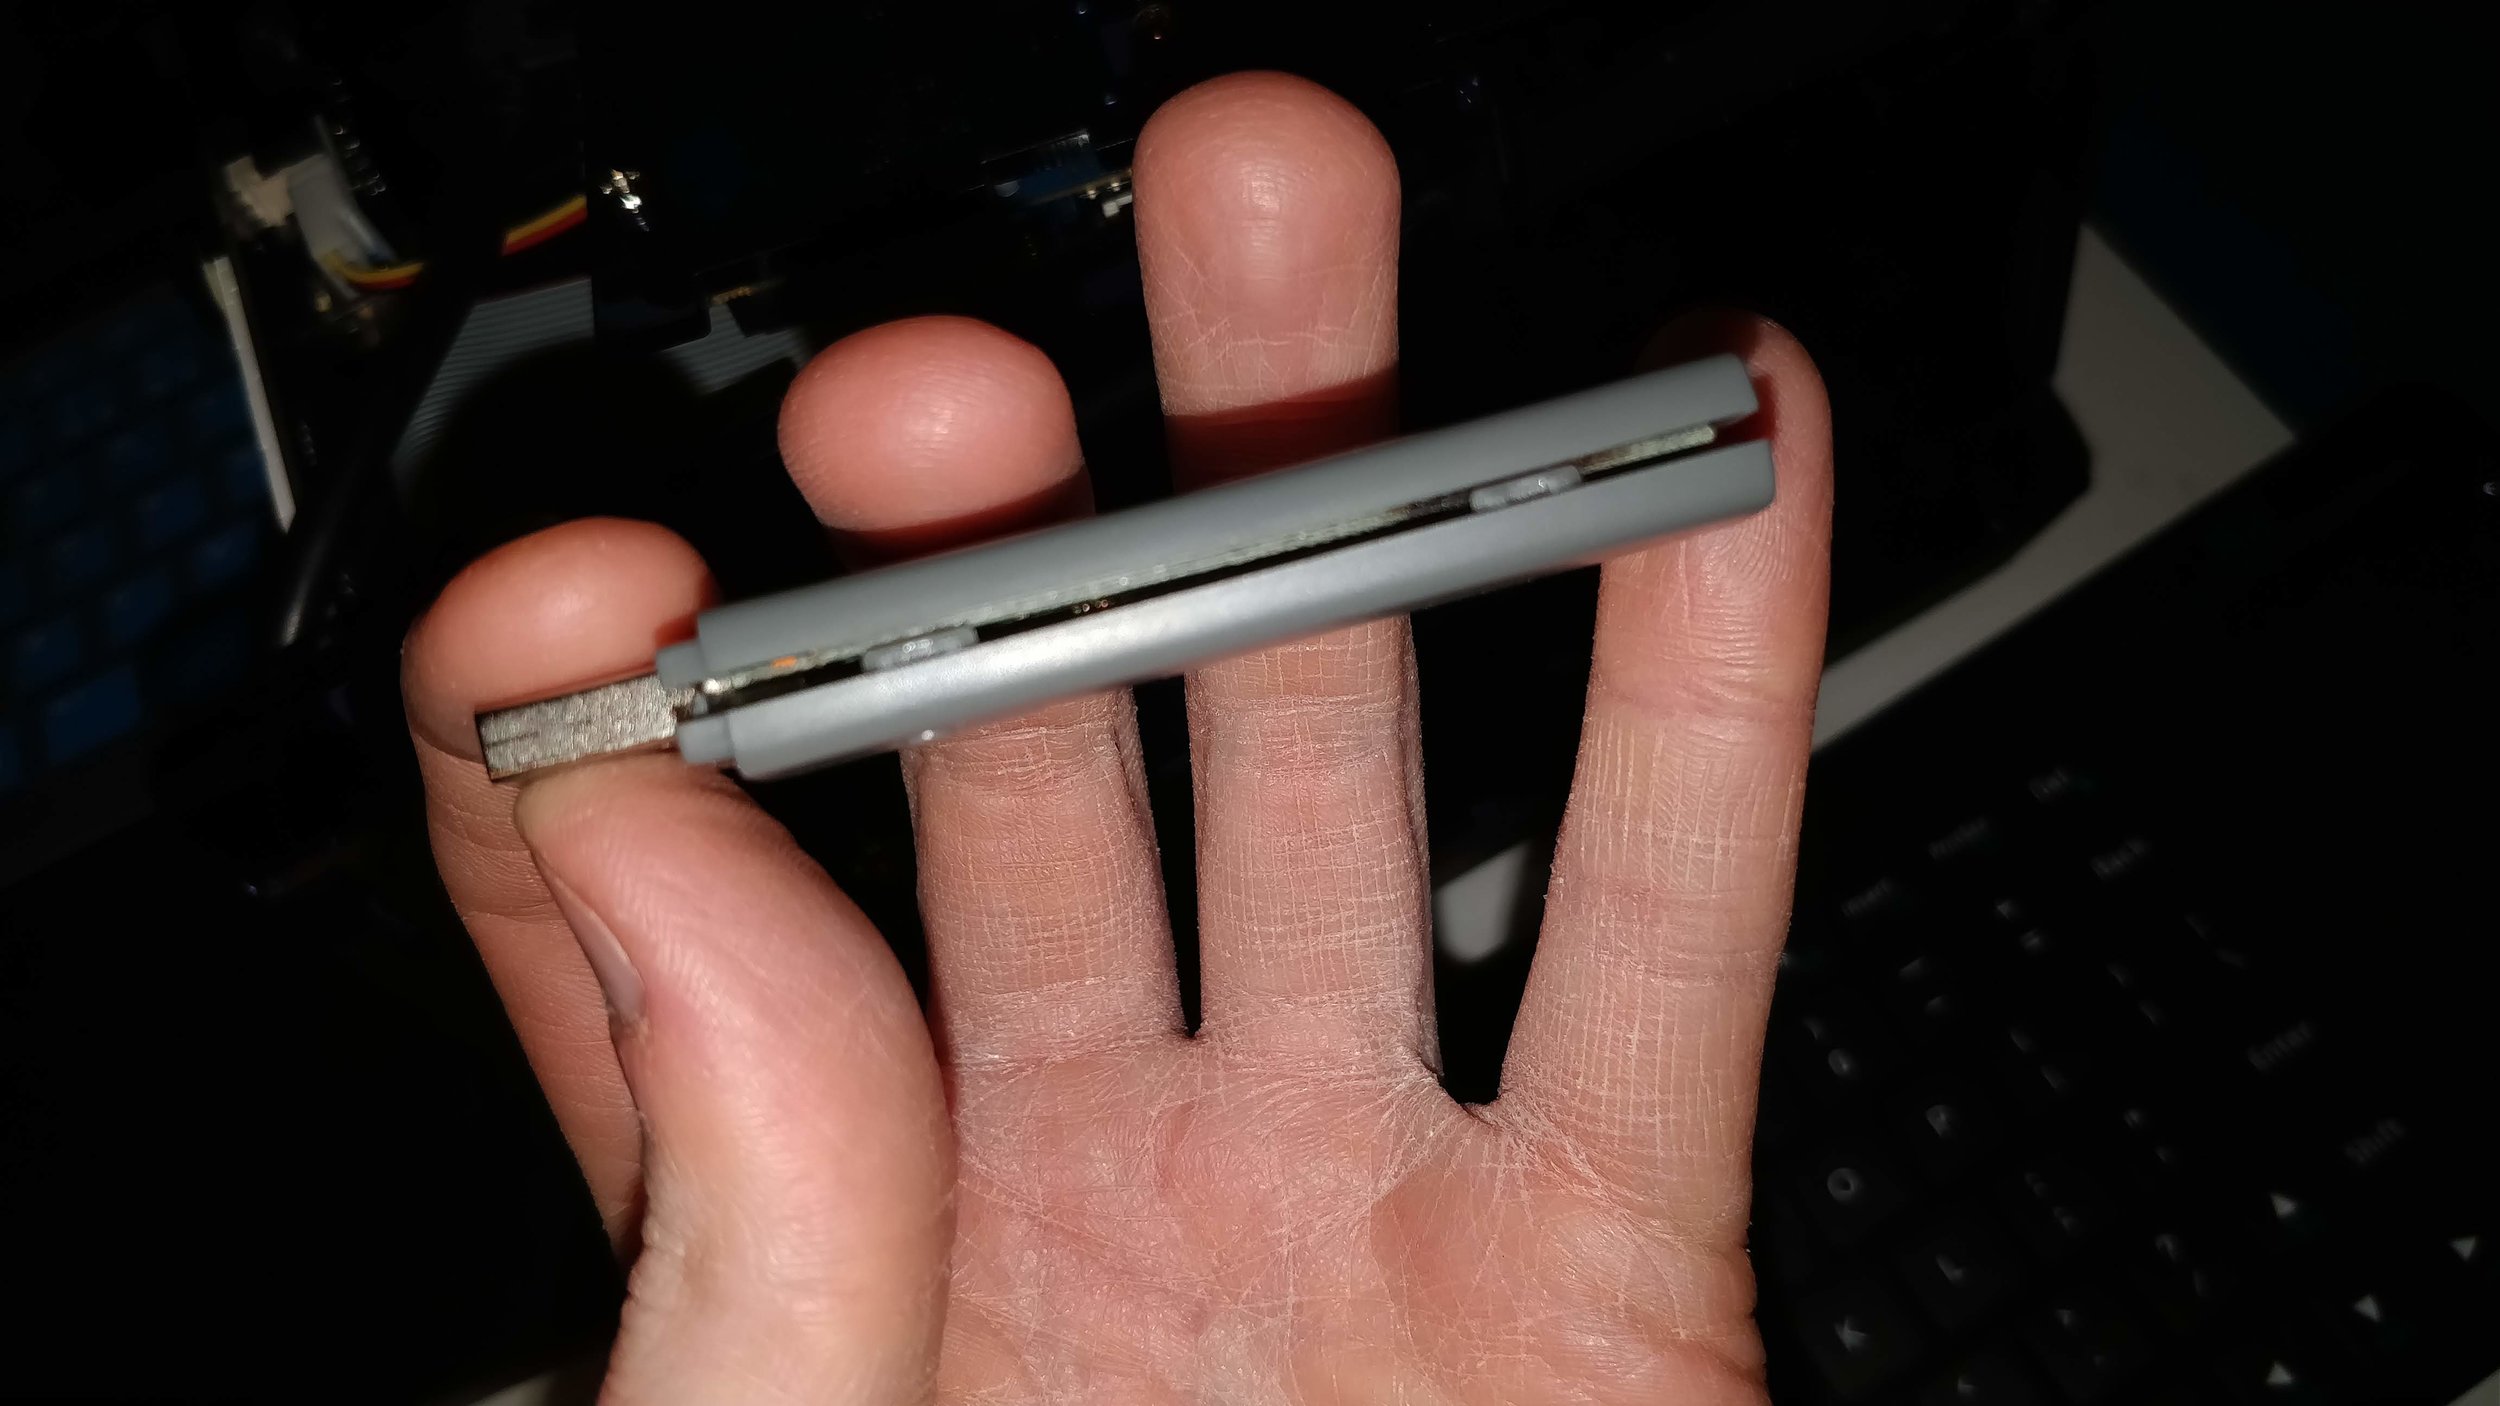
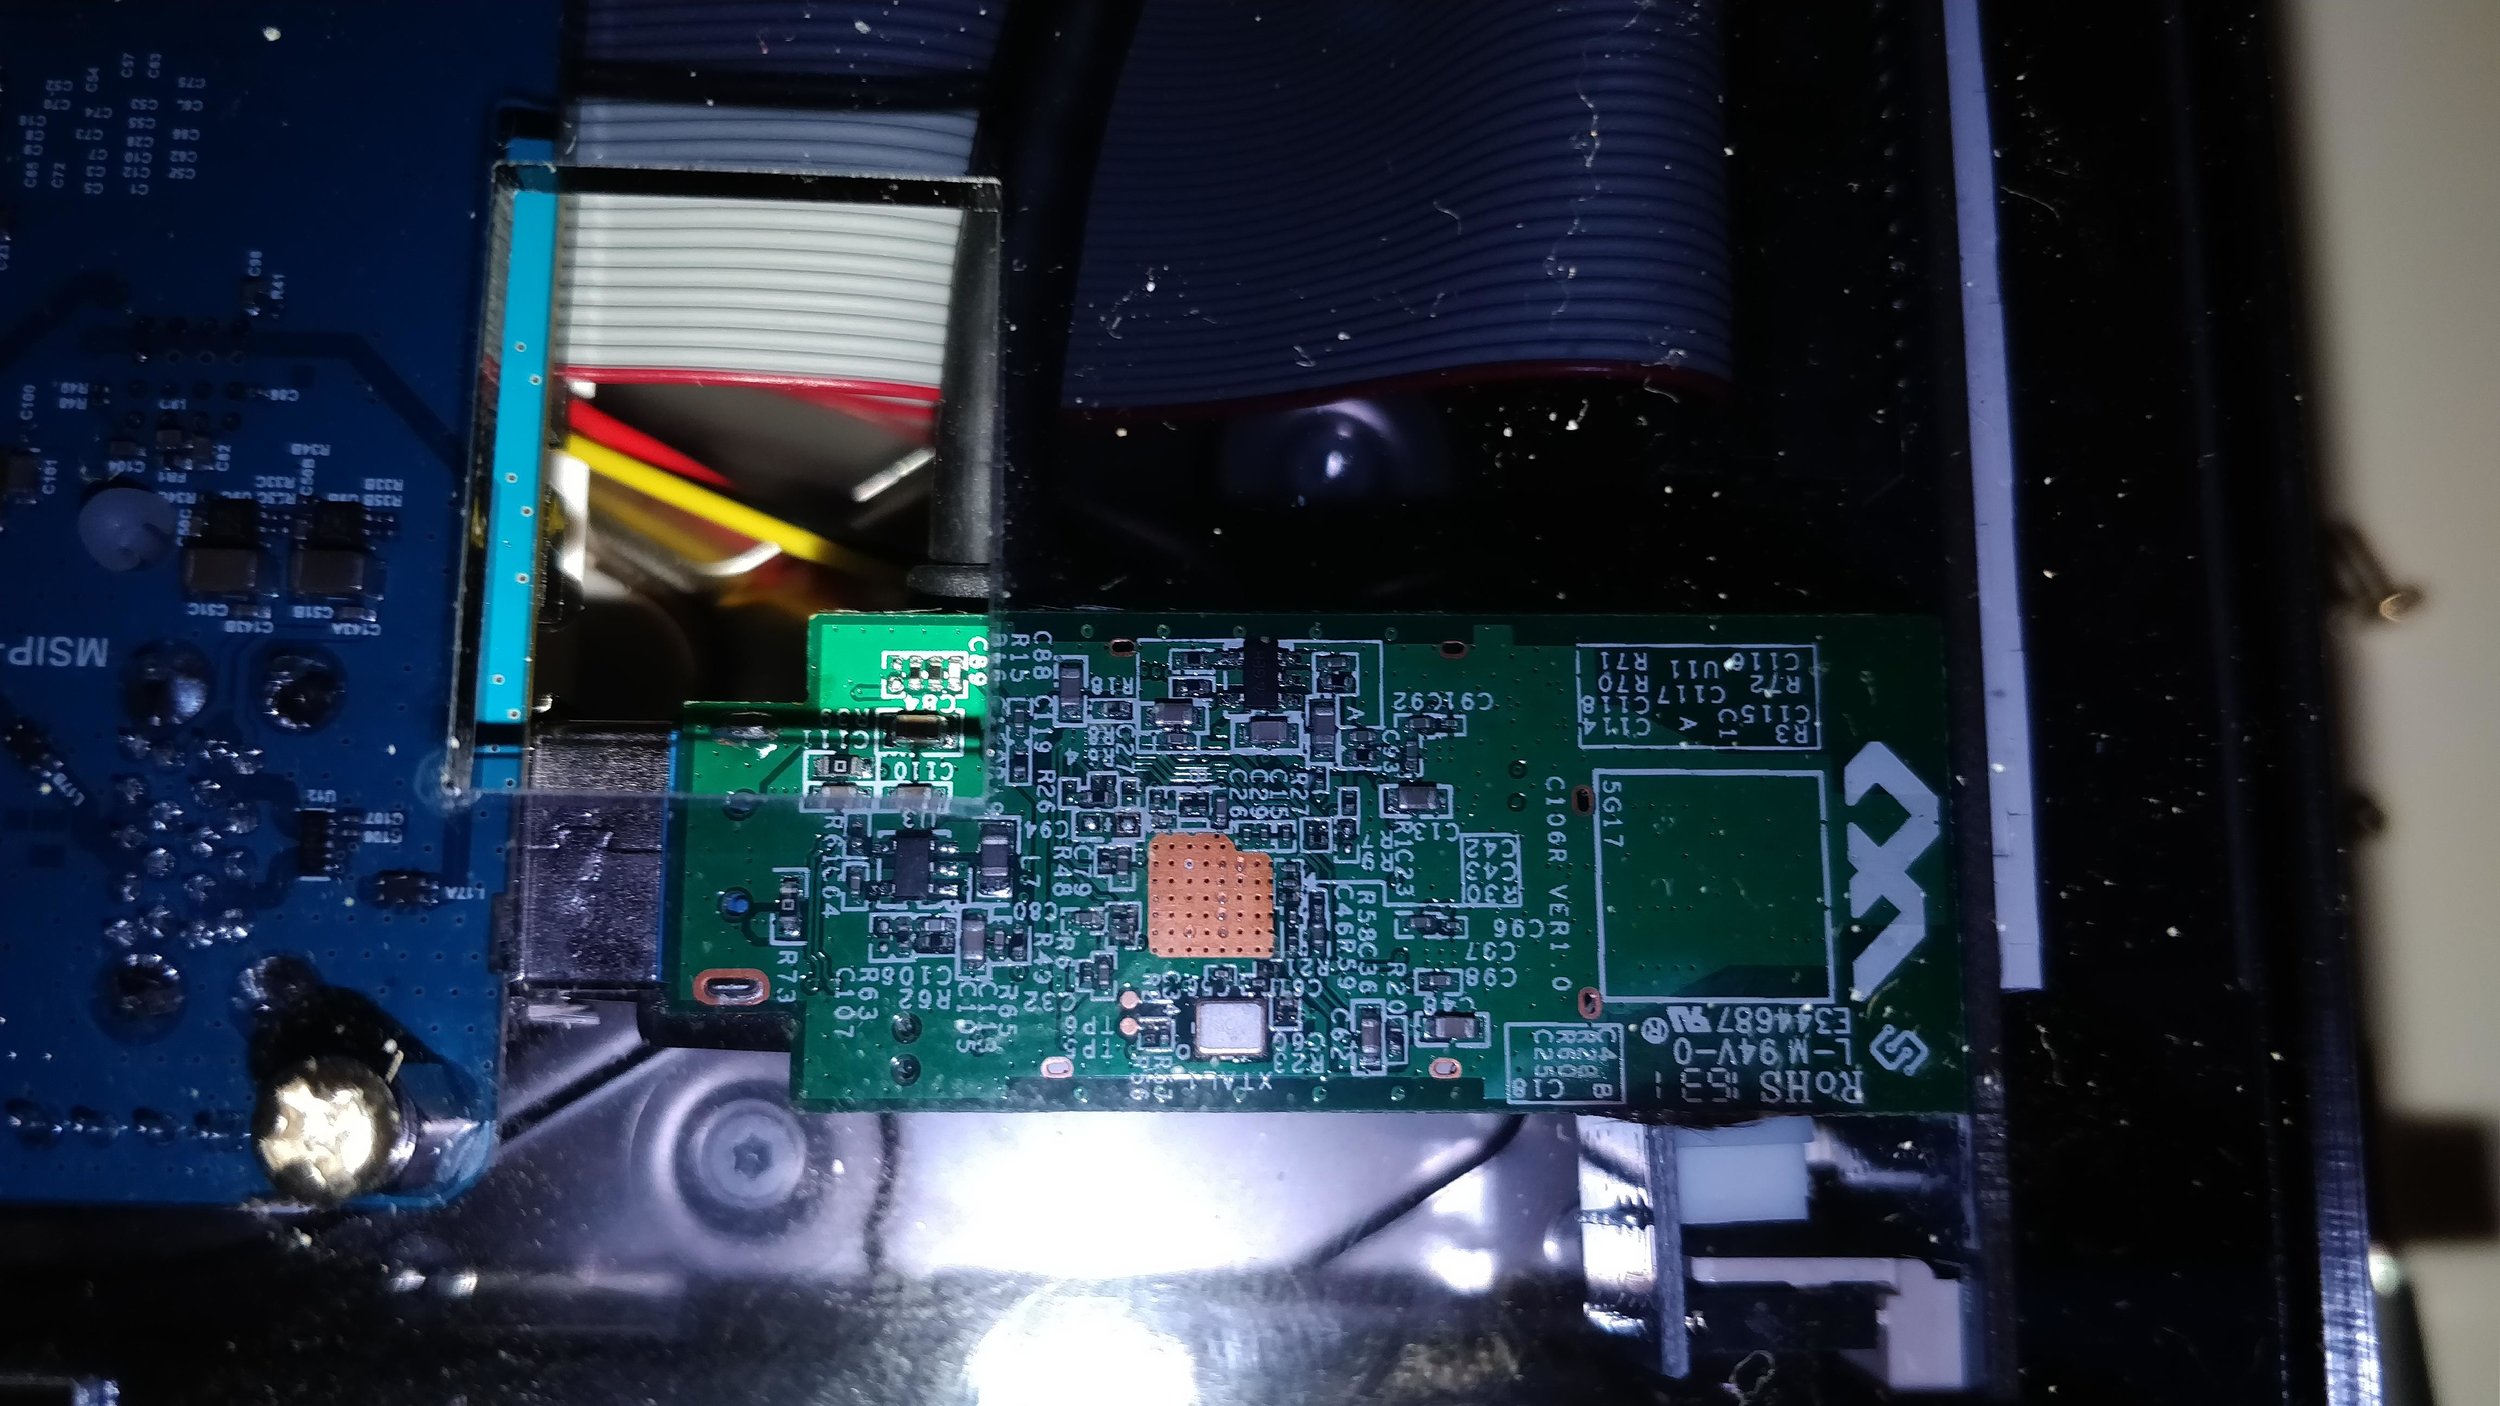
Once the back panel is slid into place, a few more pieces lock in, then a small key screws into the fan area, locking the entire shell together. The total assembly isn’t difficult if the instructions are followed carefully and some consideration is taken on what devices will be needed for the ODROID’s functionality. In my case, I needed a wireless USB adapter, but the ODROID’s shell would not slide together with that adapter in place. I pulled the plastic shell off of the adapter to gain a small amount of room inside of the unit. That gave me enough buffer space to put everything together. I suppose I could have used some sort of USB extension or cut the acrylic with a rotary tool, but I didn’t want an extra cable outside of the NAS or a new space cut into the plexi.
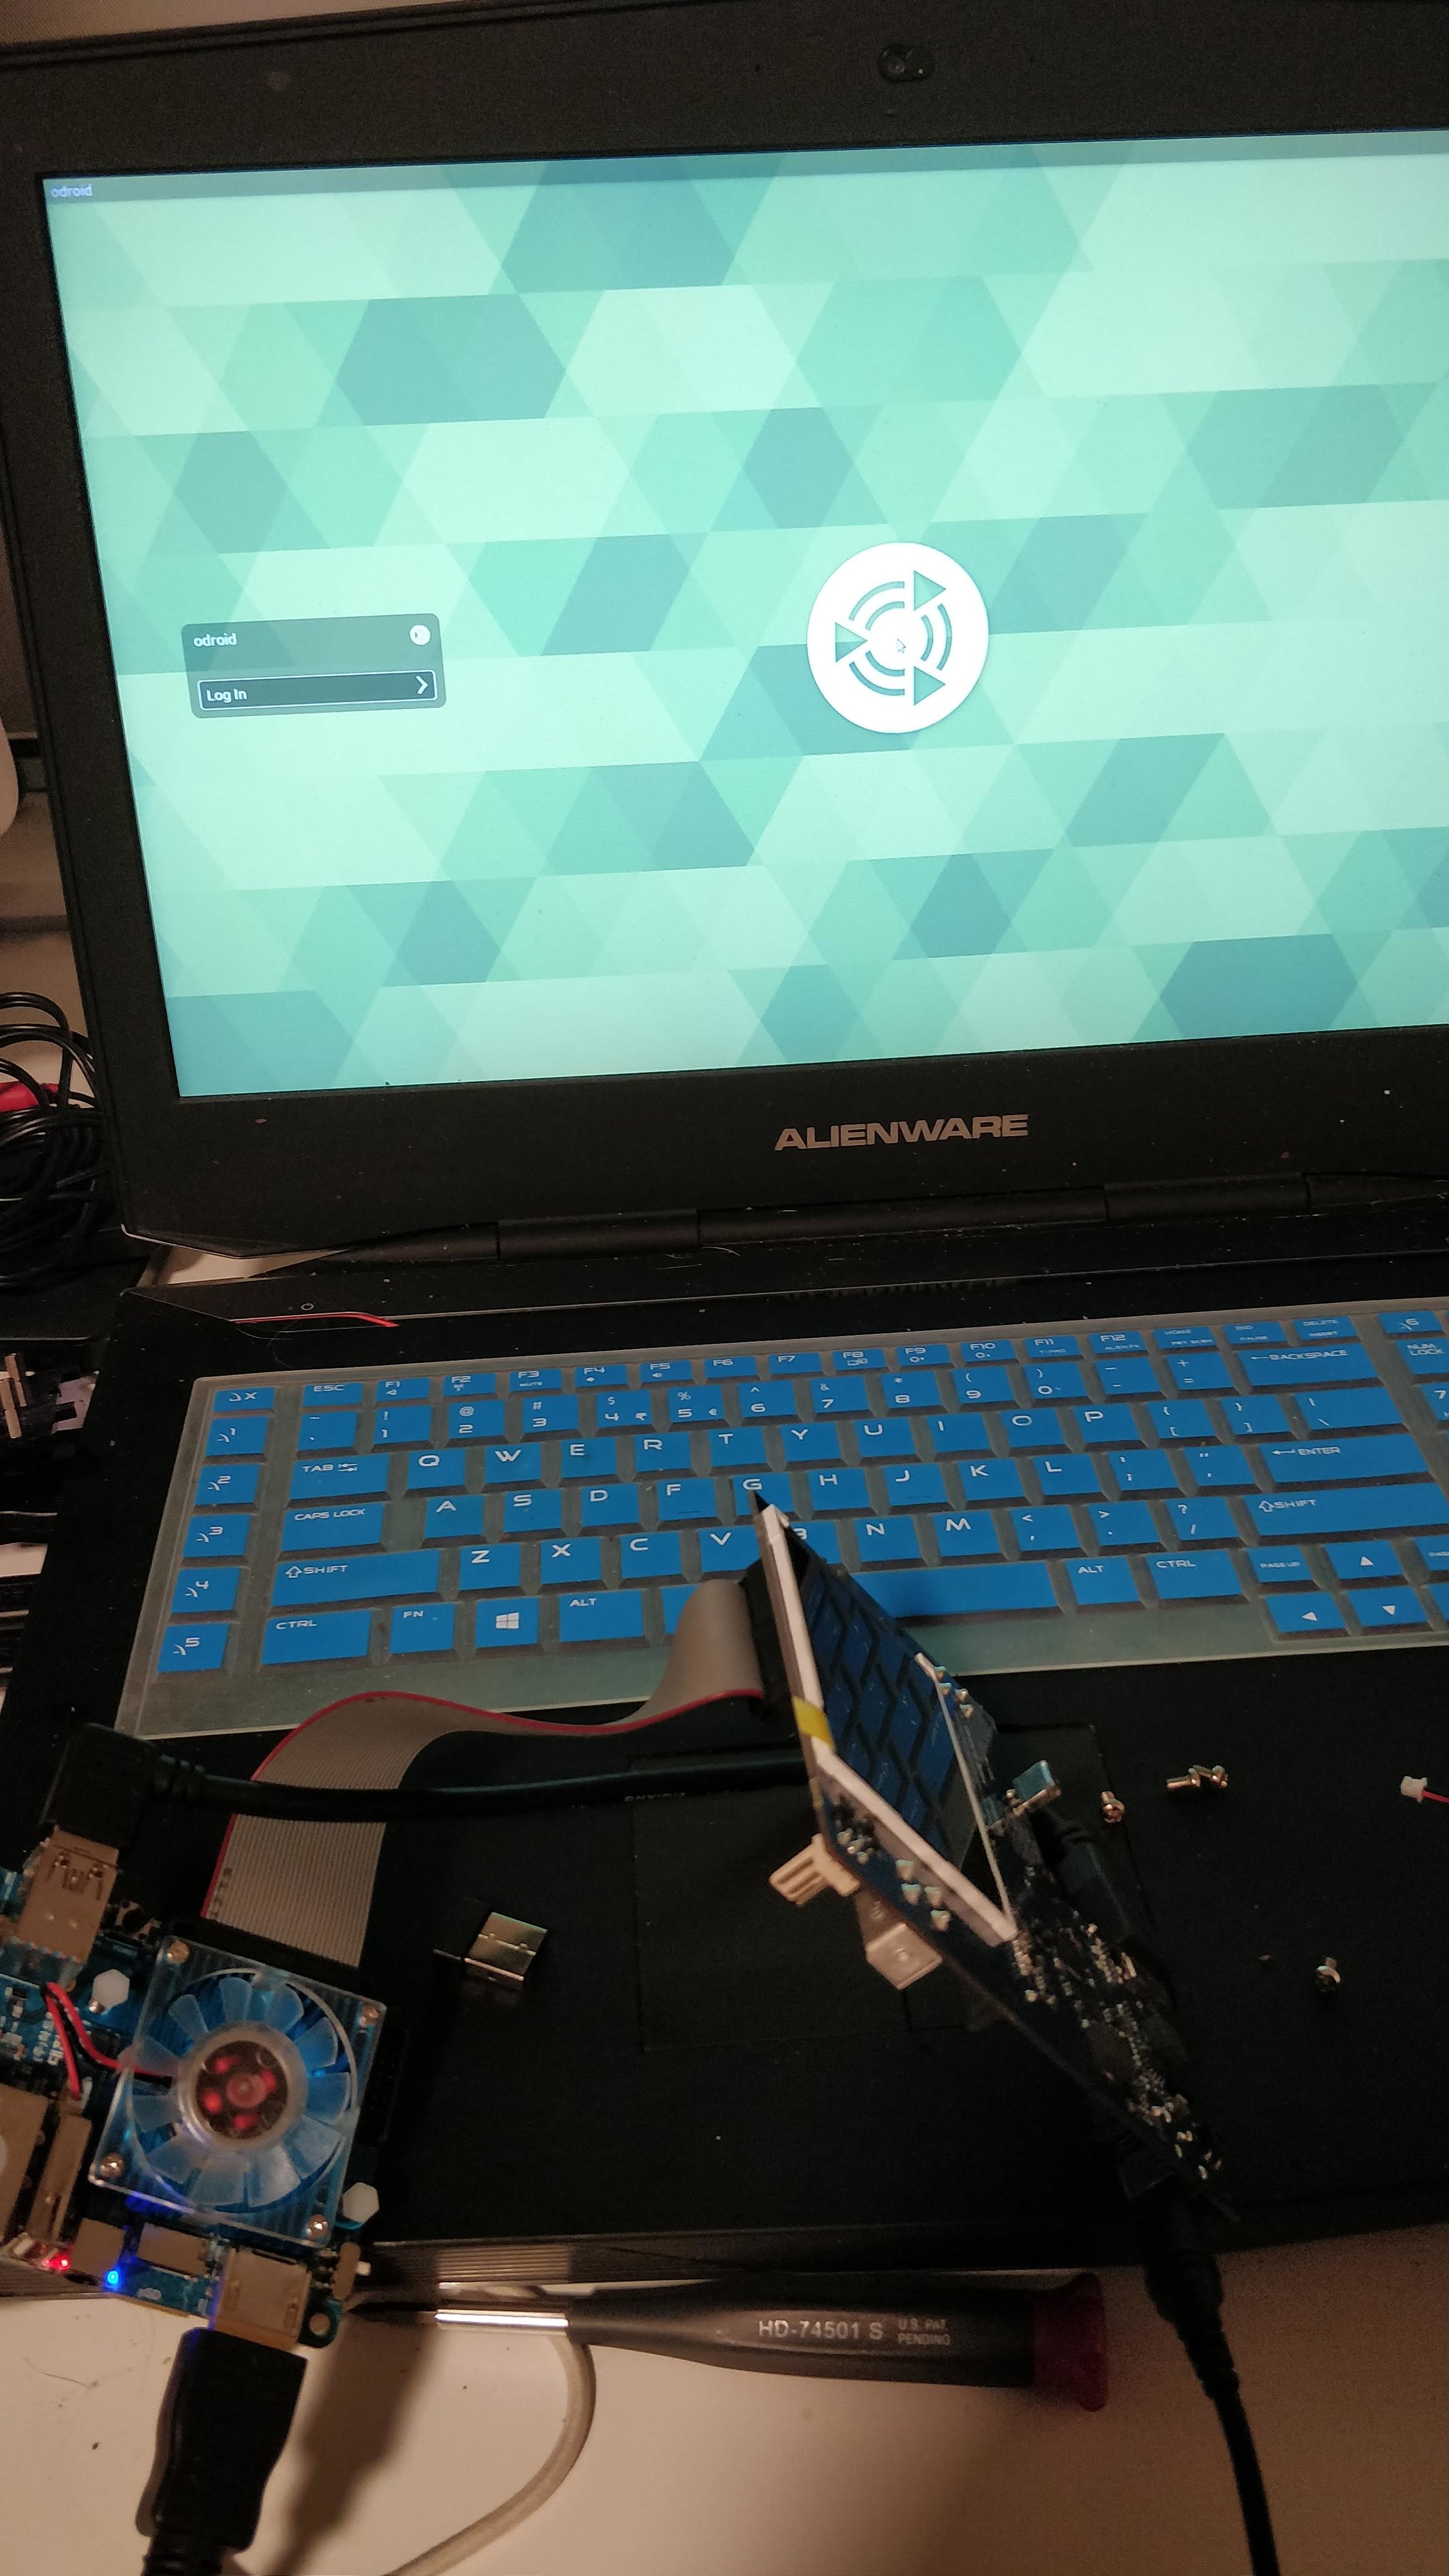
After everything was assembled, I plugged in the power and turned the unit on. After blinking for a bit, the small board displayed a desktop through its HDMI port. The LCD on the front did not operate, and neither did the rear exhaust fan. It turns out that both of those things need some downloads before they operate correctly. The PPAs for the software are located in the ODROID setup instructions and went into place without much fuss. A couple of shell scripts are provided that will put operational information, such as temperature and IP addresses, on the front panel LCD. If you choose to use the onboard hardware RAID controller, another script can be utilized that will show the RAID status on this front panel.
Setting up software is fully dependent on your intentions and uses for the NAS. As stated above, you can use the onboard RAID controller in either a span (RAID 0) or a mirror (RAID 1). A small set of DIP switches on the front panel control this operation, and can be switched into place after removing a small piece of protective film. I chose to lock both of these DIP switches into the off position to run the system in JBOD mode. I wanted to run my own RAID in software. My main reason for doing this is portability. if I need to move the array out of this system and into another, I can easily take these disks and move them to any compatible machine. If I use the hardware RAID, the controller config is stored in memory on the board, so my information is forever locked to this system. After creating this mirror in software RAID, I set up my various access pieces and placed the system on my network.
In summary, the build process went pretty smoothly with a few bumps along the way. One thing to consider is that the system will require complete disassembly if one of the disks were to die. Another thing to consider is the horsepower of the ODROID XU4. At idle, the system uses about half of its available memory and runs with around 25% of its CPU resources active. That’s fine, but when it’s doing something like transcoding videos for Plex or even rebuilding the RAID mirror, utilization can jump to nearly three-quarters or higher. I doubt that the system could handle much more than being a simple file server, so if you were looking for an all-in-one computing swiss army knife, a more powerful piece of hardware might be in order. For my purposes though, this works just fine. I ended up spending about $600 for a mirrored 8TB storage appliance that I can easily maintain and tweak. If I felt more daring, I could span that 8TB and run 16 terabytes of storage at home, but I am probably pushing my luck. I’d recommend the Cloudshell2 if you’re looking for a DIY NAS solution that you can tweak to your needs. Just keep in mind that something like this will need more feeding and care than an off-the-shelf solution, and the person answering your tech support questions will likely be you and a wiki on the ‘net. If those trade offs are something you’re willing to take, then a Cloudshell might be right for you.


