Sega Nomad for the Travel Enthusiast
Sega. Oh, Sega. I was always a fan of the now-fallen mighty star of the 16-bit era. The name just brings me back, and I still fire up those cartridges and CDs to this very day. I’ve got a shelf full of the company’s history, and while they’ll never be the same as they once were, they will always have a special place in my memories.

I remember this issue more than any other copy of Sega Visions. Fahrenheit was a good game, I swear.
Through many nights, my Genesis and Sharp Linytron cast rays of eerie light across the living room. The music of Marble Zone would drone on and on as I tried to get past the lava and the moving platform blocks. I was a Sega fan, and like many Sega fans, I was into the Sega lifestyle. That meant carrying a Game Gear with a ridiculous hip-mounted battery pack and watching grainy TV images on the playground. It also meant Sega Visions magazine.
I got every issue of Sega Visions, which was the official source for the company’s latest products, games, tips, cheats, and rumors. Every time I would find a new one on the drug store shelves, I would pour over the pages, ogling every new piece of hardware. With Sega, there were many new pieces of hardware in the pages that one could look at: Sega CD. Power Base Converter. 32X. Some weird multi-cart switcher from a third-party company. The CDX. The Model II Genesis. But then, there was the Nomad...Sweet chicken teriyaki, the Sega Nomad
The Nomad was a wonderful portable (heh) Sega Genesis that could be played on six AA batteries. Taking cues from the PC Engine and Turbo Grafx-16, you could play the same cartridges that you played on the big Genesis, but on a small 3.25" screen, on the go, anywhere you wanted to. It had the same Motorola 68000 processor as the Genesis, a built-in six-button control layout, D-pad, and even a second controller port on the bottom. If you somehow had a television available, there was a TV-out port on the top right. Headphones? No problem — there was a headphone port on the bottom left of the machine. It even supported most of the Genesis peripherals (with the exception of the Sega CD, 32x, and Power Base Converter). That's right — want to set up a Sega Activator and kick-punch while juggling the Nomad? Go for it.
This thing was state-of-the-art, and I'm sure that every Genesis-loving kid in that time period coveted the thing. The price tag was quite a bit, though ($179 at launch), so I never had the ability to get one for myself. By the time the price dropped, I had forgot about the thing and moved on to other starry-eyed dreaming with the upcoming Playstation and Saturn. The Nomad faded as quickly as it appeared, and by the late 90's, no one mentioned the thing anymore because Sega was all about the Dreamcast and it's last hurrah in the console market.
Years later, I came back to revisit a lot of those older consoles, and I remembered the Nomad. Thinking about how wonderful it would be to have one, I decided to grab one off of eBay. Of course they had capacitor issues. Of course they had bad battery life. I didn't care about those things though, because for me, it was about the history and about the aesthetic of the blocky black brick of plastic. Living in a fairly rural area, I had not see one in person, so sometime around the mid 2000's, I began looking on the internet and quickly purchased a used one from eBay. It arrived a few weeks later, and it was everything I expected. Glorious 16-bit games were portable for the first ti — no, they'd been portable for a very long time. But this was Sega.
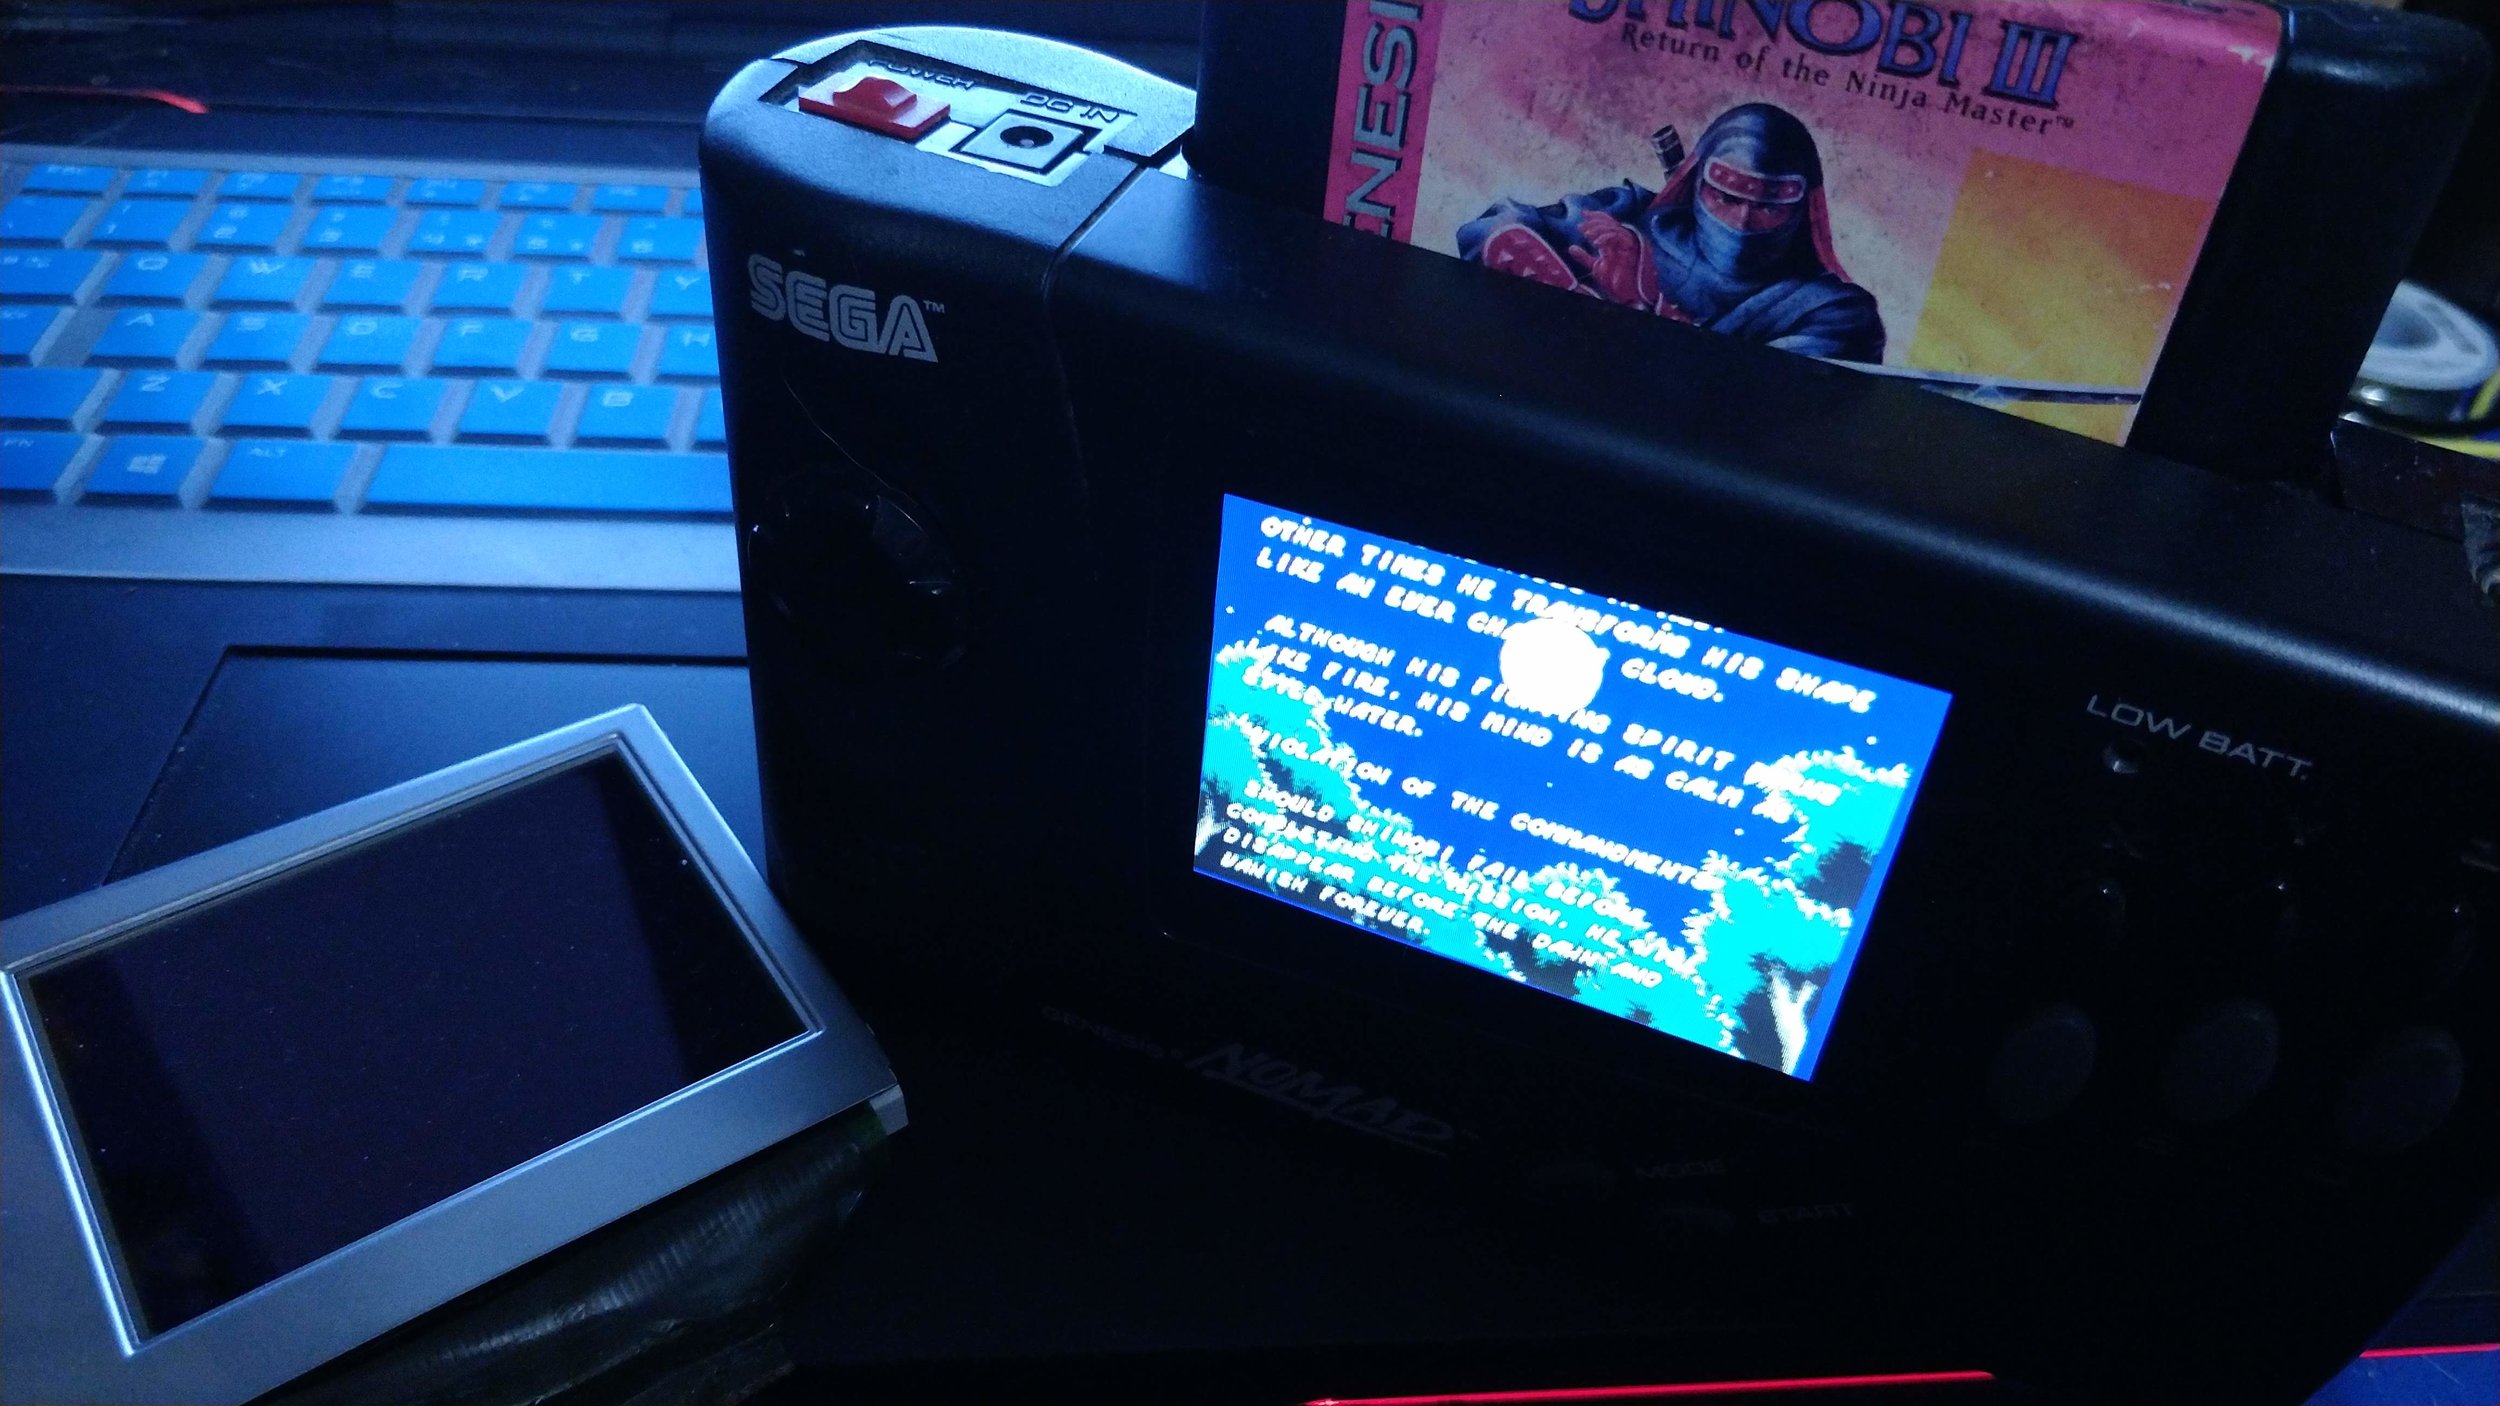
Wow, though, that screen was something that I was not prepared for.
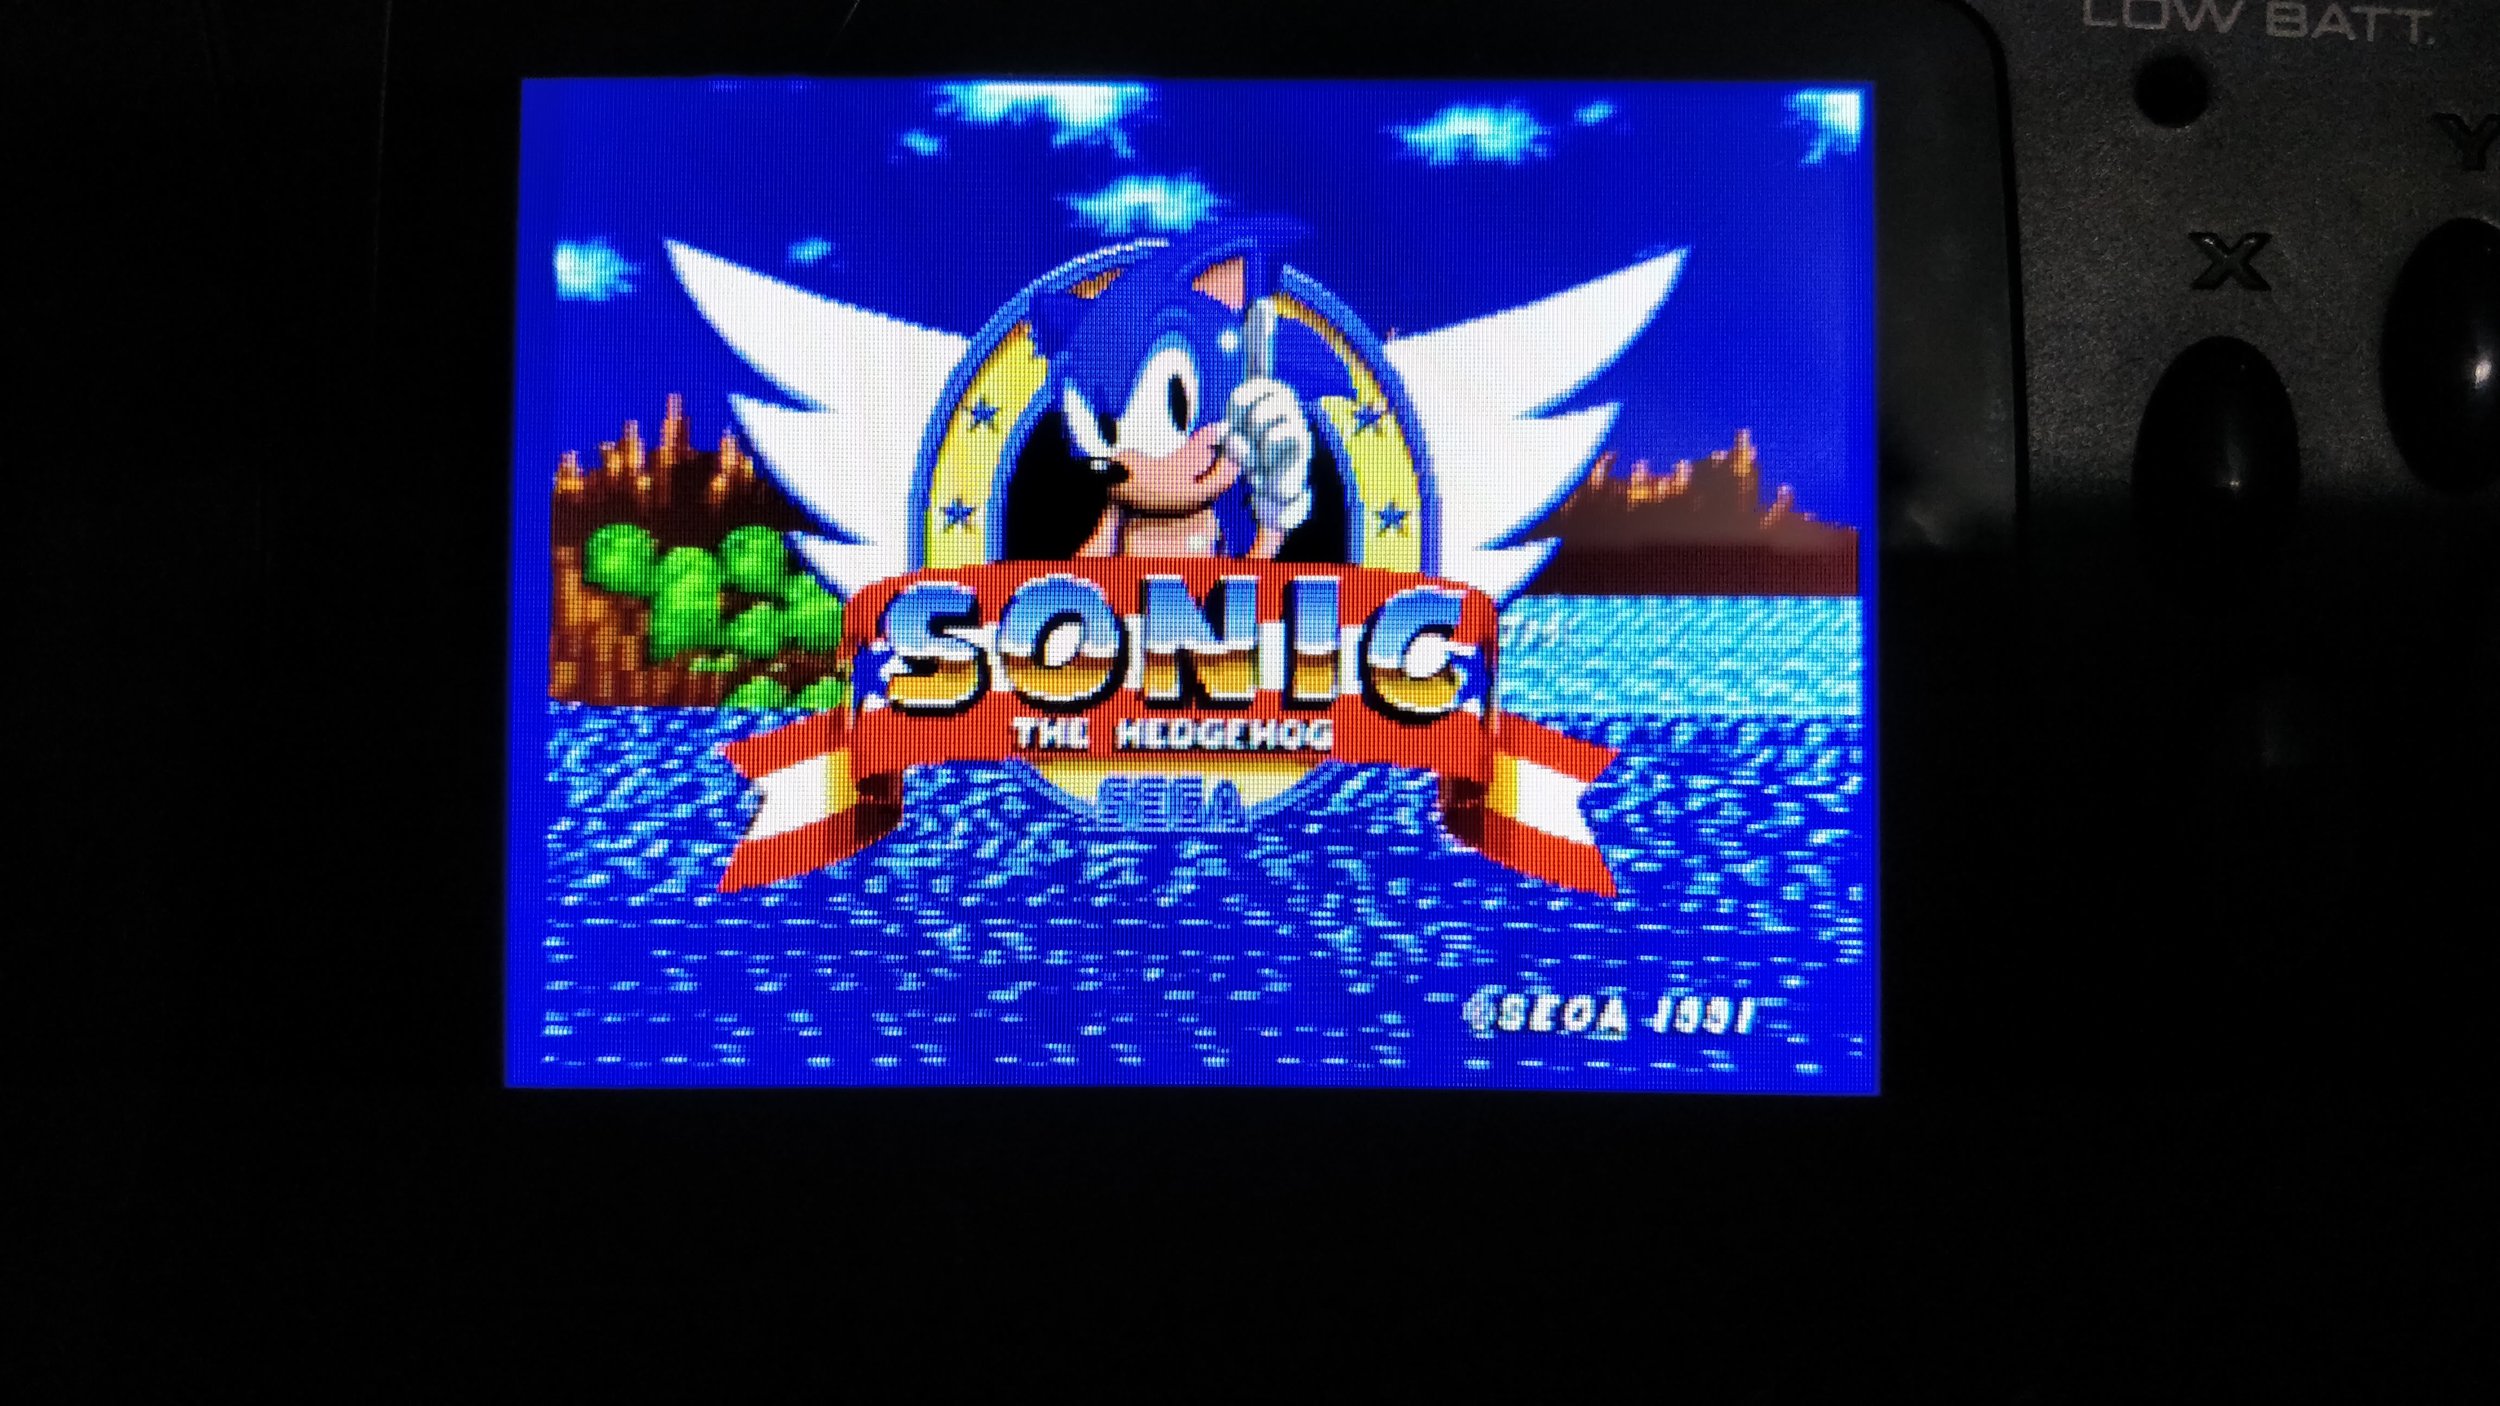
Sega had a habit of pushing the technology envelope far past the point of feasibility. What I mean by this is that they were constantly on the bleeding edge of what was possible. The Nomad was no exception to this, and with that kind of drive toward the ultimate in tech, there were compromises that had to be made. The LCD was made with the technology at hand in the mid-90's. This meant a washed-out, blurry, batter-vampire display was your best option. While it was fun to play Sonic, following such a fast-moving game on the display felt impossible at times.
What worked then works now, but there are many better options. LCD technology has improved, and with the Nomad having TV output already, it is incredibly easy to add an LCD screen of your own to replace the older panel. Doing this is as simple as soldering three wires into place and gluing the panel into the compartment.

This is the one I picked to replace the old LCD. You can find them all over the net.
The first piece to consider is where to get the replacement LCD. Many options exist, and while you can do your own research in this, I chose to go with this $20 one: https://www.dx.com/p/2-ch-video-input-3-5-tft-lcd-display-monitor-module-w-cable-black-silvery-grey-ntsc-pal-201631#.W_EwYidRfOR
This is the old screen. It is connected to the Nomad via an inverter power wire that unplugs easily, and a green ribbon cable. Slice the green ribbon cable by running a razor along the edge of the board, and unplug the power connector.
Once it arrived, I tore the Nomad apart, using a phillips screwdriver and a security bit. The console splits down the middle, with a ribbon cable connecting the cartridge slot and CPU board with the control and LCD board. Inside, several screws hold down the LCD and the control board to the front housing. Removing these allows the board to flop out of the case. Using an Xacto knife, I sliced the green ribbon cable from the control and LCD board, disconnected the inverter power, and threw the old screen into the parts recycling bin
Picking up the new screen's A/V input lines, I cut off the composite connector, ground, and VCC power connector. I then stripped the wires and soldered them directly to the board for power and signal input. Some guides on the internet pointed me to +5v and ground, which is where I soldered those wires. I then took the LCD's board and soldered a small jumper to the step-down converter in the lower left-hand corner. The wire goes from one side of a small resistor to the output pin of the IC. this bypasses it, feeding power onto what would be the lower-voltage side of the converter and into the LCD. The green dots on this image show you where the resistor and the IC are located. Sorry about the Kapton tape on the one image of the LCD control board — I didn’t snag a pic until I coated it.


Once in place, the only thing left to do was cover everything in a heavy dose of Kapton tape to protect it from electrical short-circuits. Then, I removed the old rubber gasket that sandwiched itself between the LCD and front-plastic face. Finally, the hot glue gun came out, and I used it to put four small blobs of hot glue in the corners of the new LCD, holding the panel directly on the front face. The control board fit snuggly onto the back of the LCD and was secured in the same way. Kaptop tape is sandwiched in several layers between the two to keep them from shorting. I then tucked all of the wires into the case and screwed everything back together.
One lesson that I learned from this is that it is quite difficult to eyeball the screen and make sure that it is level. because this is a slightly larger LCD than the original, there will be some cut-off, and so it is even more important to make sure that the screen is perfectly aligned. I ended up gluing the display into a roughly correct place, then I used a heat gun to heat up the hot glue, nudging it around until it was perfect. Some people put the Nomad face-down and adjust the screen until it's good, then glue it. Your mileage may vary.
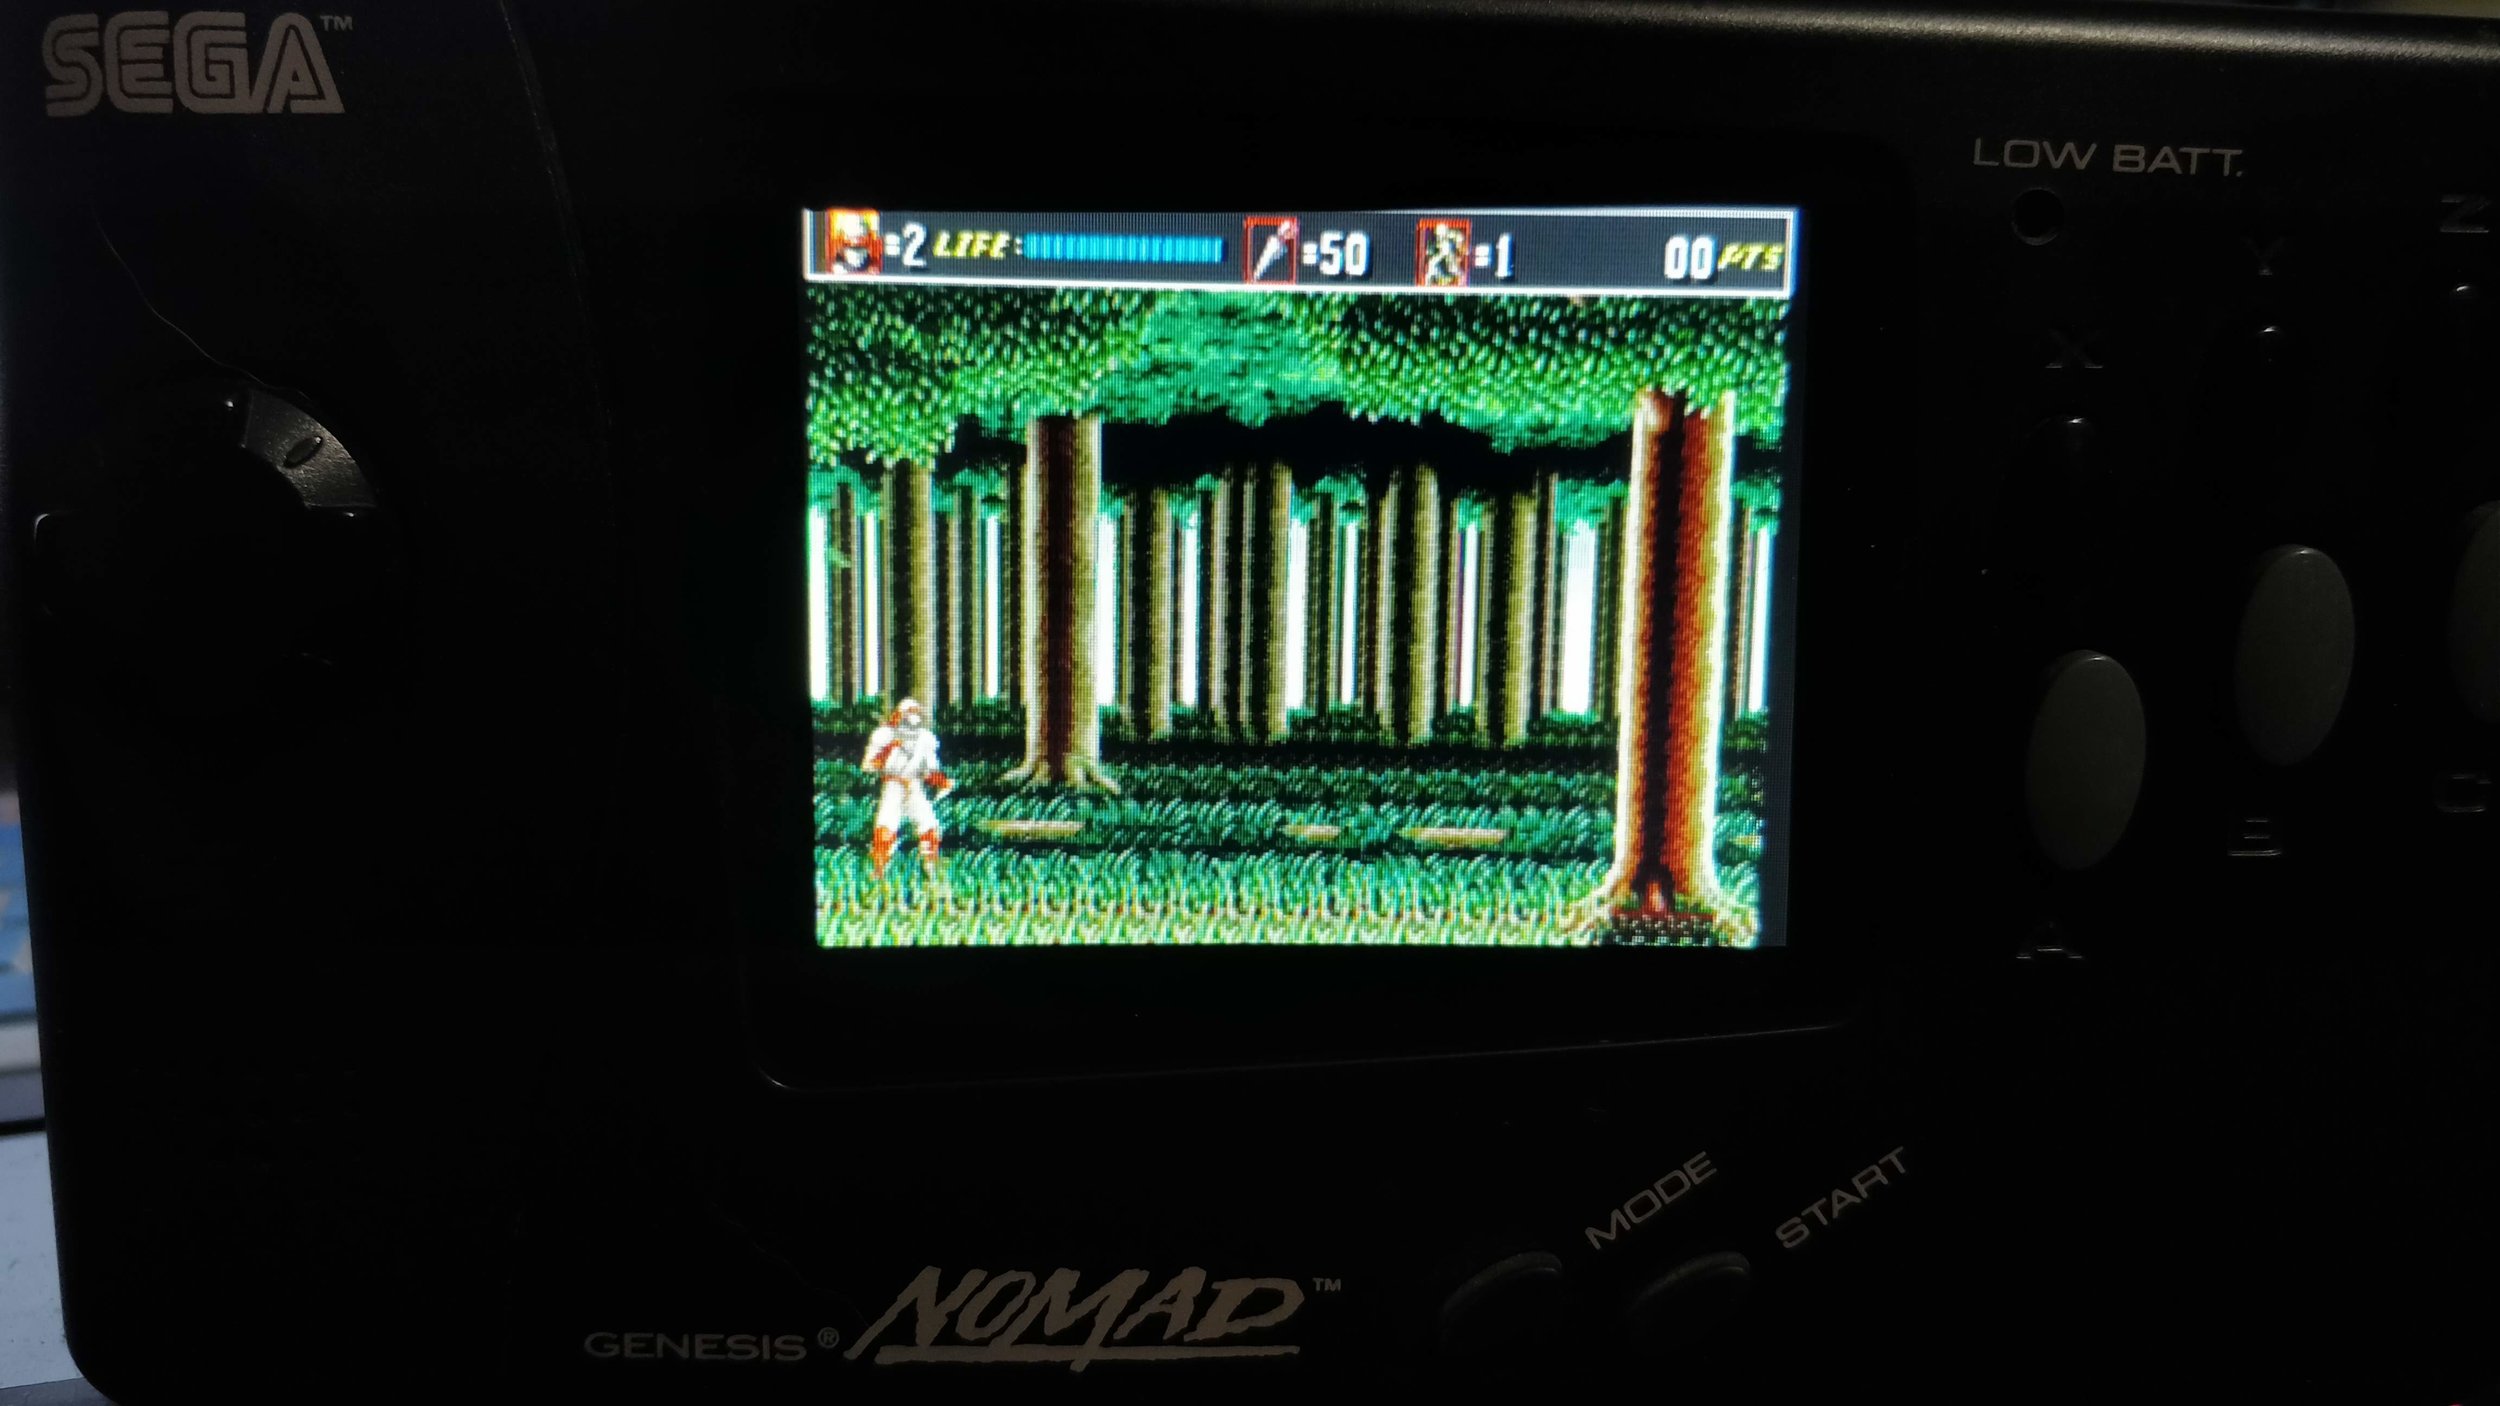
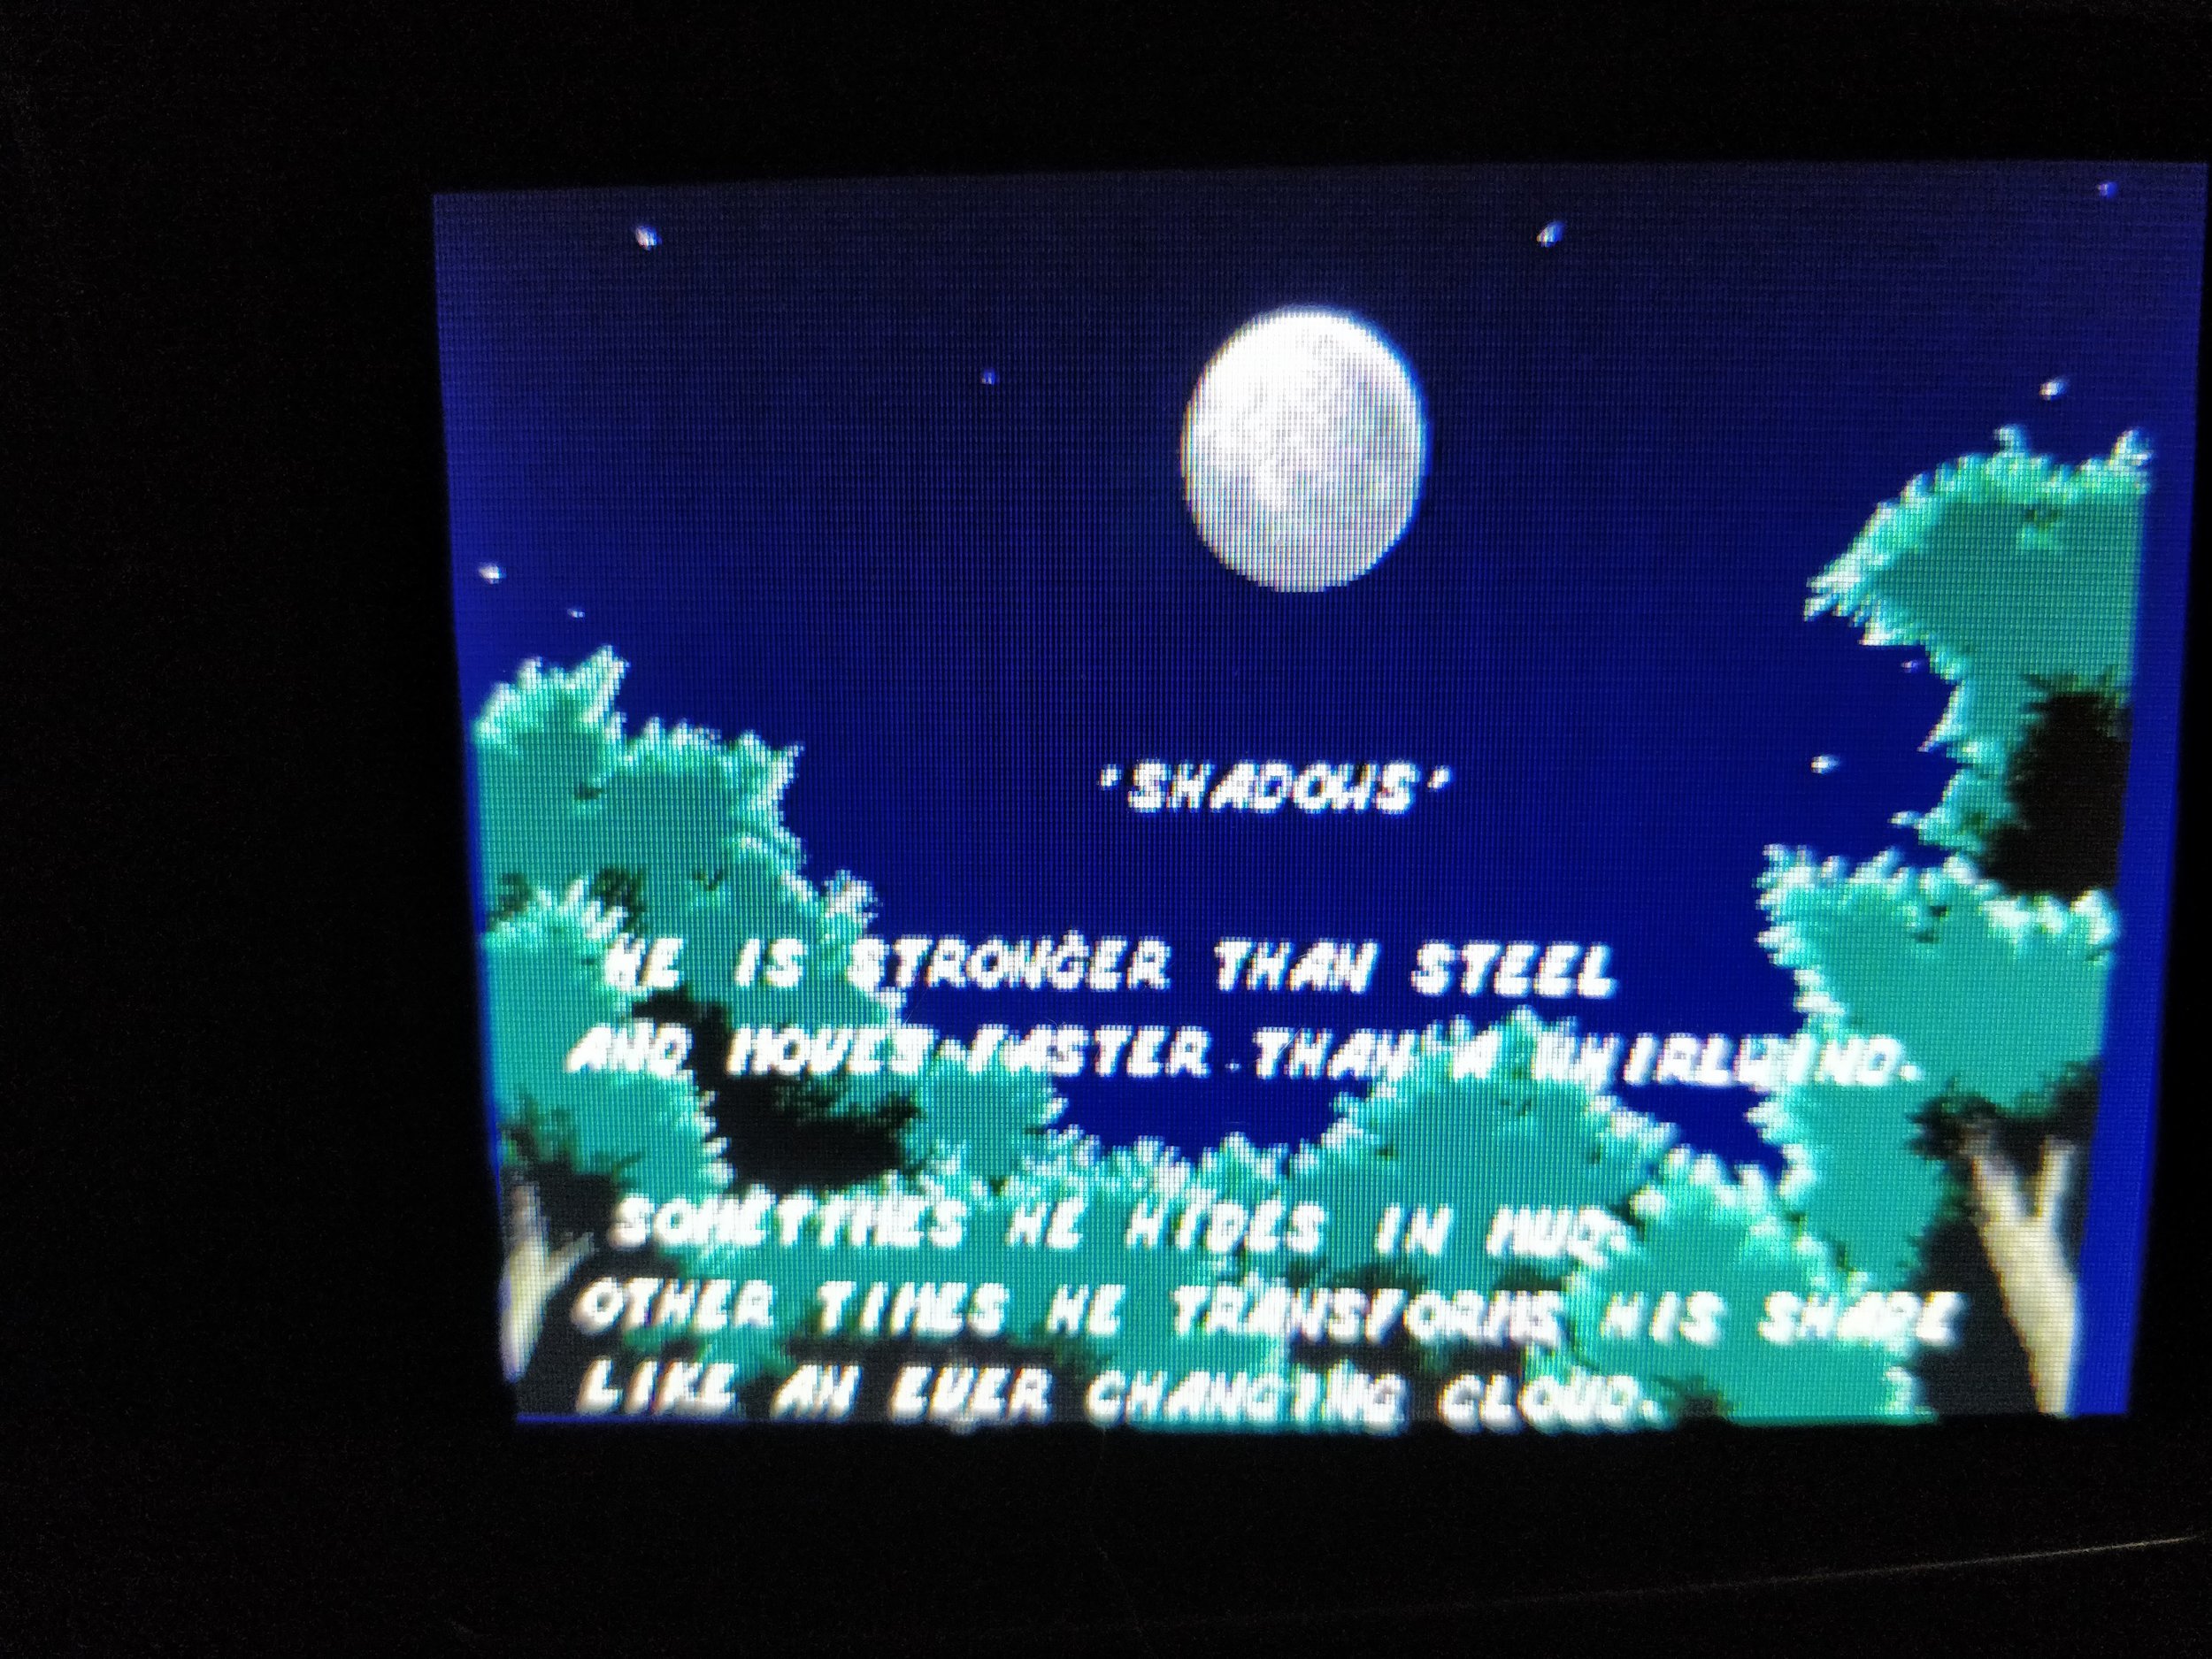
But WOW. What an improvement! In these two pictures, you can see the difference between the old display and this new one. It's such an upgrade, the Nomad looks like it isn't even the same machine.
Thoughts
This is pretty much an essential upgrade. It's stupid-easy to do and requires very little time. The process is much simpler than the upgrade to the Game Gear and even easier than the Lynx LCD upgrade.
If you're going to do this, consider placing the unit face-down on a coffee table with a glass top. I saw this as a suggestion on a couple of websites, and it seems like a good way to be able to "nudge" the screen around while making final adjustments to the placement.
If this screen doesn't work for you, try another. This guy on 8bitsplus has a lot of great tips. In retrospect, I got the same kind of screen that he did, except instead of getting it from DX, I got it from eBay. I gave the DX link. The easiest way to tell which one this is, is that it has the name "Best Board" stenciled onto the controller.
The Nomad is substantially lighter after this, and has better battery life.