The Real PlayStation Classic

When I first heard about the PlayStation Classic, I was excited for the opportunity to replay some of my favorite games on a modern screen. Before the console was released, I was anticipating afternoons running with Crash Bandicoot, hiding in the fog of Silent Hill with James, or saving existence from Lavos with Crono and Lucca. There were so many enjoyable experiences and so many things that I loved about the original PlayStation that I thought of the small classic system as a definite day-one purchase.
Then I got the small replica packaging from my local Best Buy. Beyond the cardboard, the troubles began.
Slow emulation, improperly-formatted games, graphical glitches, missing frames, and a lackluster software selection, are the least of the problems with Sony's attempt at a retro relaunch of an earlier hardware generation. While hackers have found ways of alleviating most of these issues, I wanted to try to come up with a better way to enjoy my PlayStation games. That's when I remembered that this PlayStation Classic wasn't the first miniature remix of the mighty gray beast. In the same year that the PS2 was released, Sony introduced a lighter redesign of their less expensive platform. I had one in a crate somewhere, and while it didn't have HDMI or built-in software, I could use it with a few accessories to play my favorite games. Instead of hacking the PlayStation Classic, I worked on fixing up what I already had.

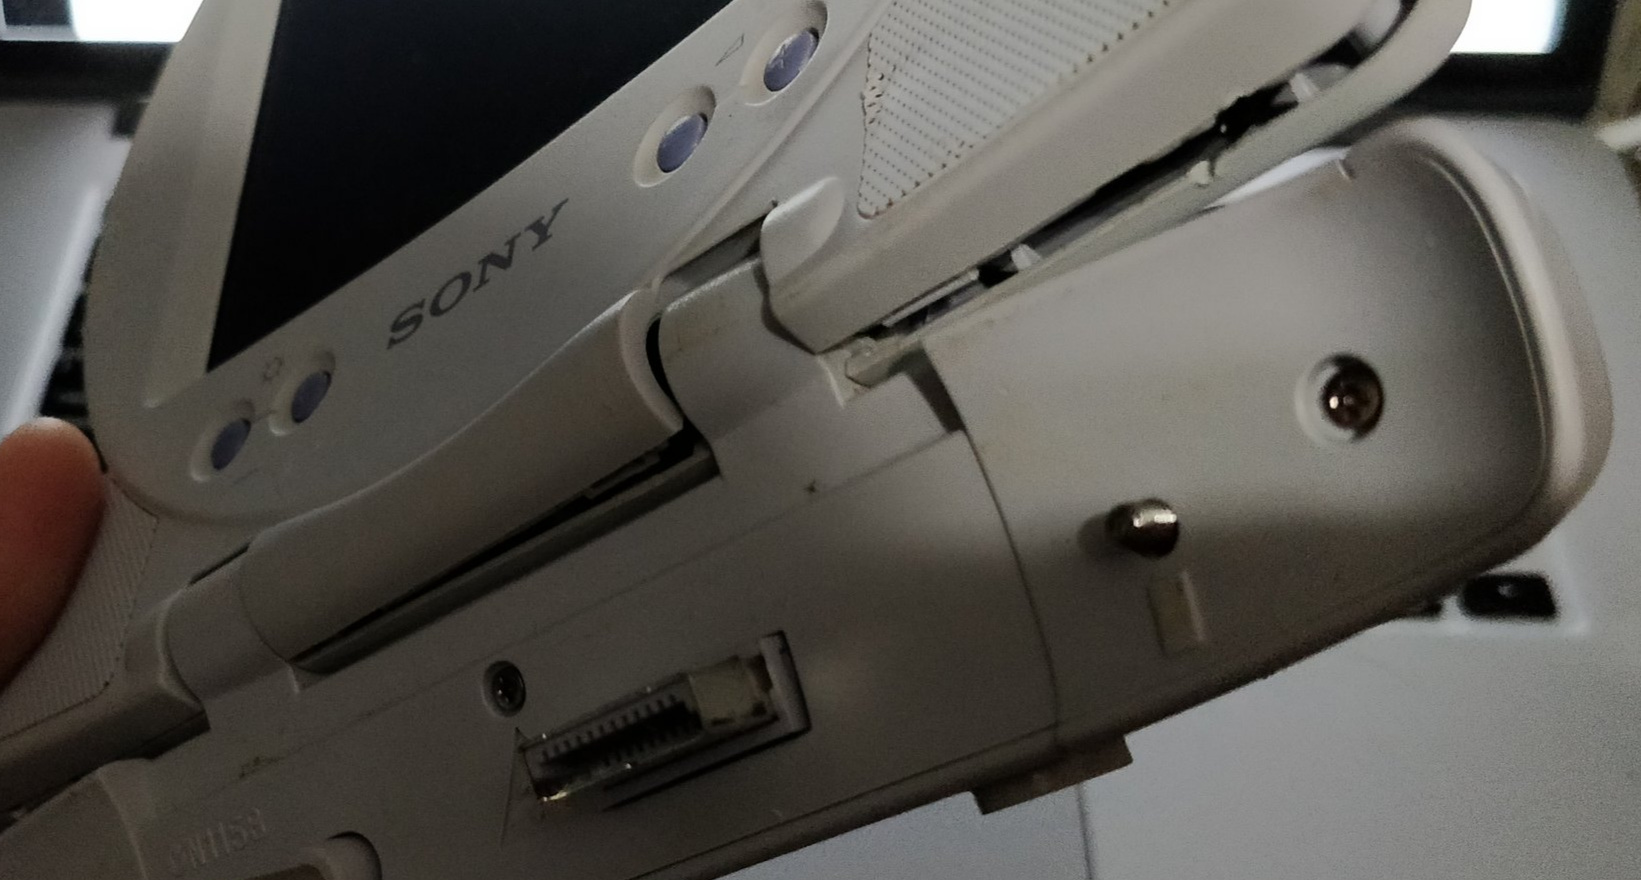
After finding the small, slightly scratched PS One in the storage unit, I decided to play a game of Ridge Racer, and while it worked just fine, I hated having to hook the console up to a set of composite jacks on a television that I lugged around the house. I scoured eBay for a small attachable screen that I remembered being sold beside the re-released base unit in stores. Sure enough, there were plenty on eBay, although most were pretty expensive. While many third-party LCDs were available, Sony's first-party screen was notably crisper and offered something styled similarly to its companion console. I opted to go for a first party screen (refurbished), and when it arrived, everything worked great for about a week. That's when the pixels started randomly dying.
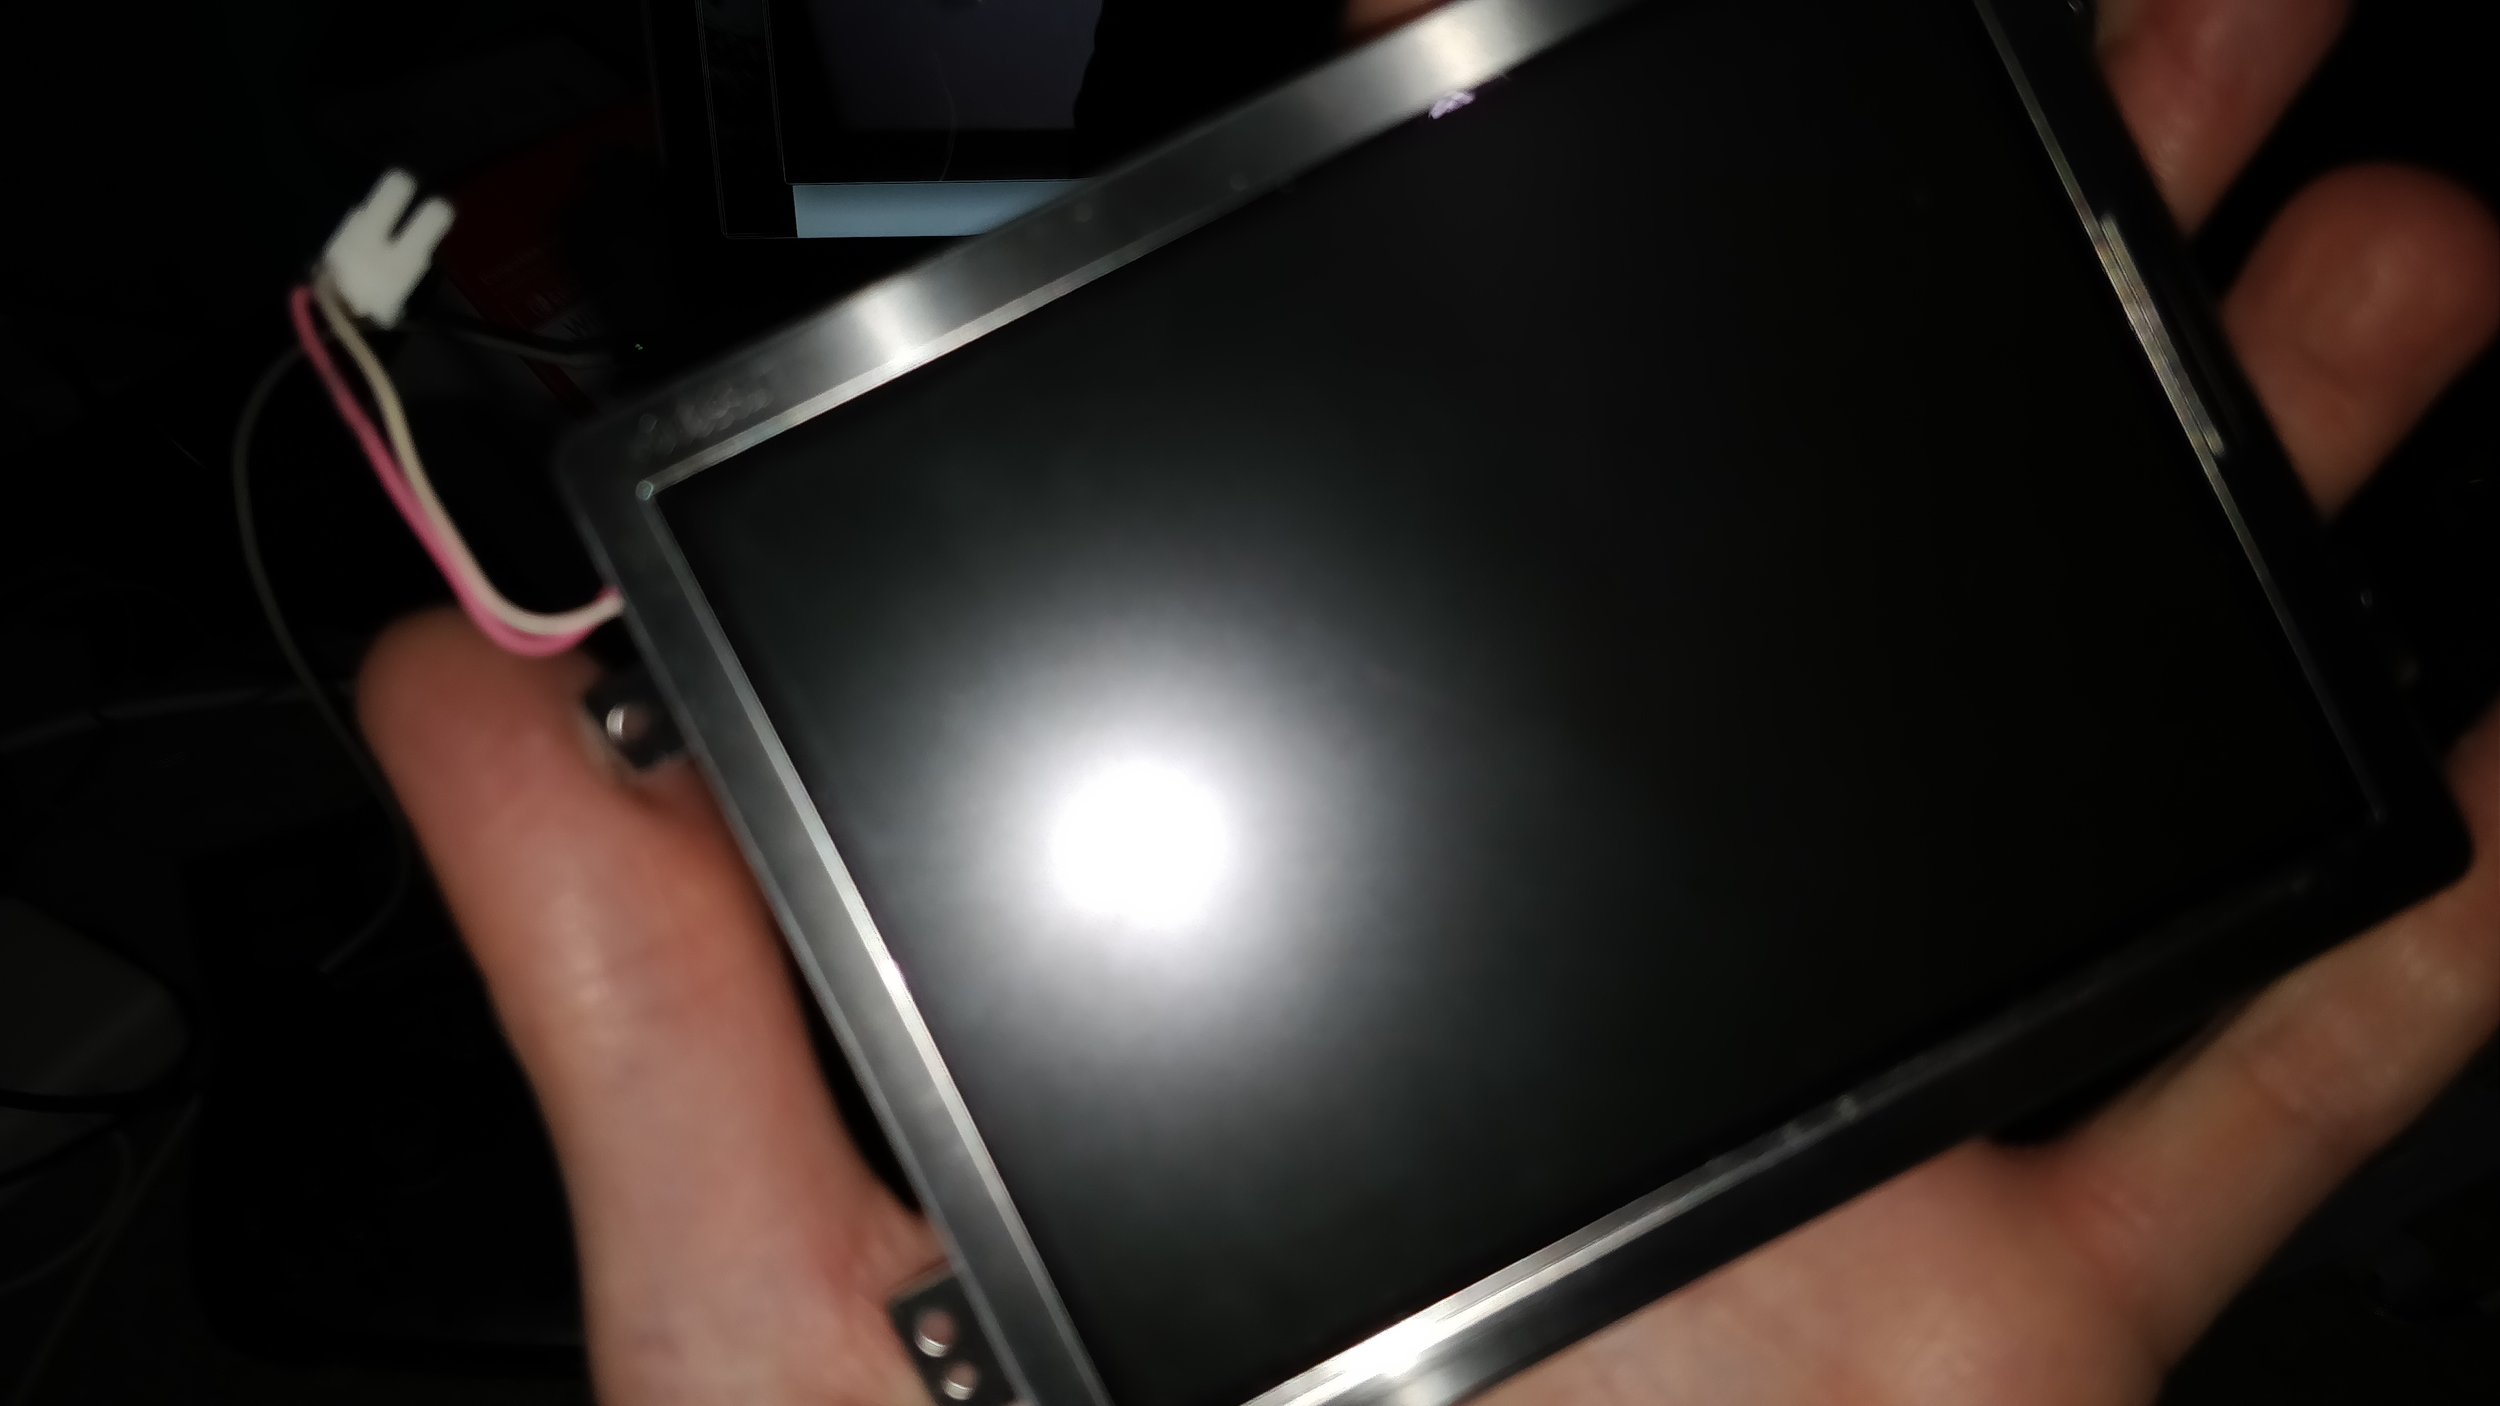
At first it began with a small mark on the edge of the screen that turned bright blue. As my game play session of Resident Evil went into its third hour, the single pixel turned into two, then three, then four. Eventually I had a line about an inch long, working its way down the left-hand side of the screen. While this wasn't anything that would impede my game play, I found it extremely annoying. Not only did I buy the screen in supposedly refurbished, "like new" condition, but it was pretty pricey at around $80. I tried to ignore the line, but it irked me too much. I knew that I had to do something about it, and I wasn’t going to enjoy the PS One until this line was gone. Not only that, but there was no guarantee that the line was going to stop here. It could easily keep expanding, and likely would, until it reached the opposite side of the LCD.


I hopped on to eBay again and began looking for broken PS One screens, finding a similar model for just $30. The ad said that the screen worked fine but that the hinges were broken. The pictures made it clear that the thing had been torn apart before, and deep gouges were pressed into the edges of the case, as if someone tried to pry it apart with a screwdriver or sharp edge. I bought this one and had it shipped to my workshop. It arrived about a week later.
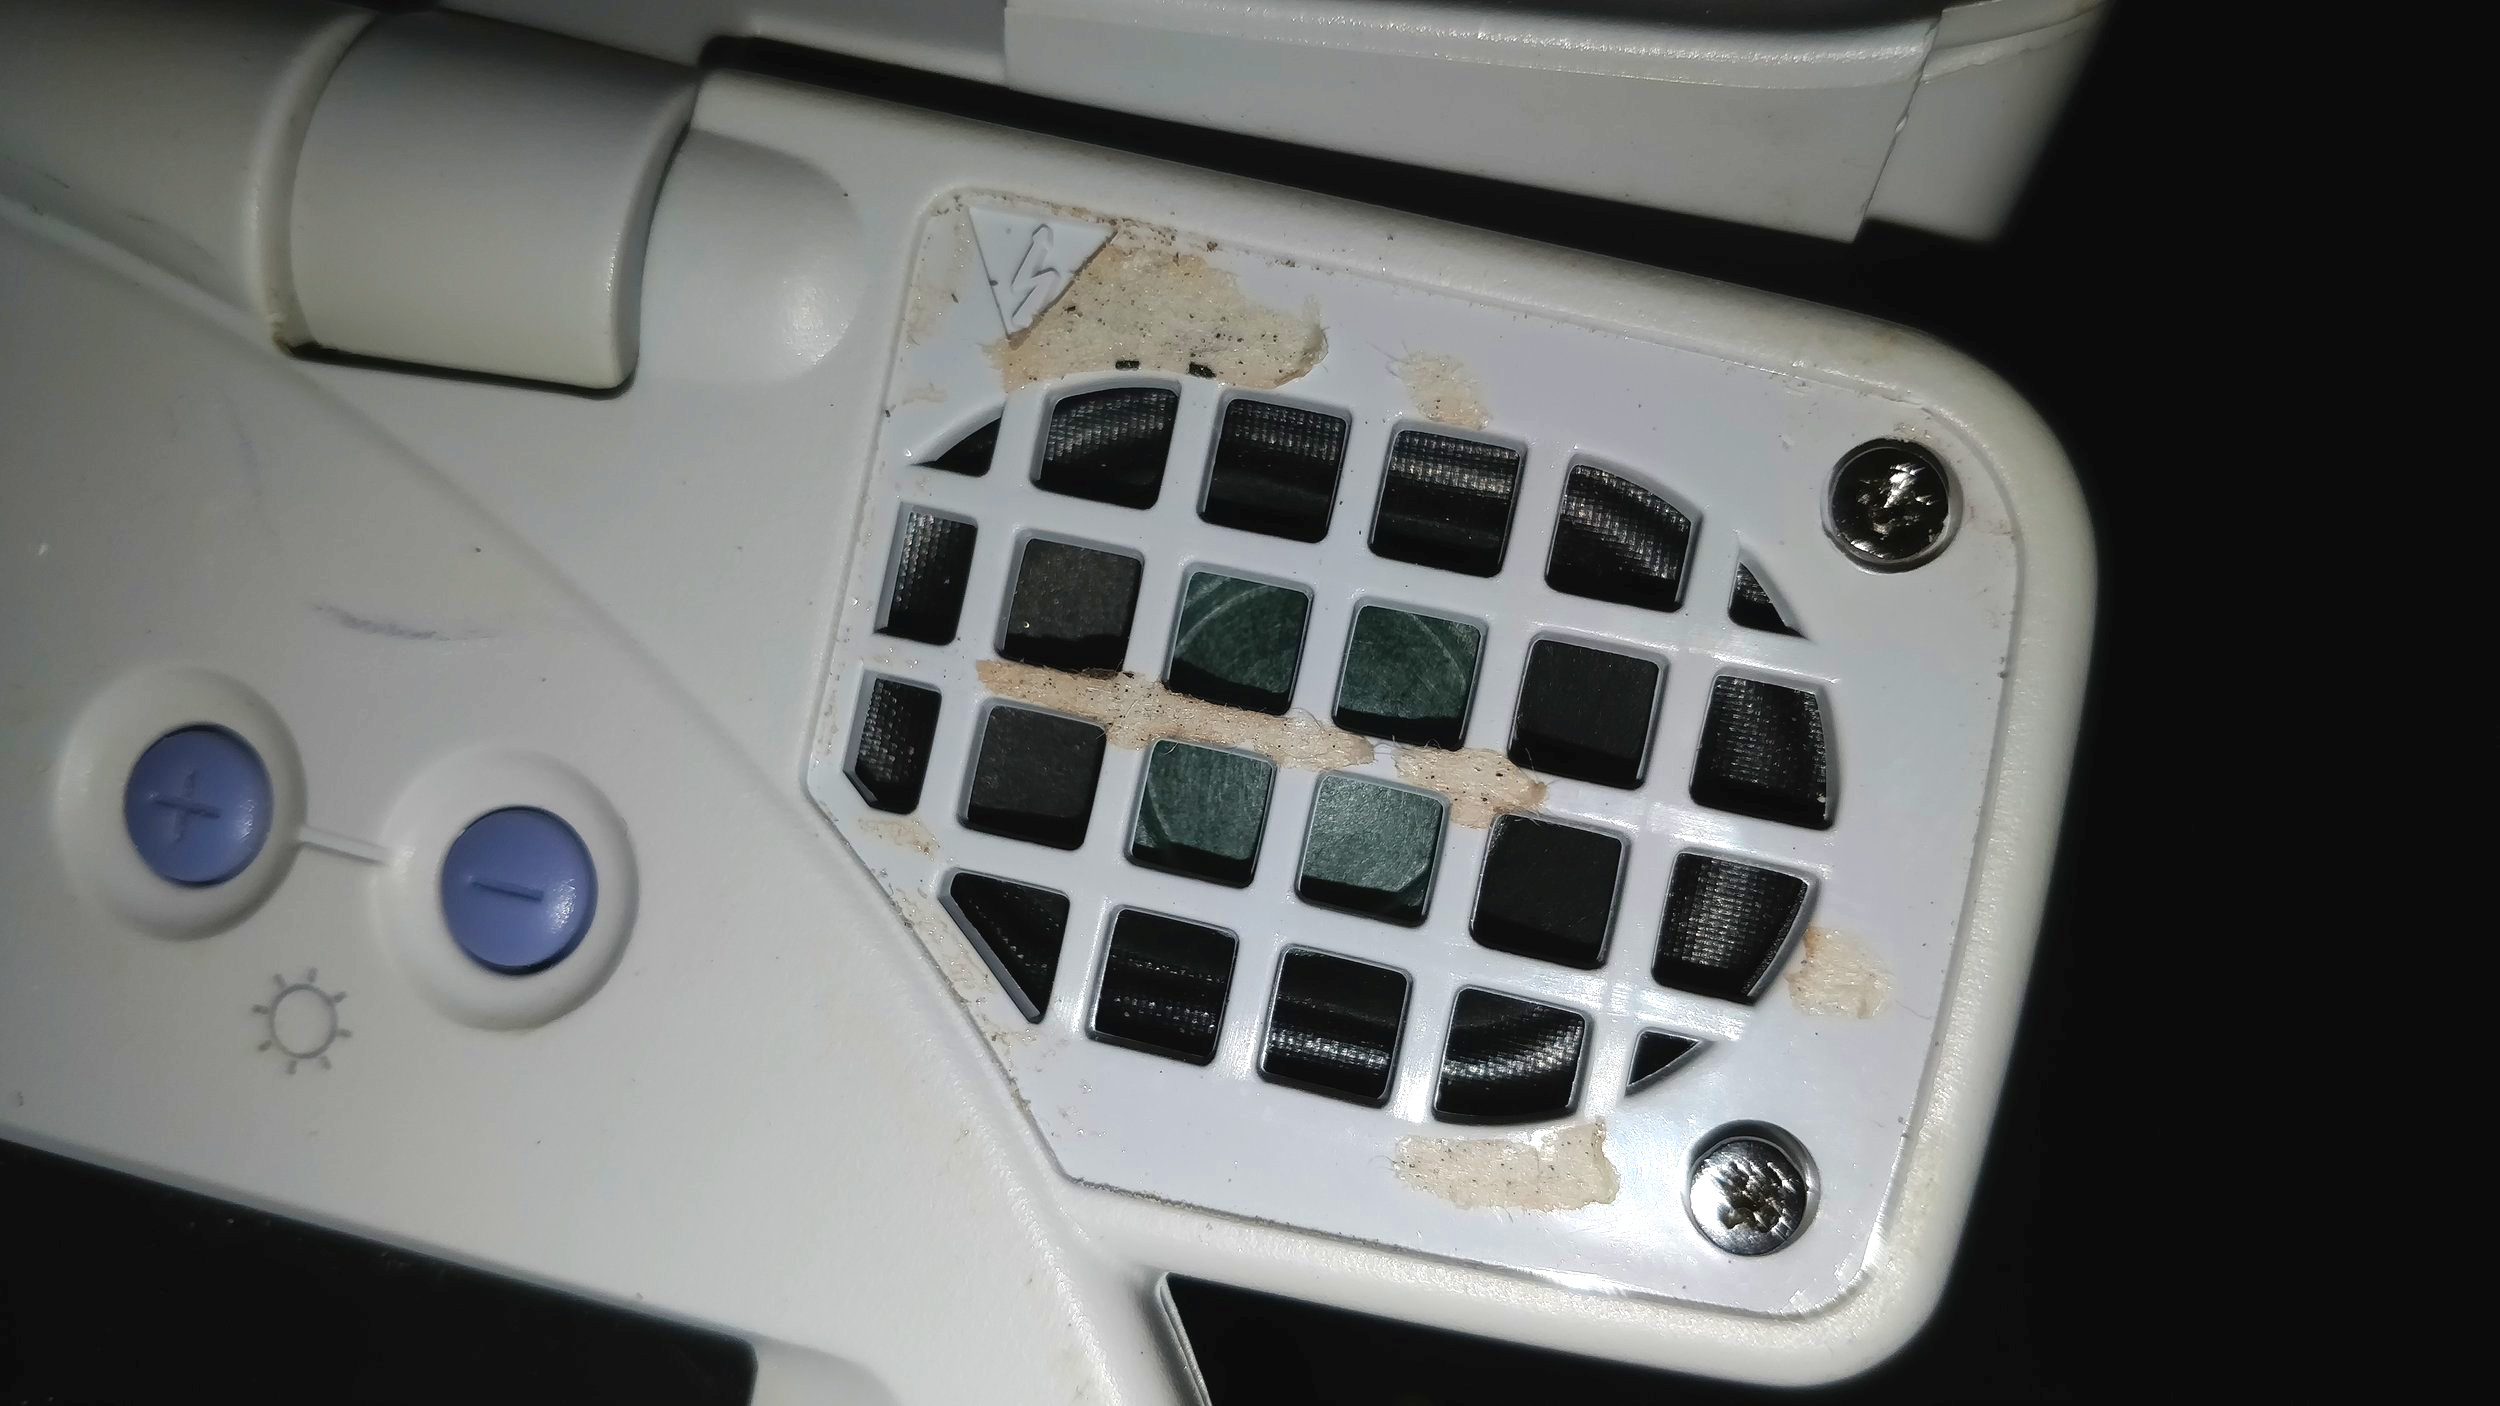
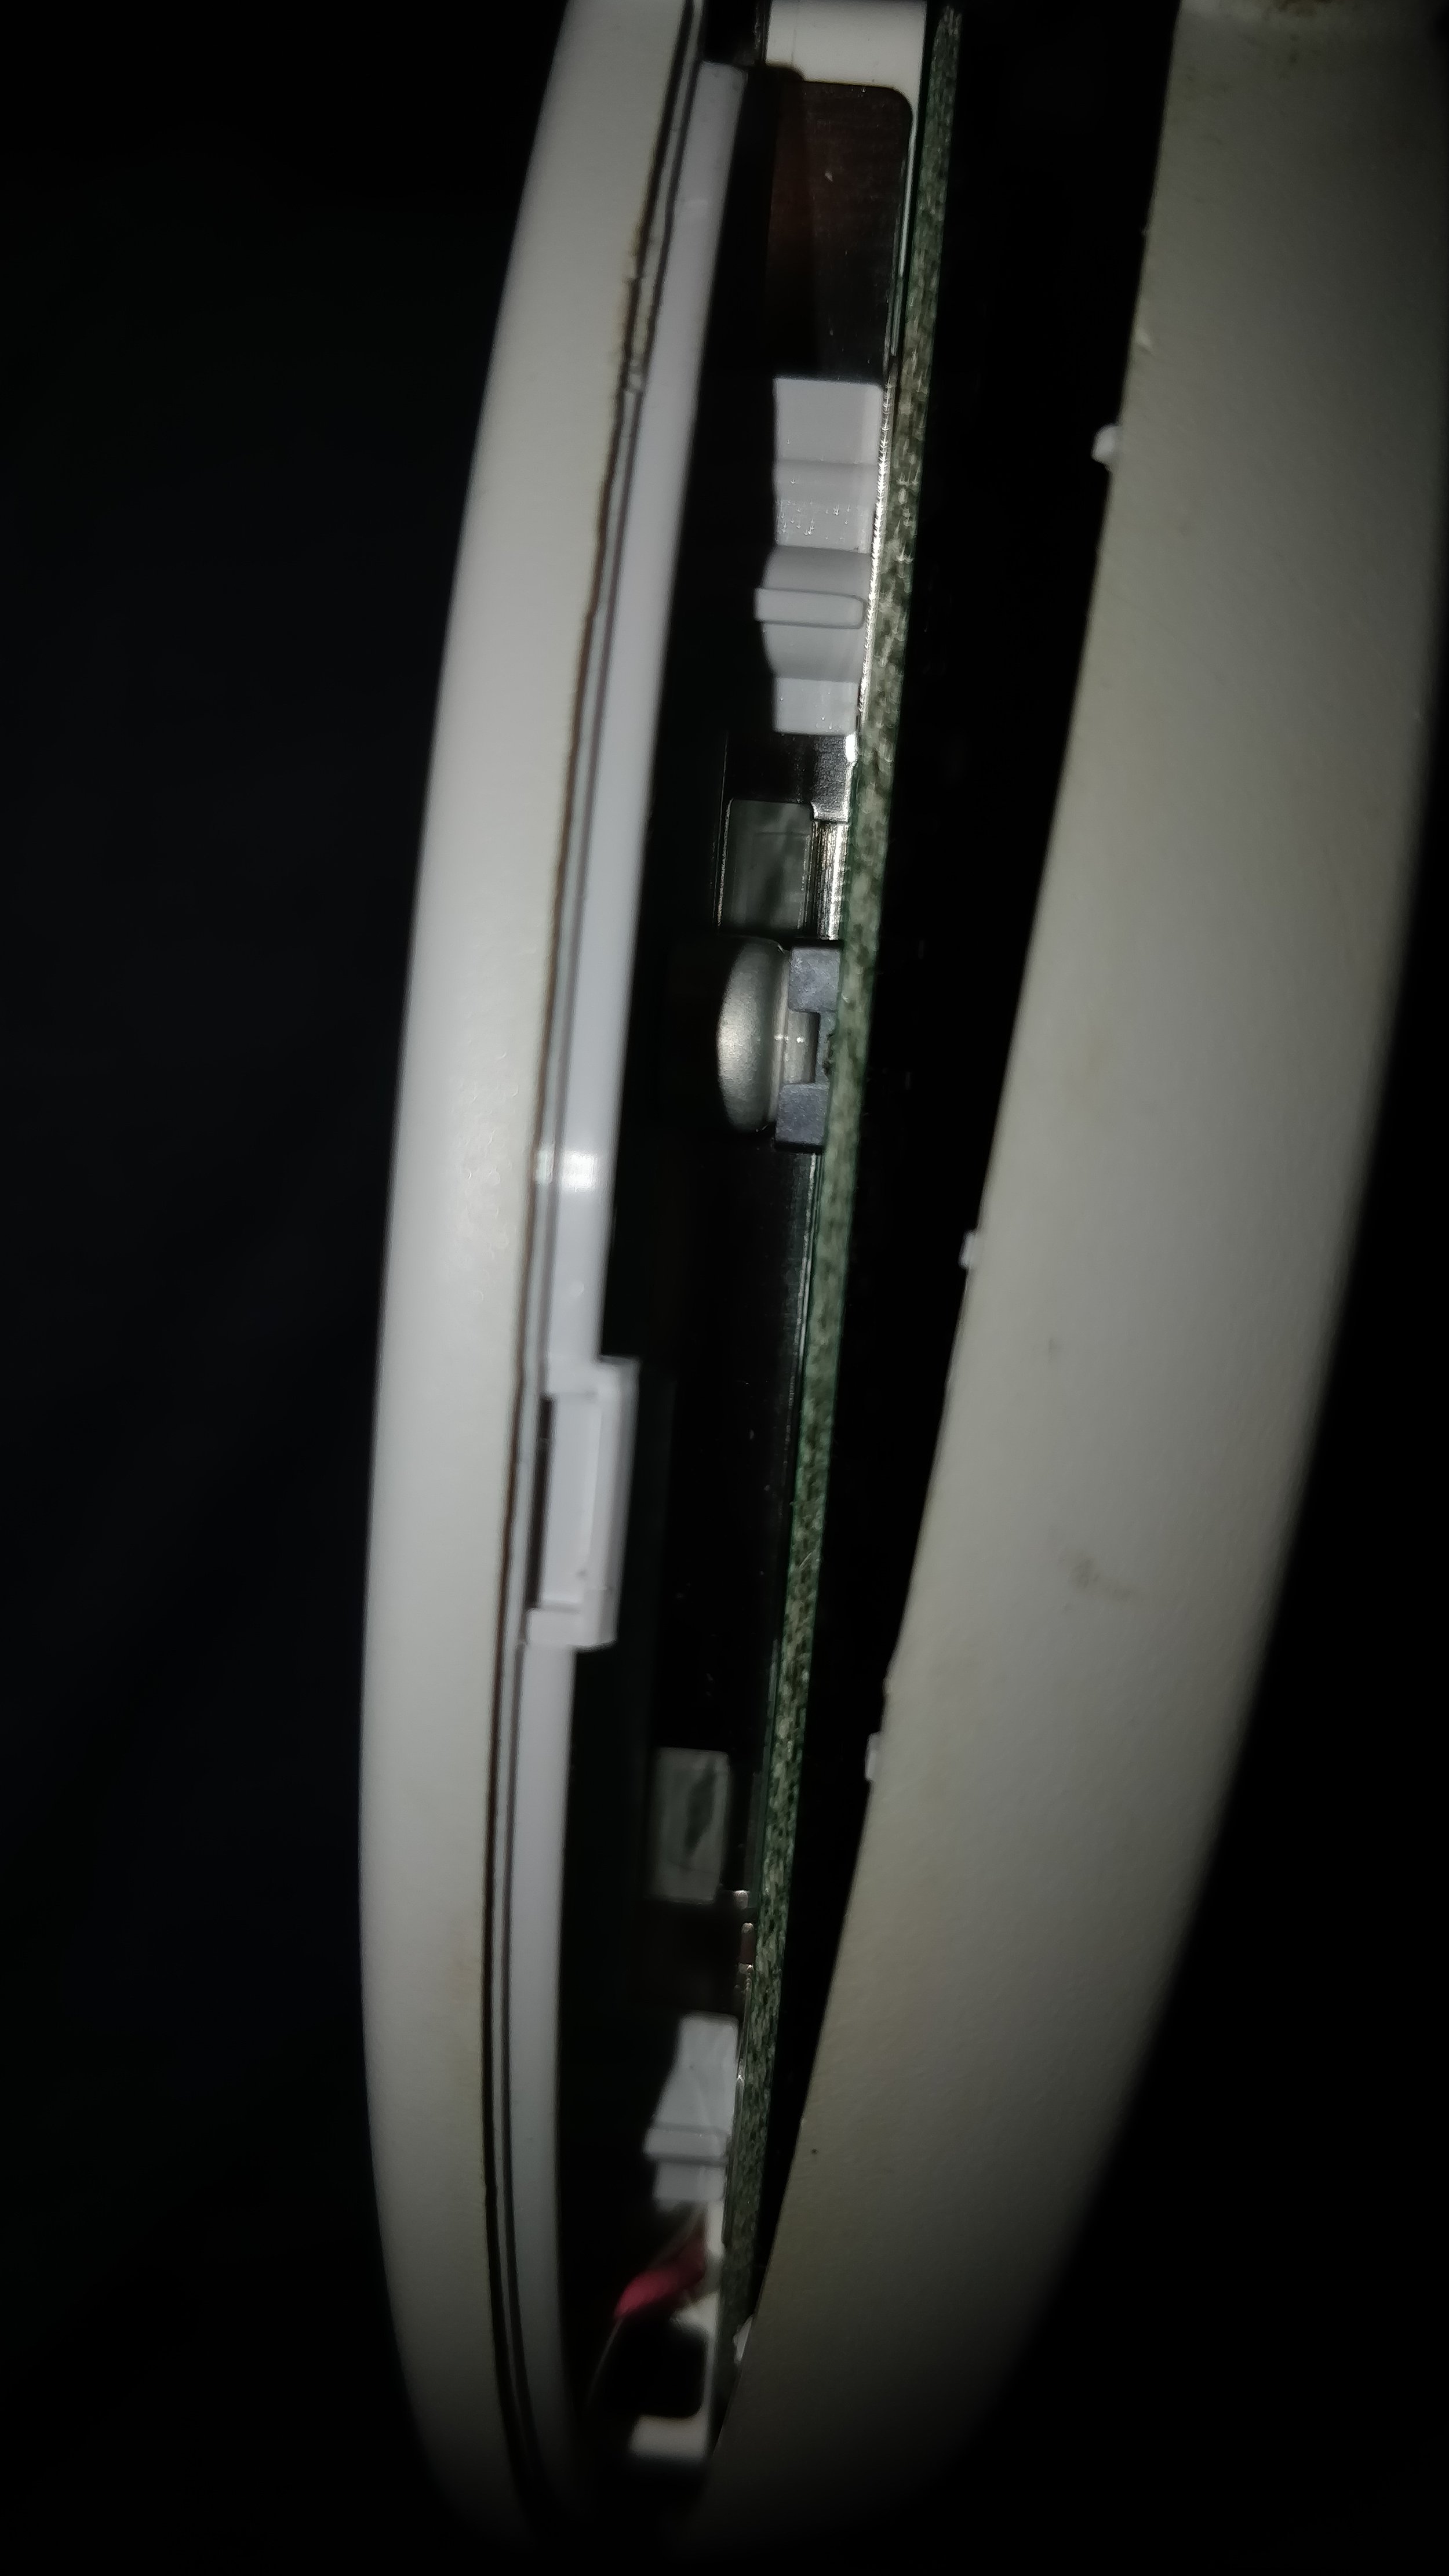
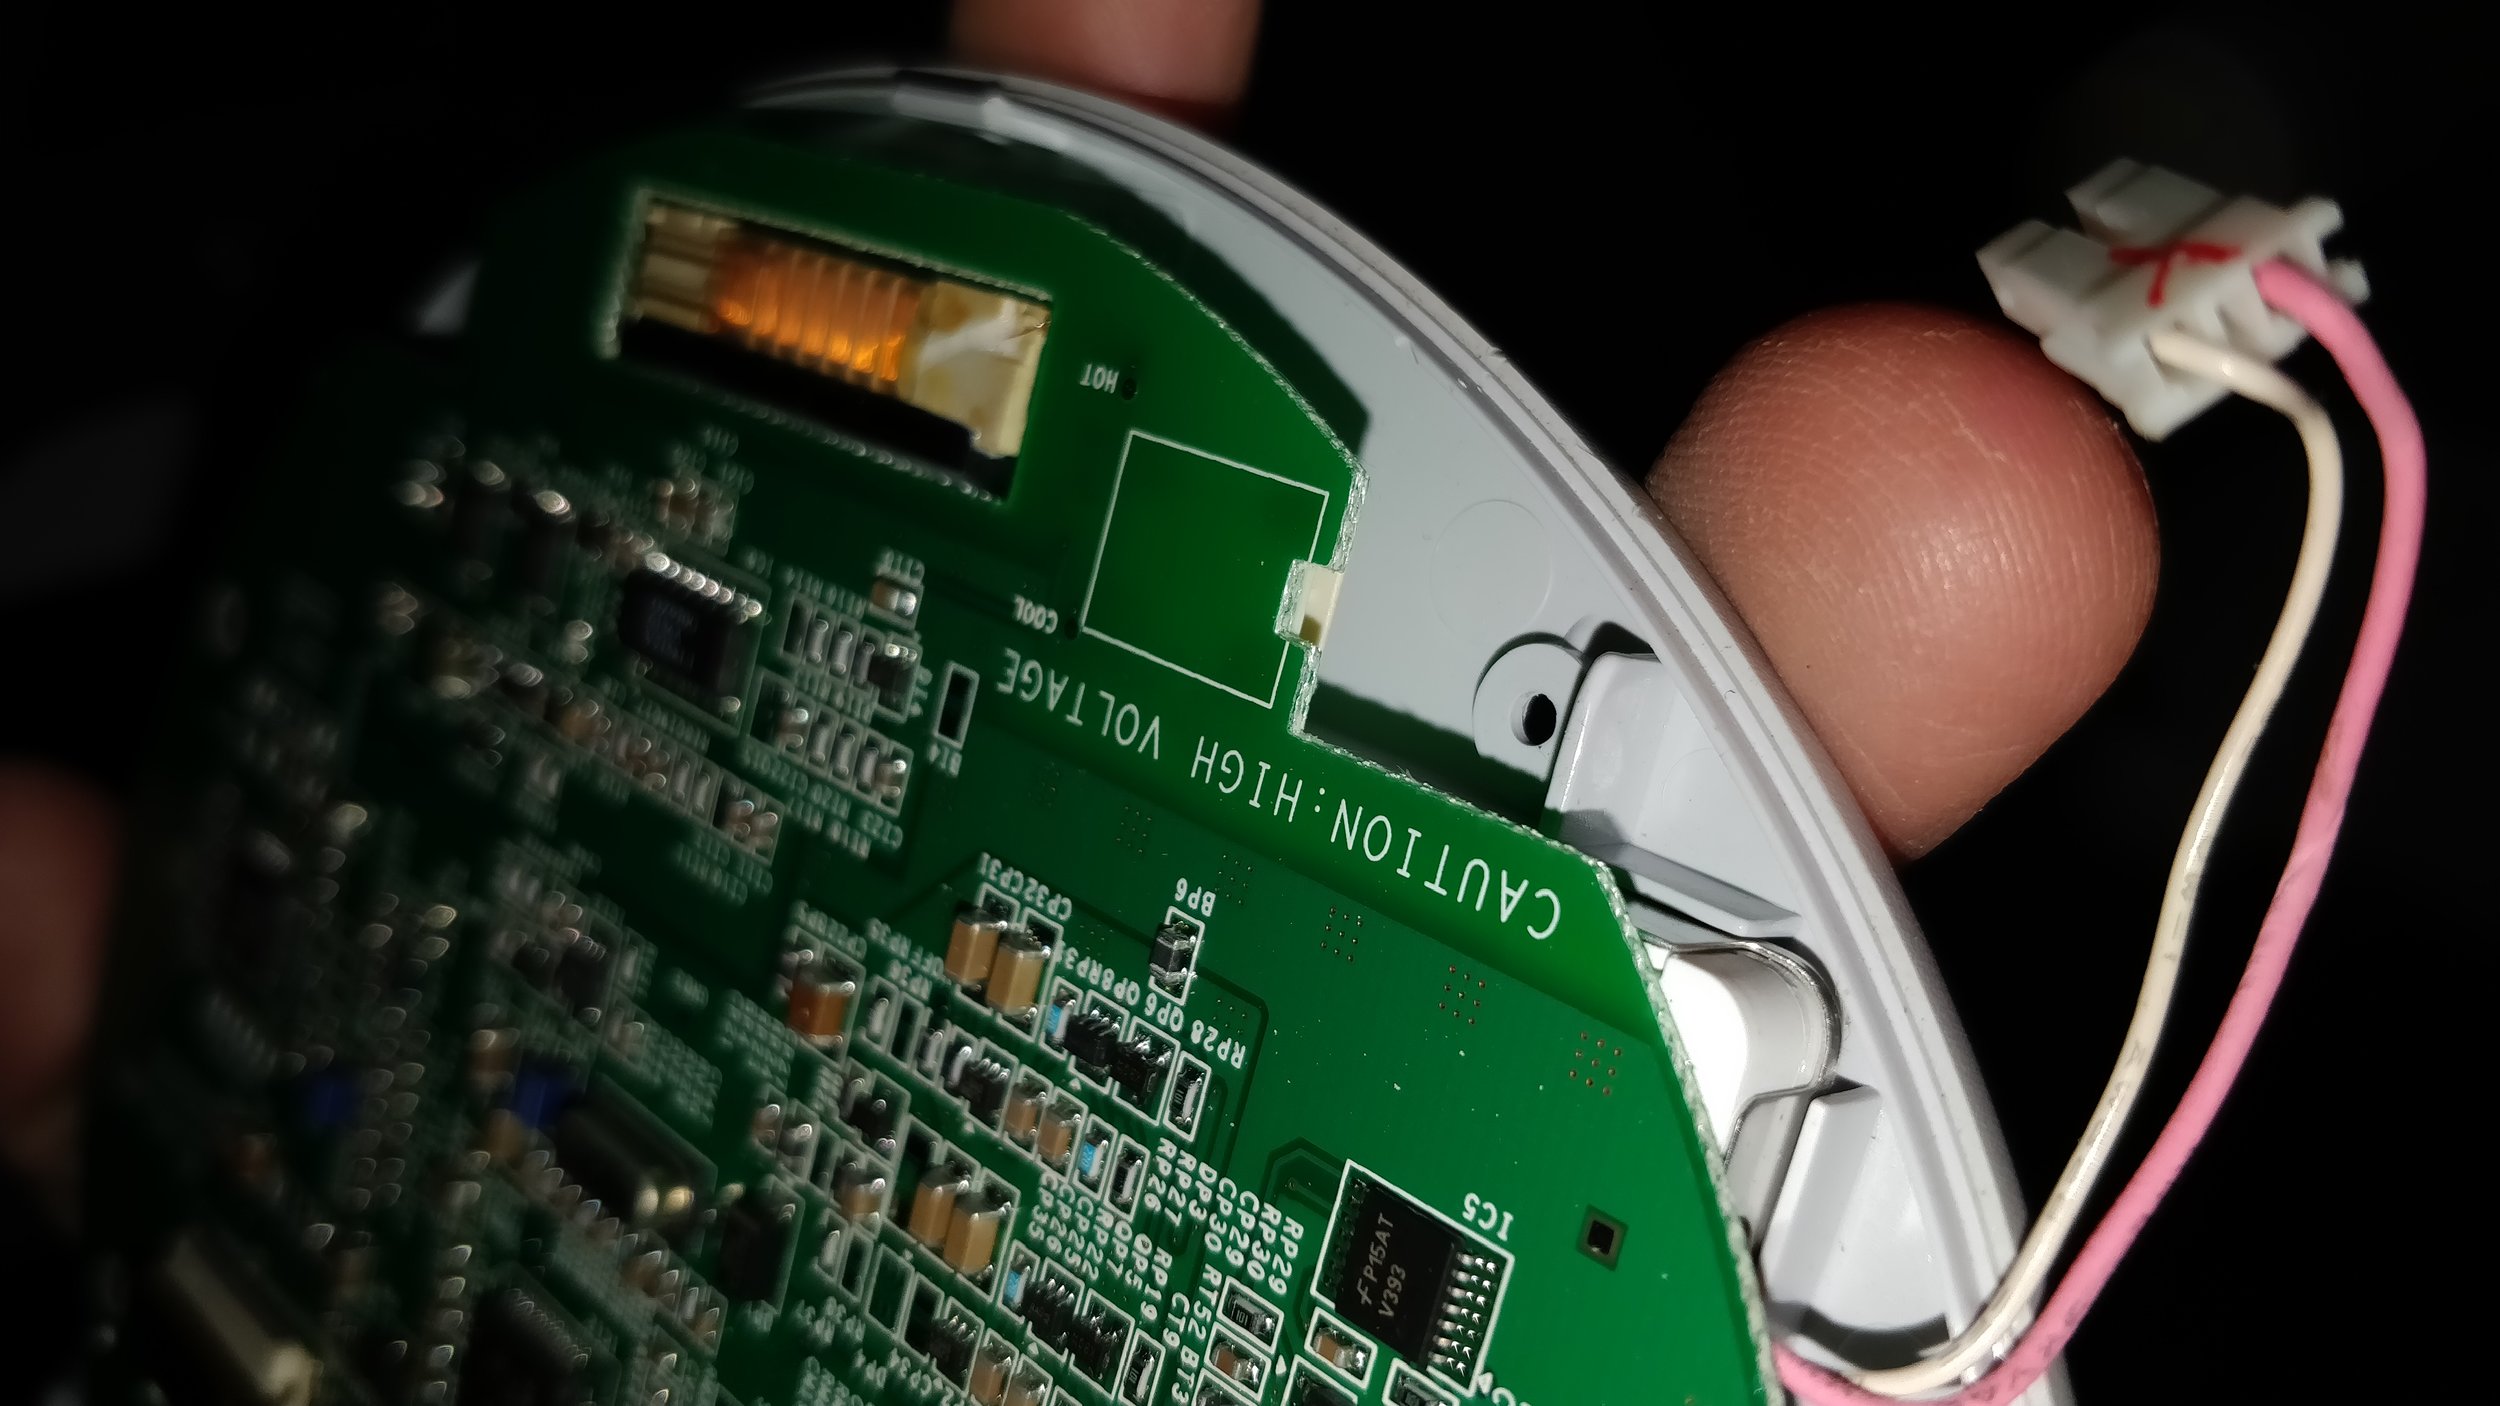
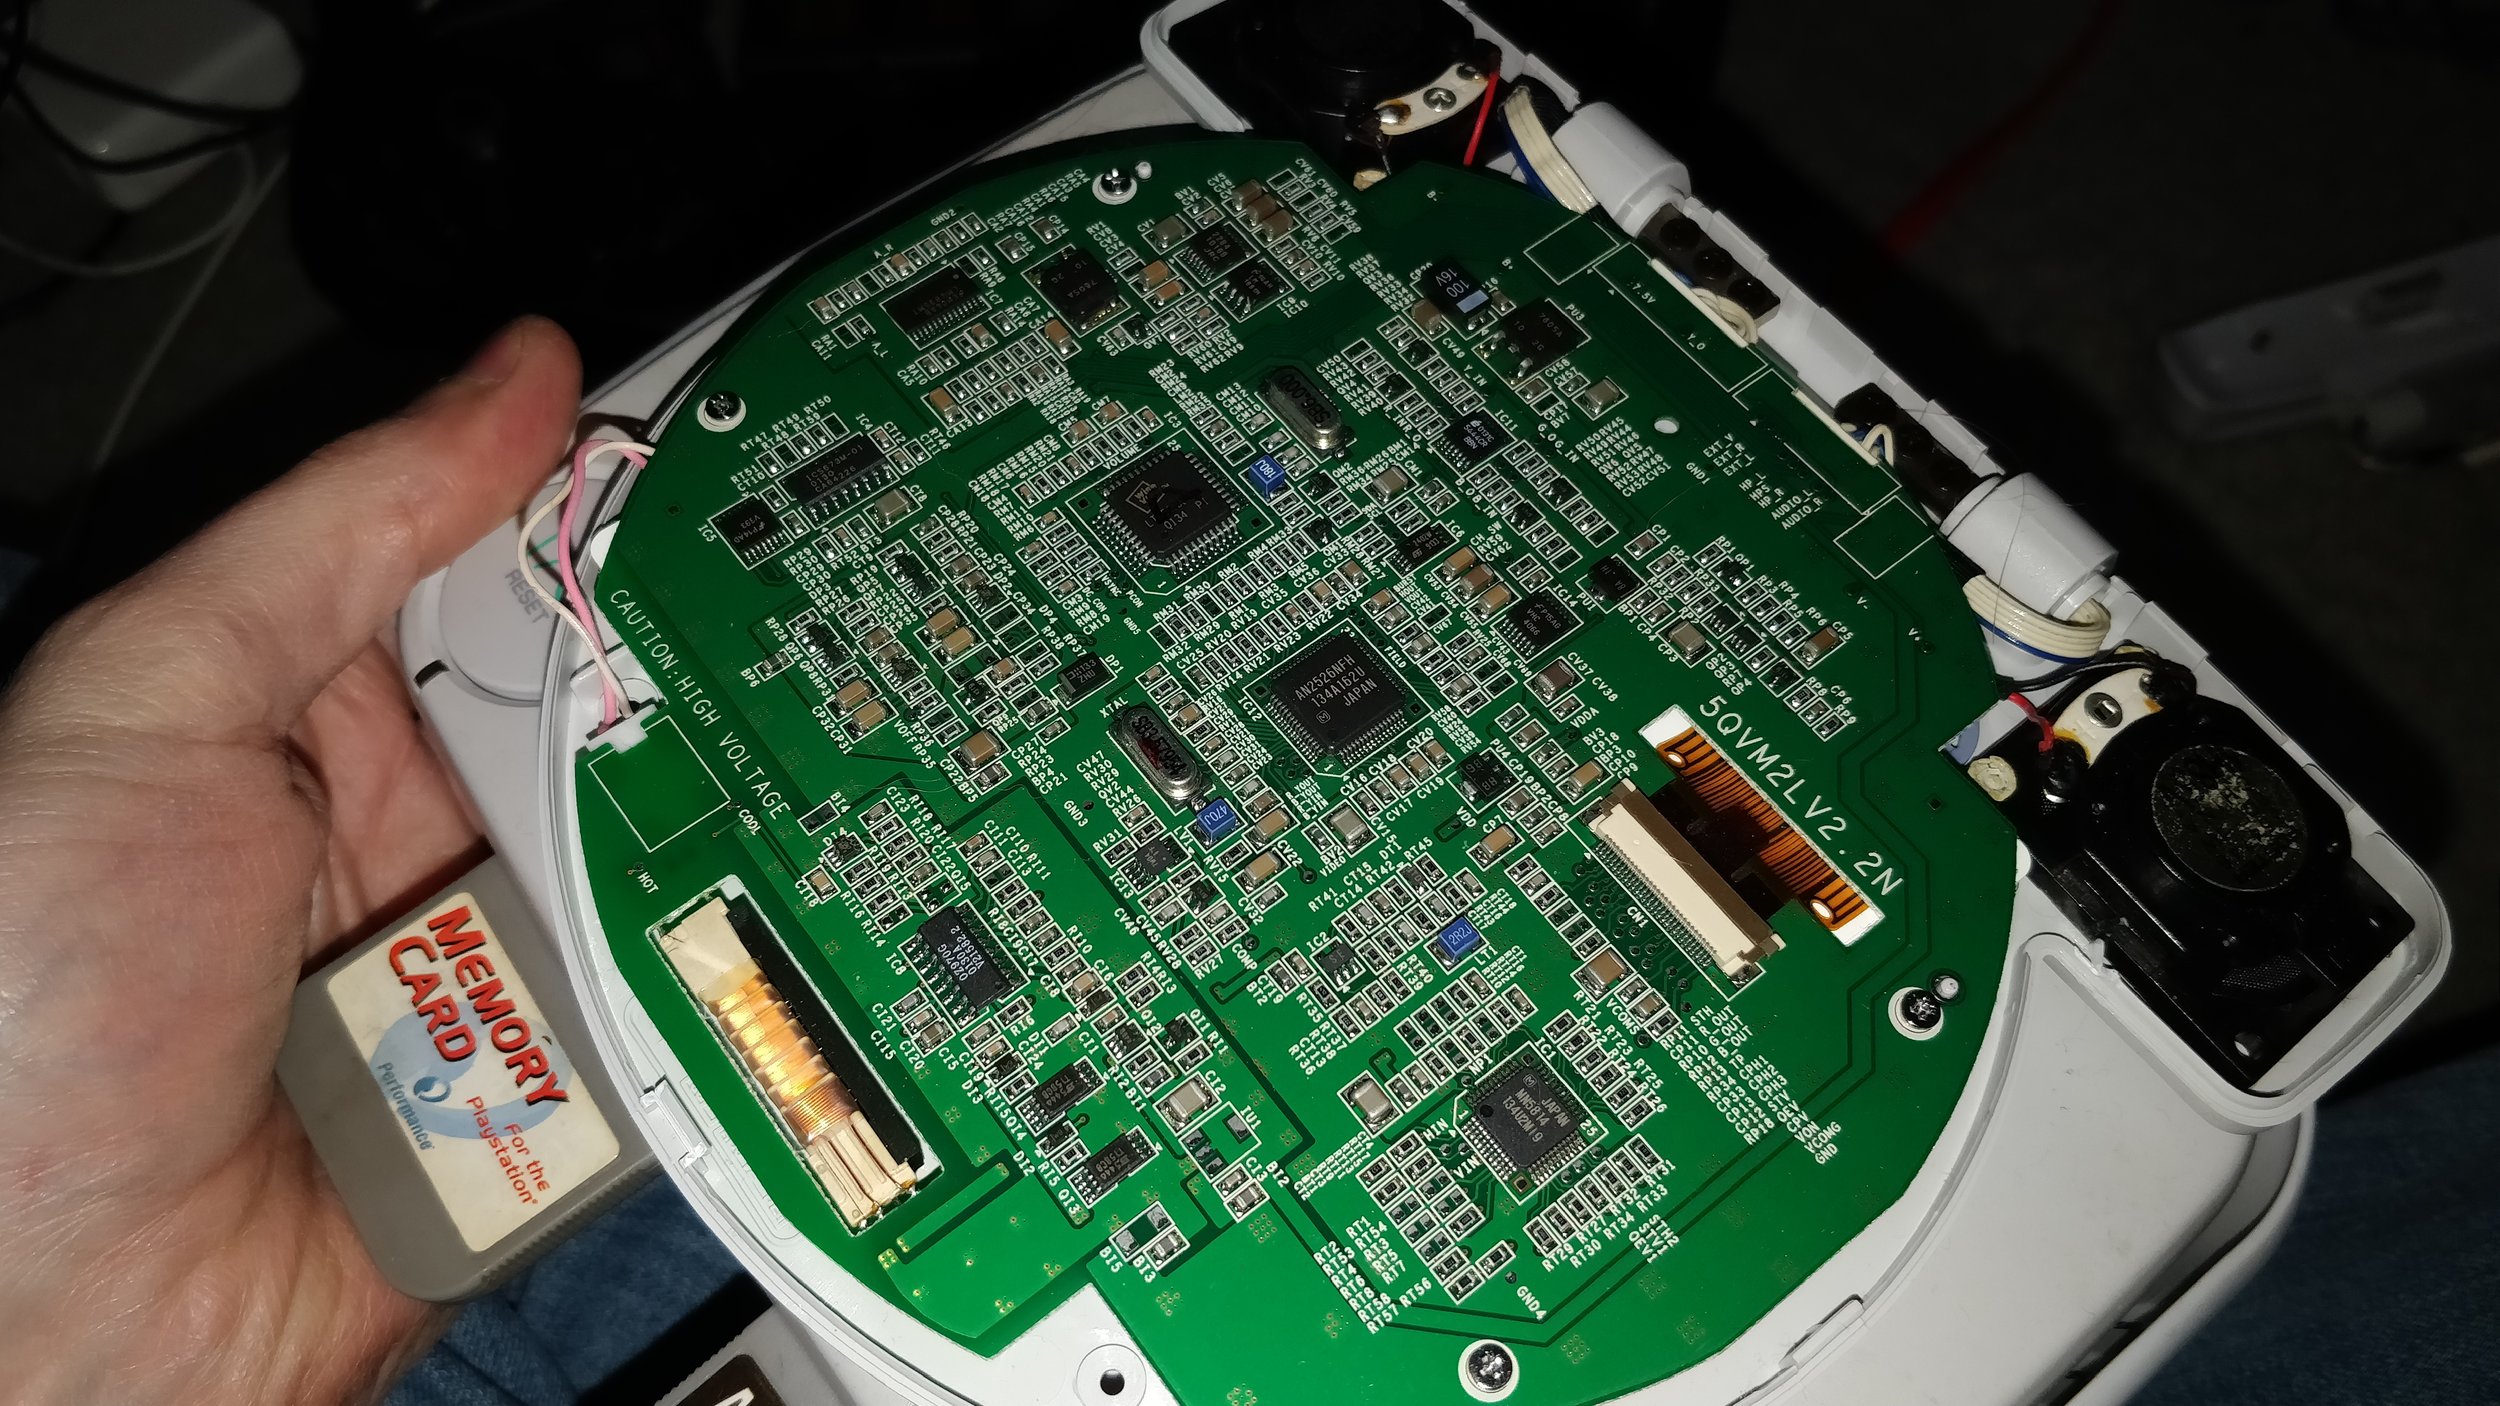
The first thing I did was remove the two rubber feet at the top of the PS One screen and the two speaker grills, being careful not to damage the speakers themselves. I did this by sliding a razor blade under their edges after warming them with a heat gun on the low setting. Once i completed that task, I removed the phillips-headed screws (4) and gradually worked my way around the LCD's edge with a sharp plastic spudger. After popping the plastic snaps off of their fastening edges, the screen came apart pretty easily. Just for kicks, I took the bottom connector plate's screws out as well and looked at the hinges. All of the spots where the hinge would mount to the plastic were broken, so from this point forward, I wasn't too worried about damaging the donor's shell.
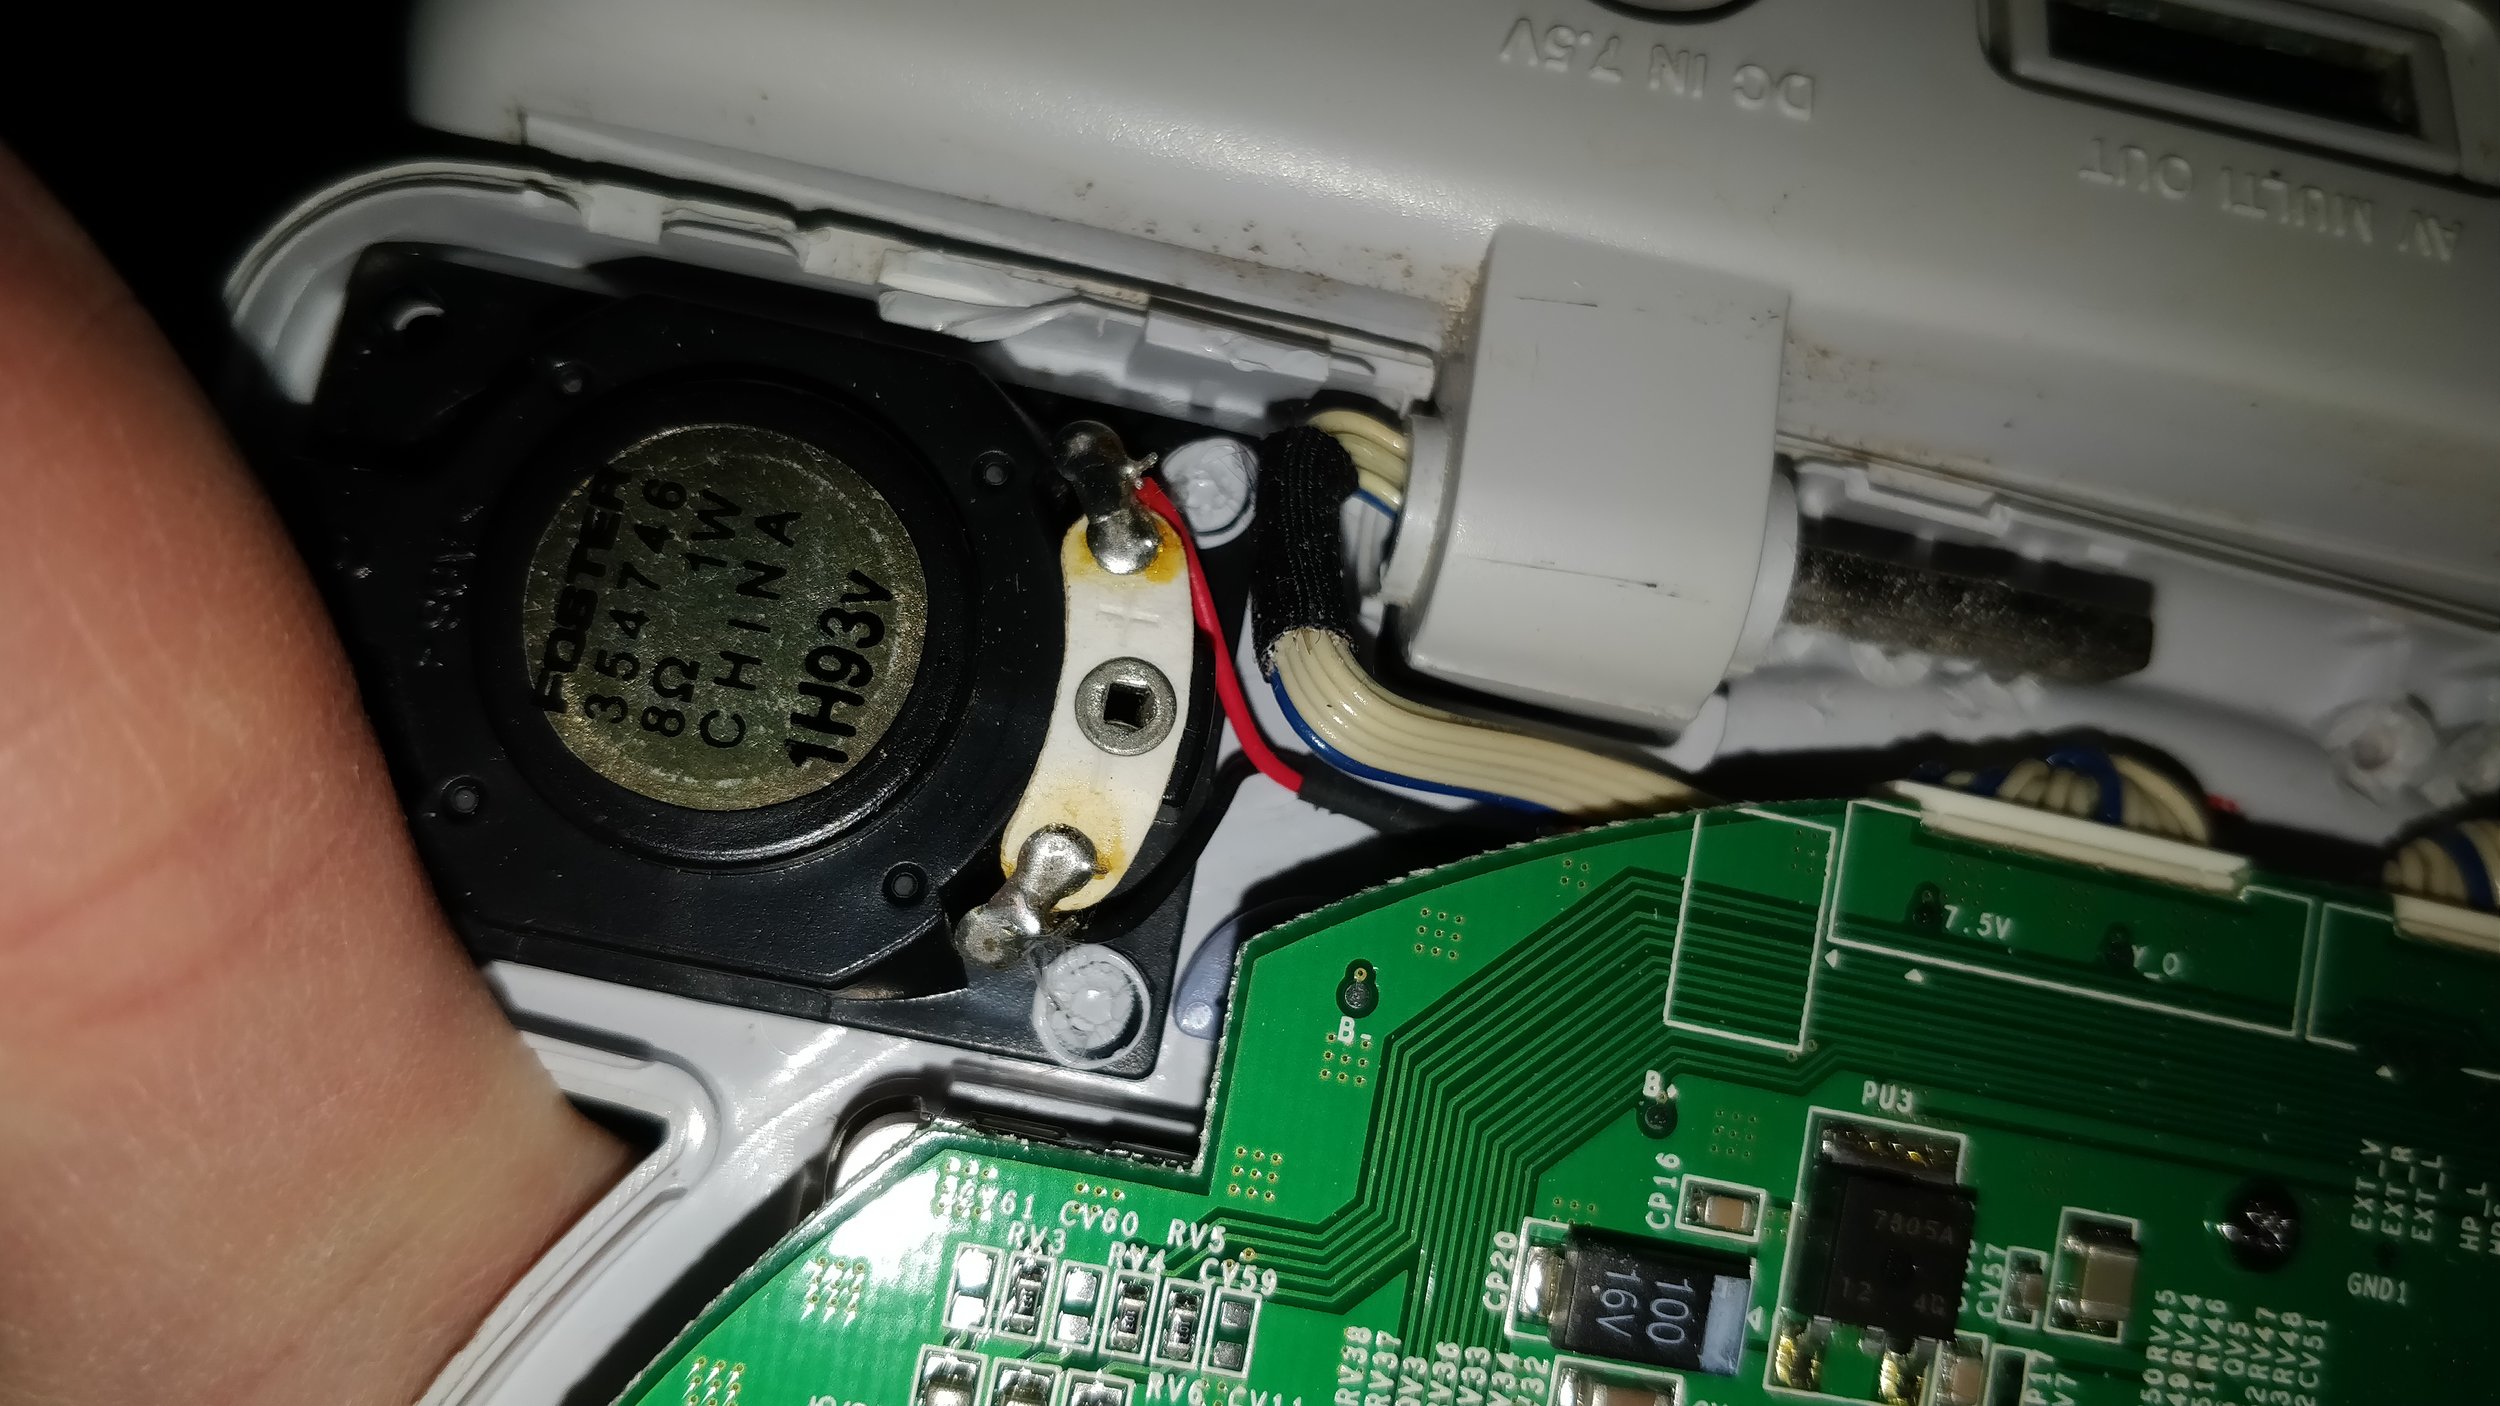
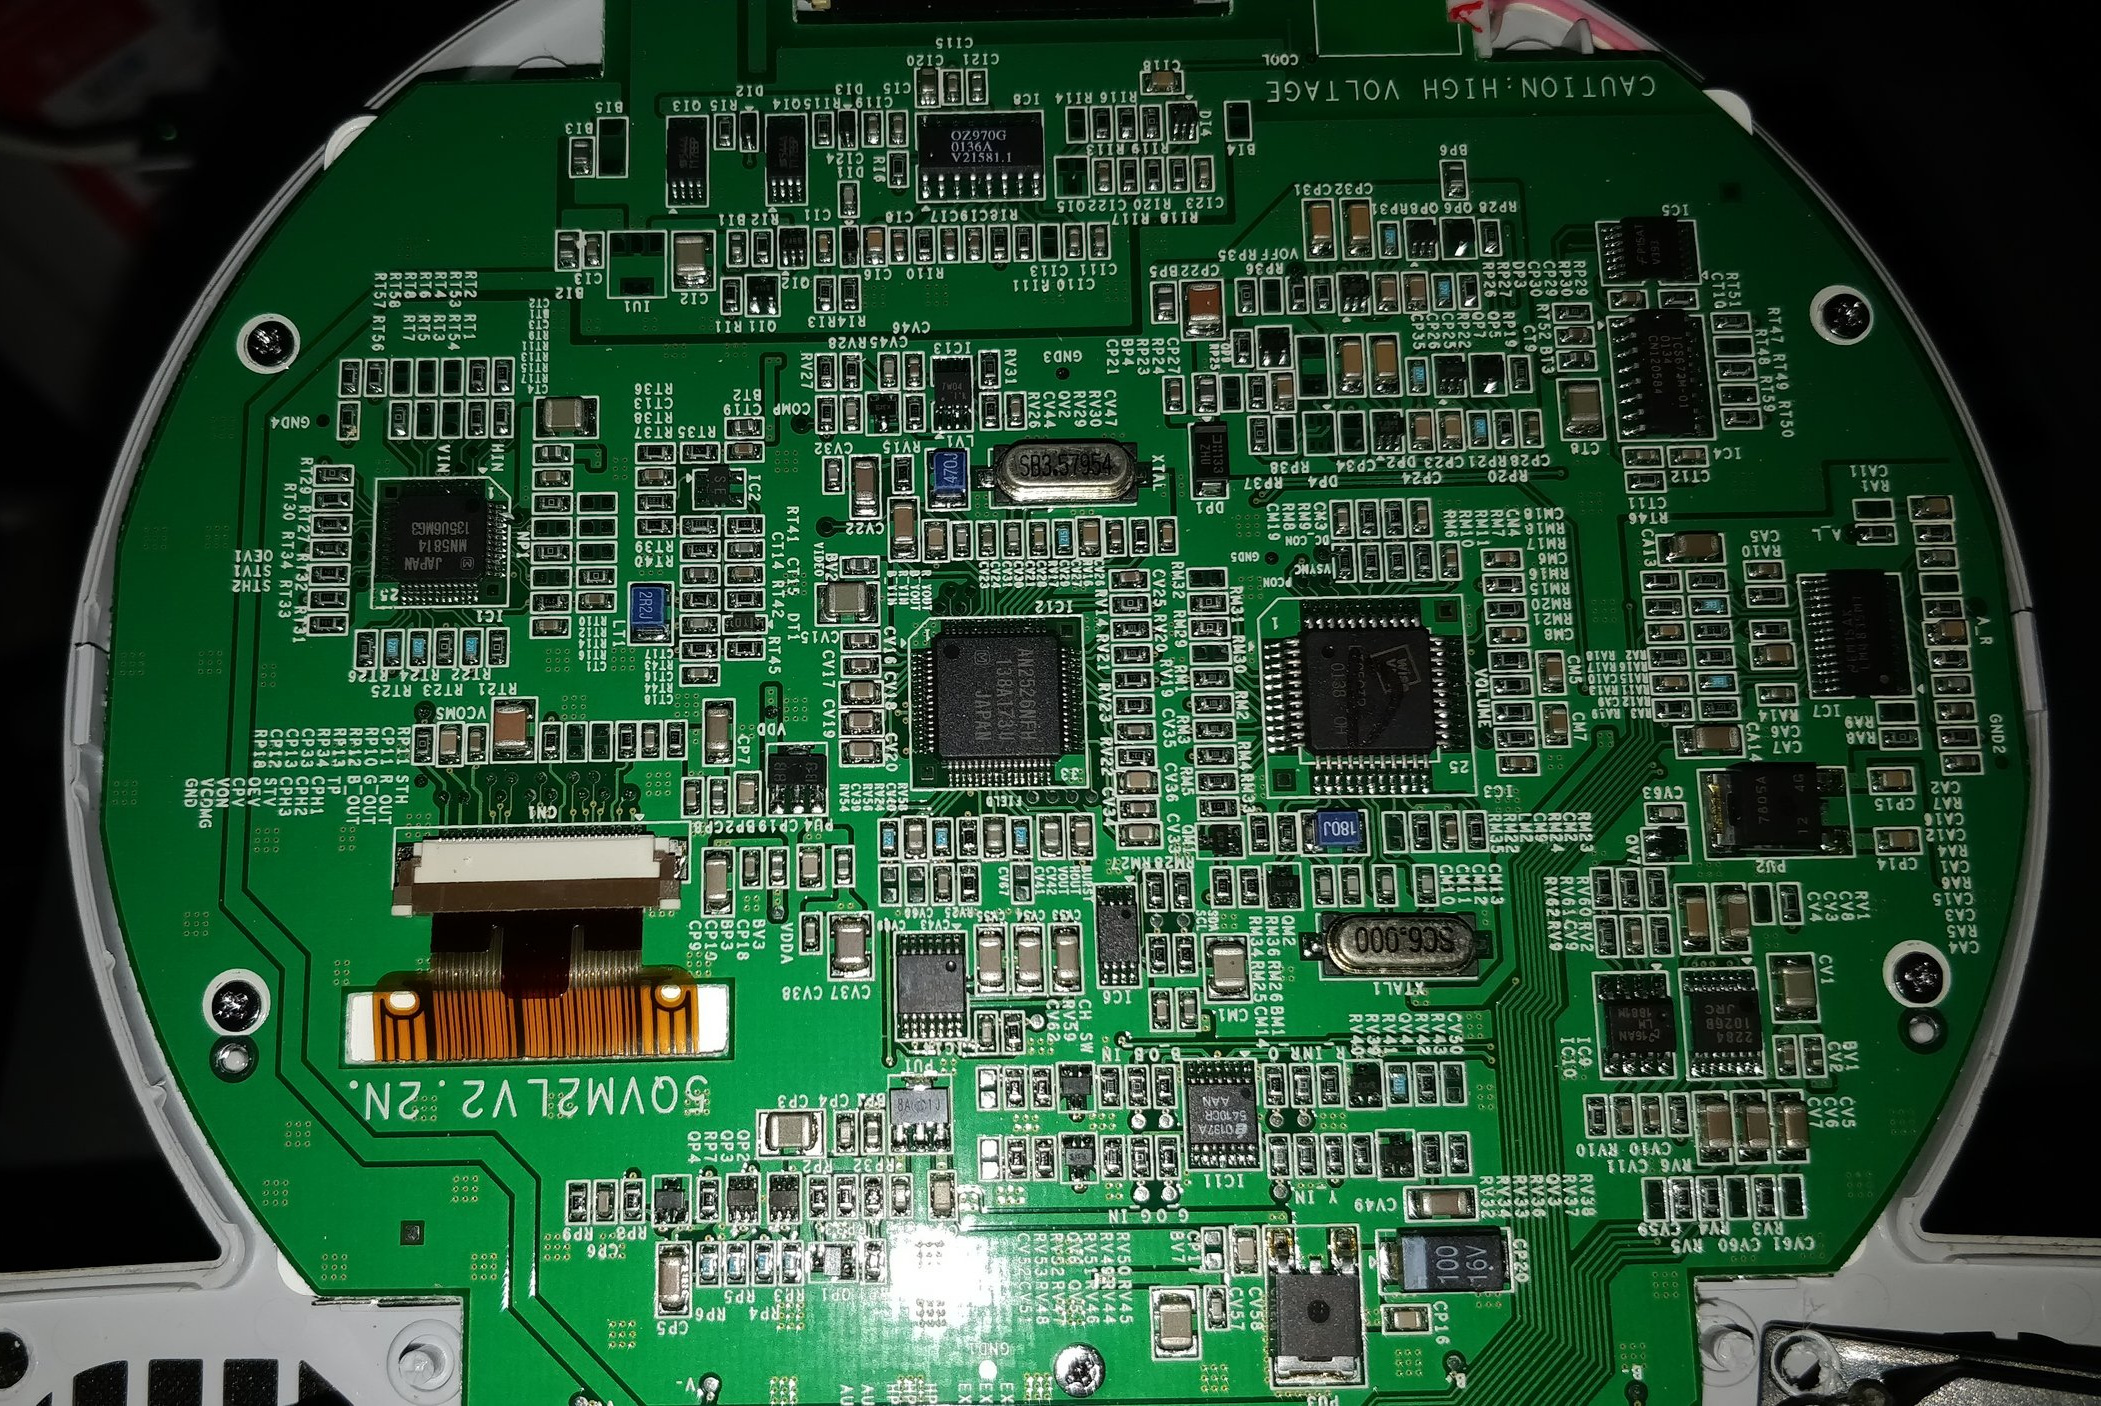
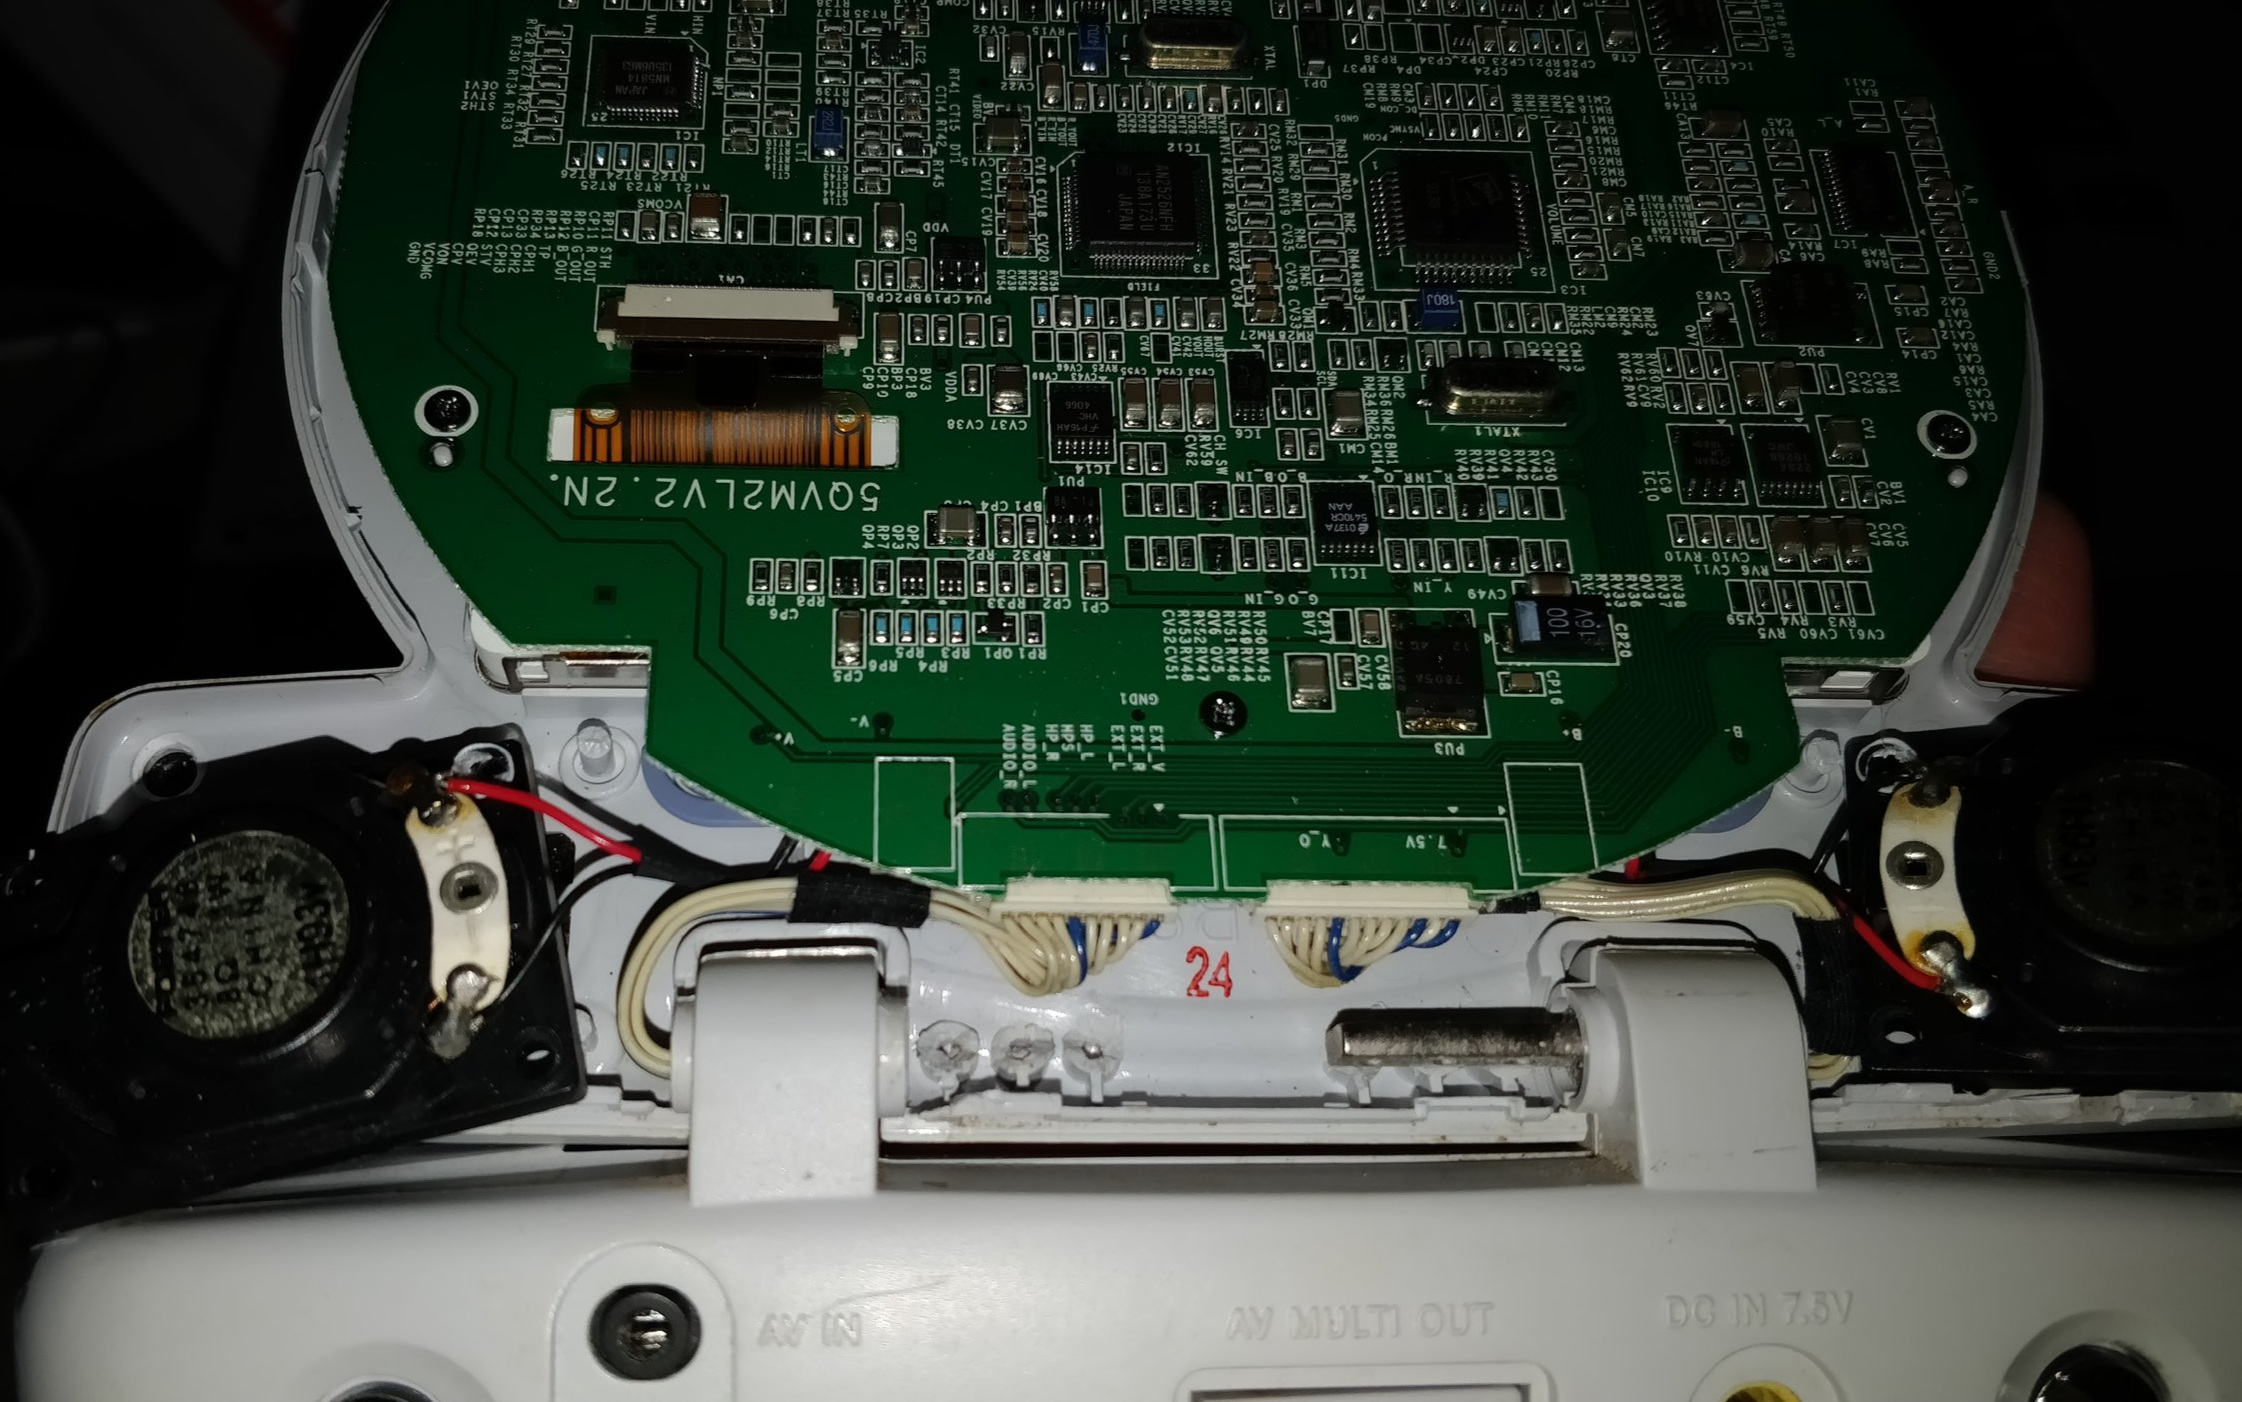
After removing the back portion of the LCD, I undid the ribbon fastener for the LCD and the backlight's power from the inverter. Then I removed the five screws holding the PCB in the case and carefully lifted the board, minding the two speaker connectors and the two bundles containing audio, video, and power. After disconnecting their plugs from the sockets with a pair of tweezers, I lifted the PCB away and carefully removed the LCD panel.
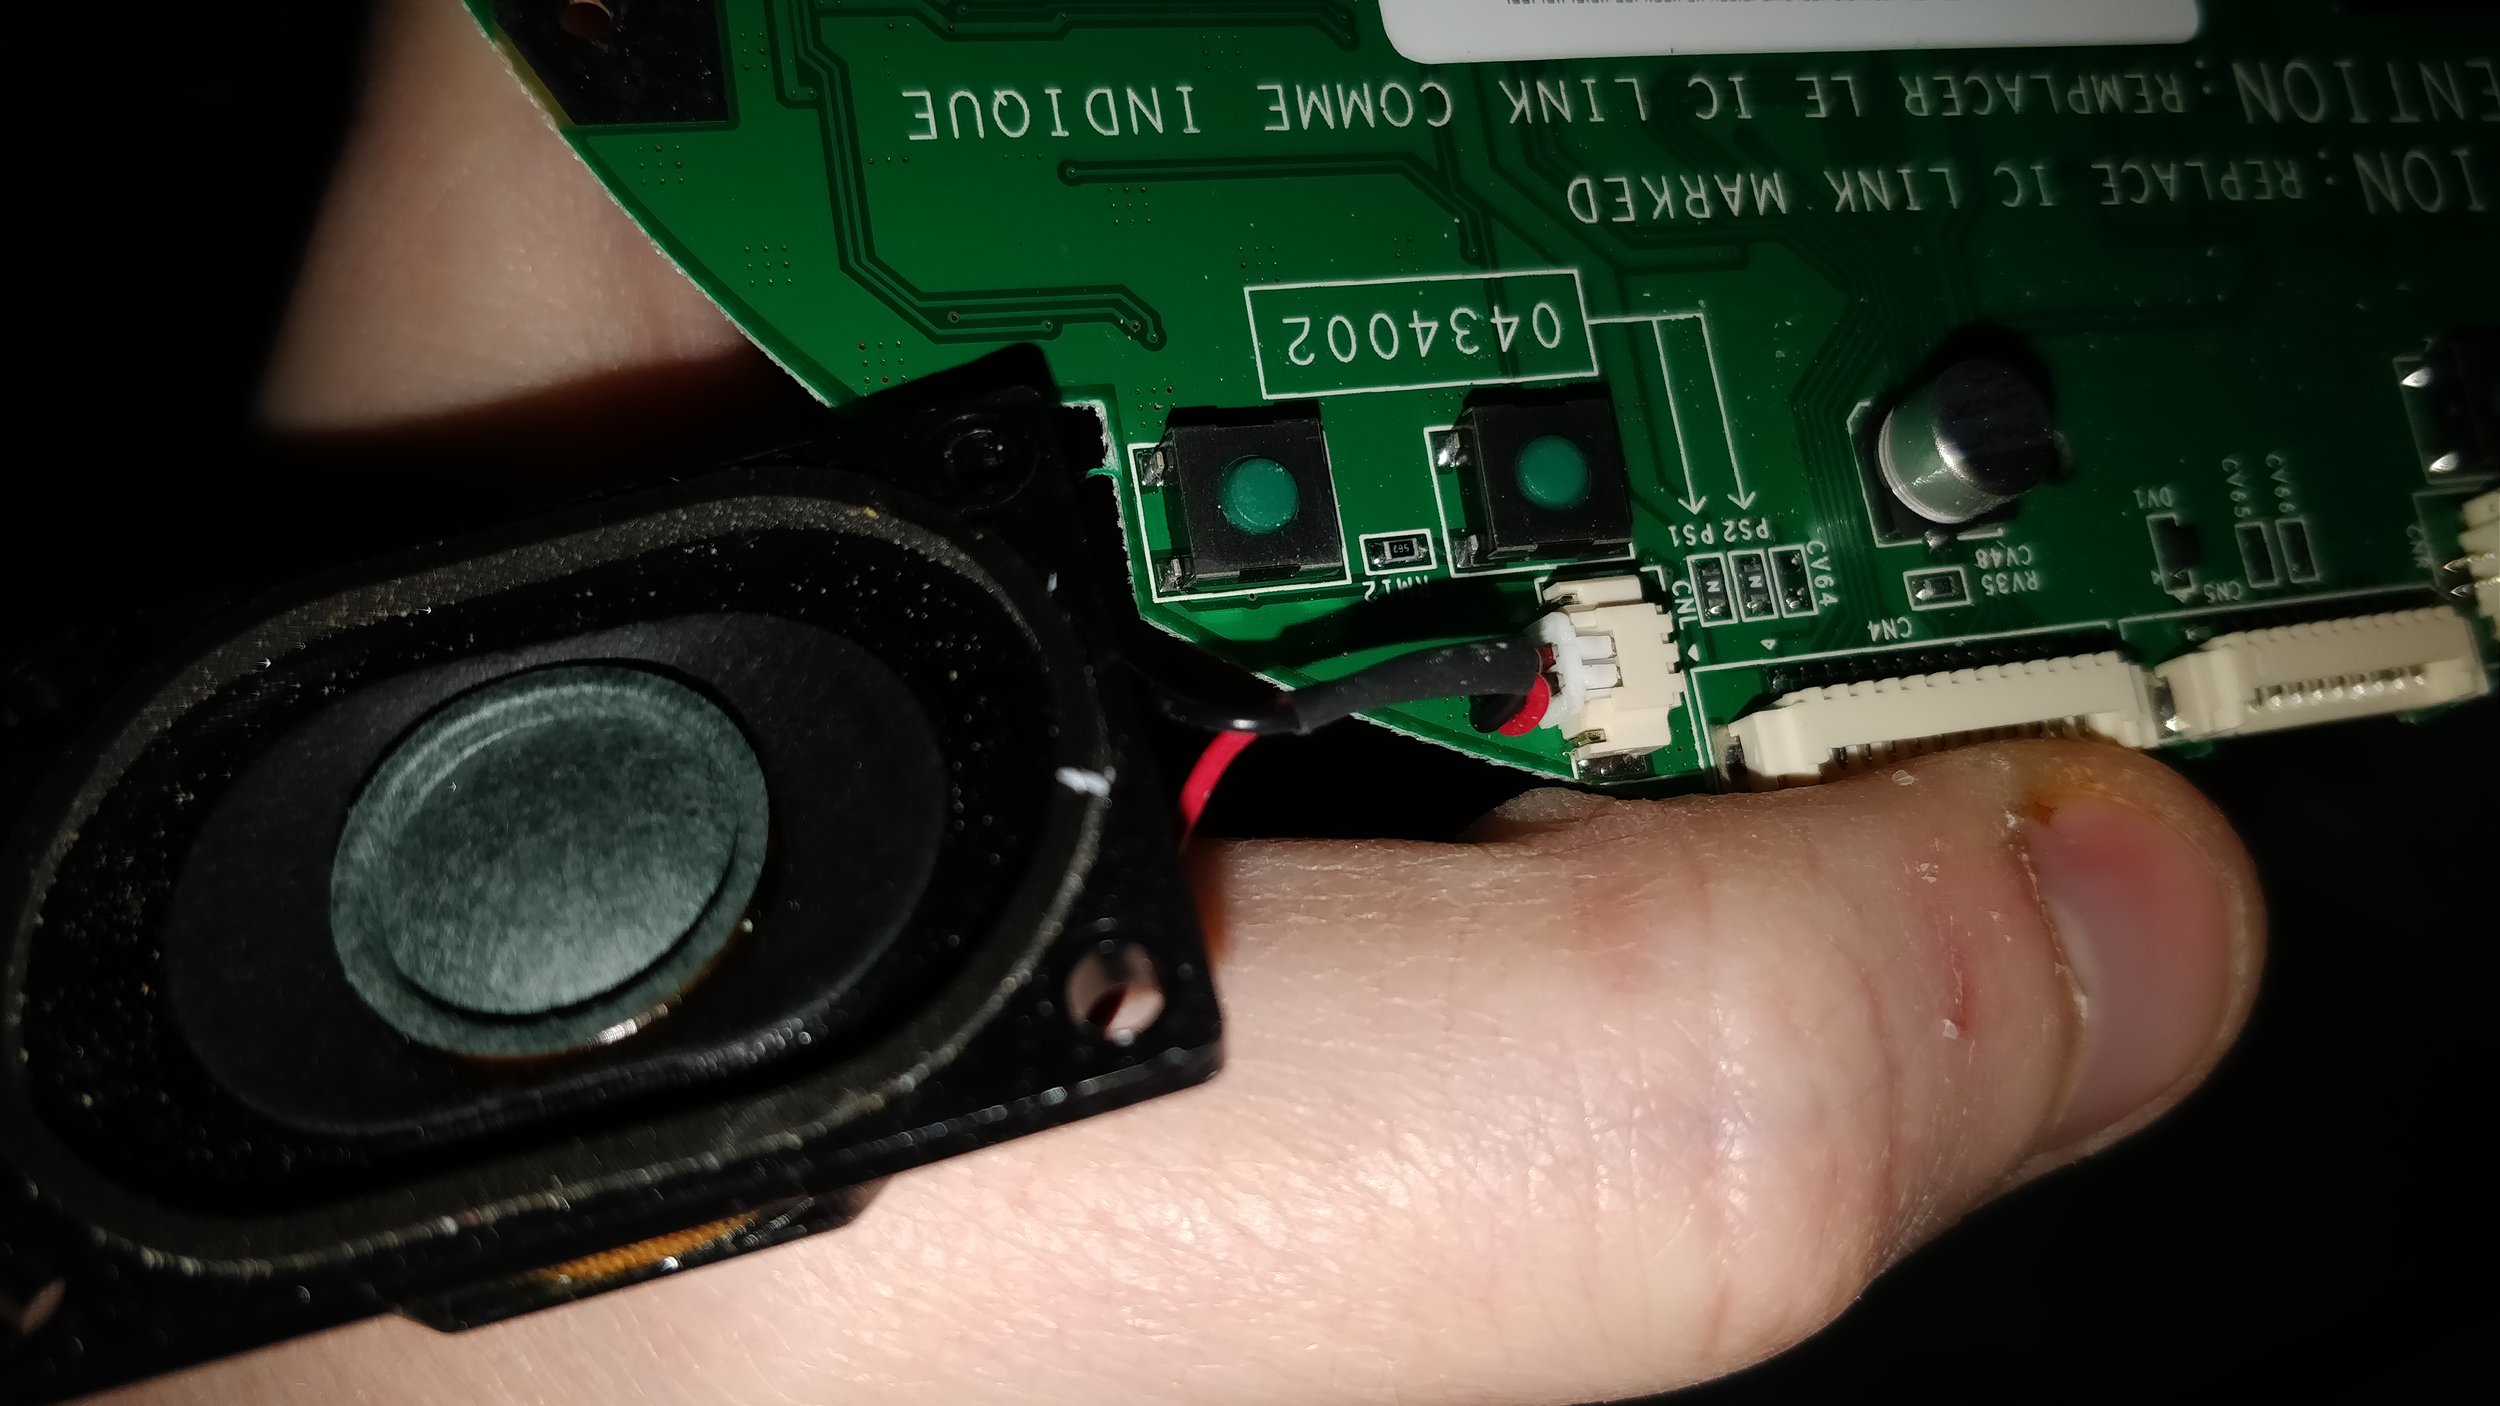
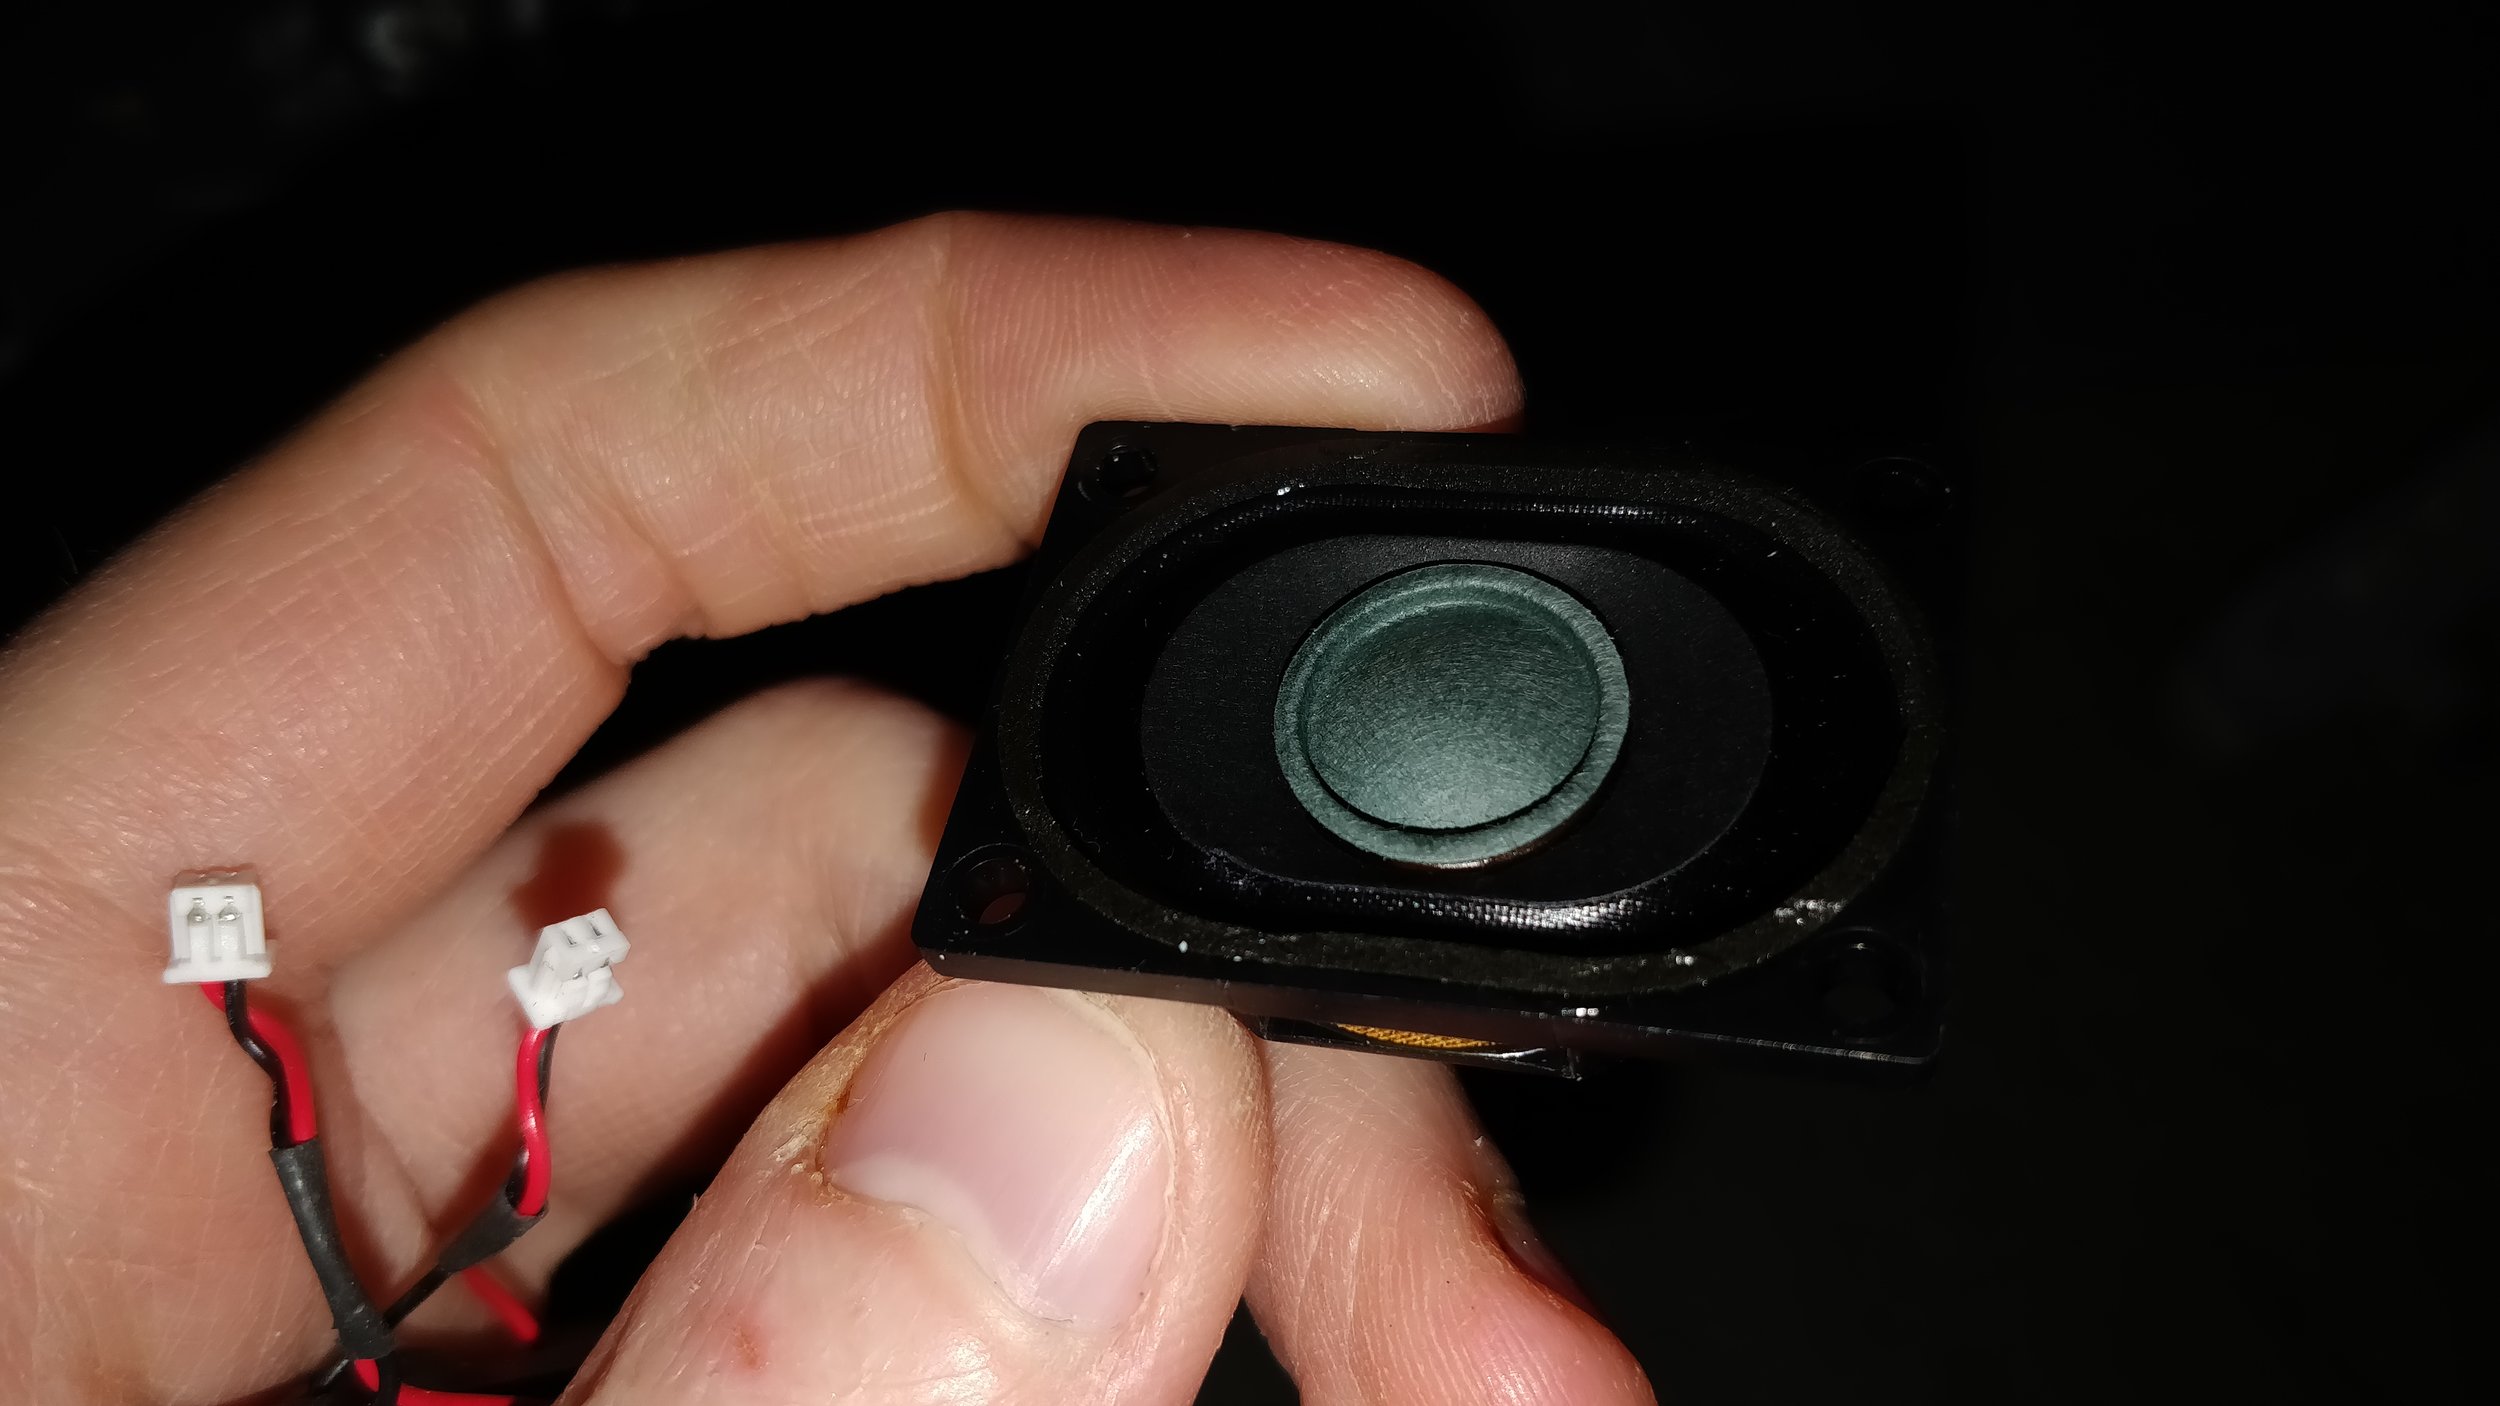
The next thing that I did was try to salvage the speakers. While the speakers functioned in my PS One's screen unit, they rattled and the one on the left had a buzzing distortion that prevented louder play. I wanted to replace those. Removing the speakers was just a little trickier. There were two spots where the speakers were held in place by plastic welds on their inside edges. The outside edges were secured by the same screws that held the case together. I had to remove the welds without damaging the speakers. This was done with a X-acto knife, but you could probably also reheat them with a junk soldering iron, drill them out, or even cut then away with a Dremel. Just be careful and do not damage the speaker's thin paper cone or coil.
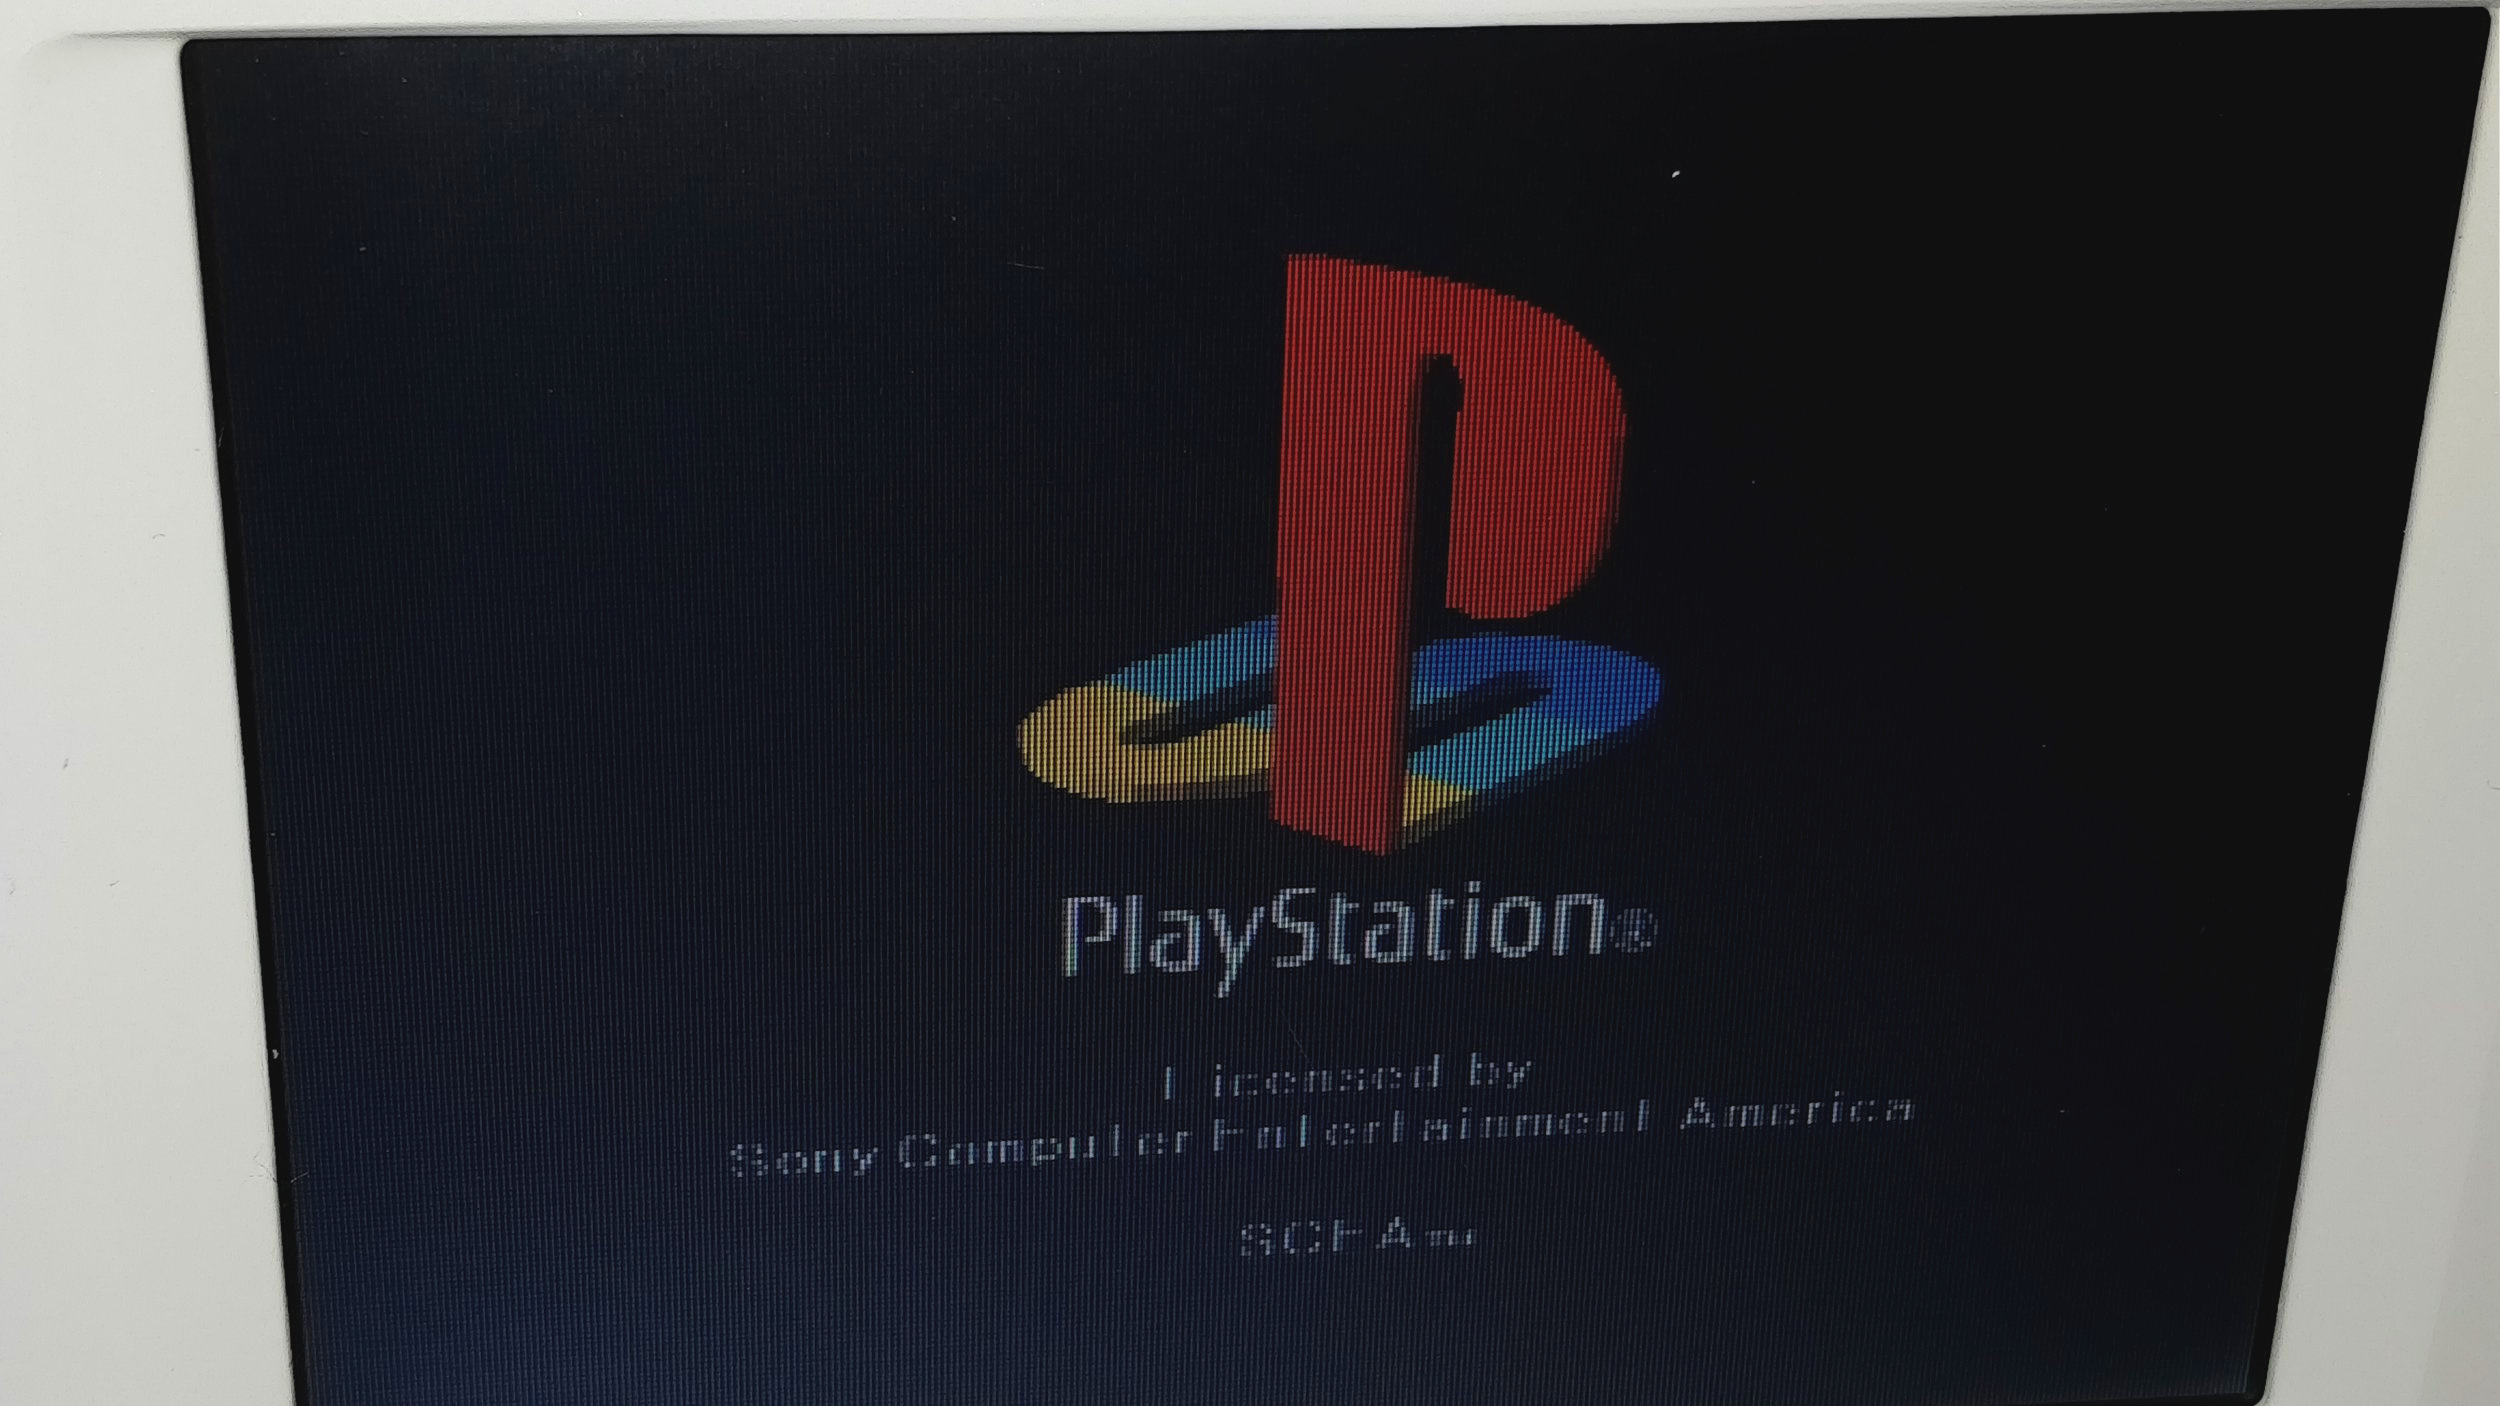
After removing the speaker's two weld spots, I placed it into the new screen and secured it by dabbing hot glue into the weld spots. Then I placed the new LCD under the board and reconnected the ribbon cables. The PCB was screwed into place, and I reassembled the entire thing in reverse order. Once everything was in a single piece, I placed the screen on the back of the PS One, grabbed a copy of Castlevania Chronicles, and powered the console on. After a few seconds, I saw the screen, and it was just as good as new.

The next step in my adventure went a little further toward making the PS One a more portable system. I recalled an accessory being sold by InterAct during the early 2000's called the Mobile Power One. This small rectangle fit under the PS One console and connected to the power port, offering about two and a half hours of game play on a rechargeable battery system. While it seemed entirely impractical, this whole exercise of fixing a decades-old game console to play mobile CD games was drenched in the sauce of impracticality; I decided that upping the ante was entirely in order. I scoured eBay and after a few days, one of these was posted.
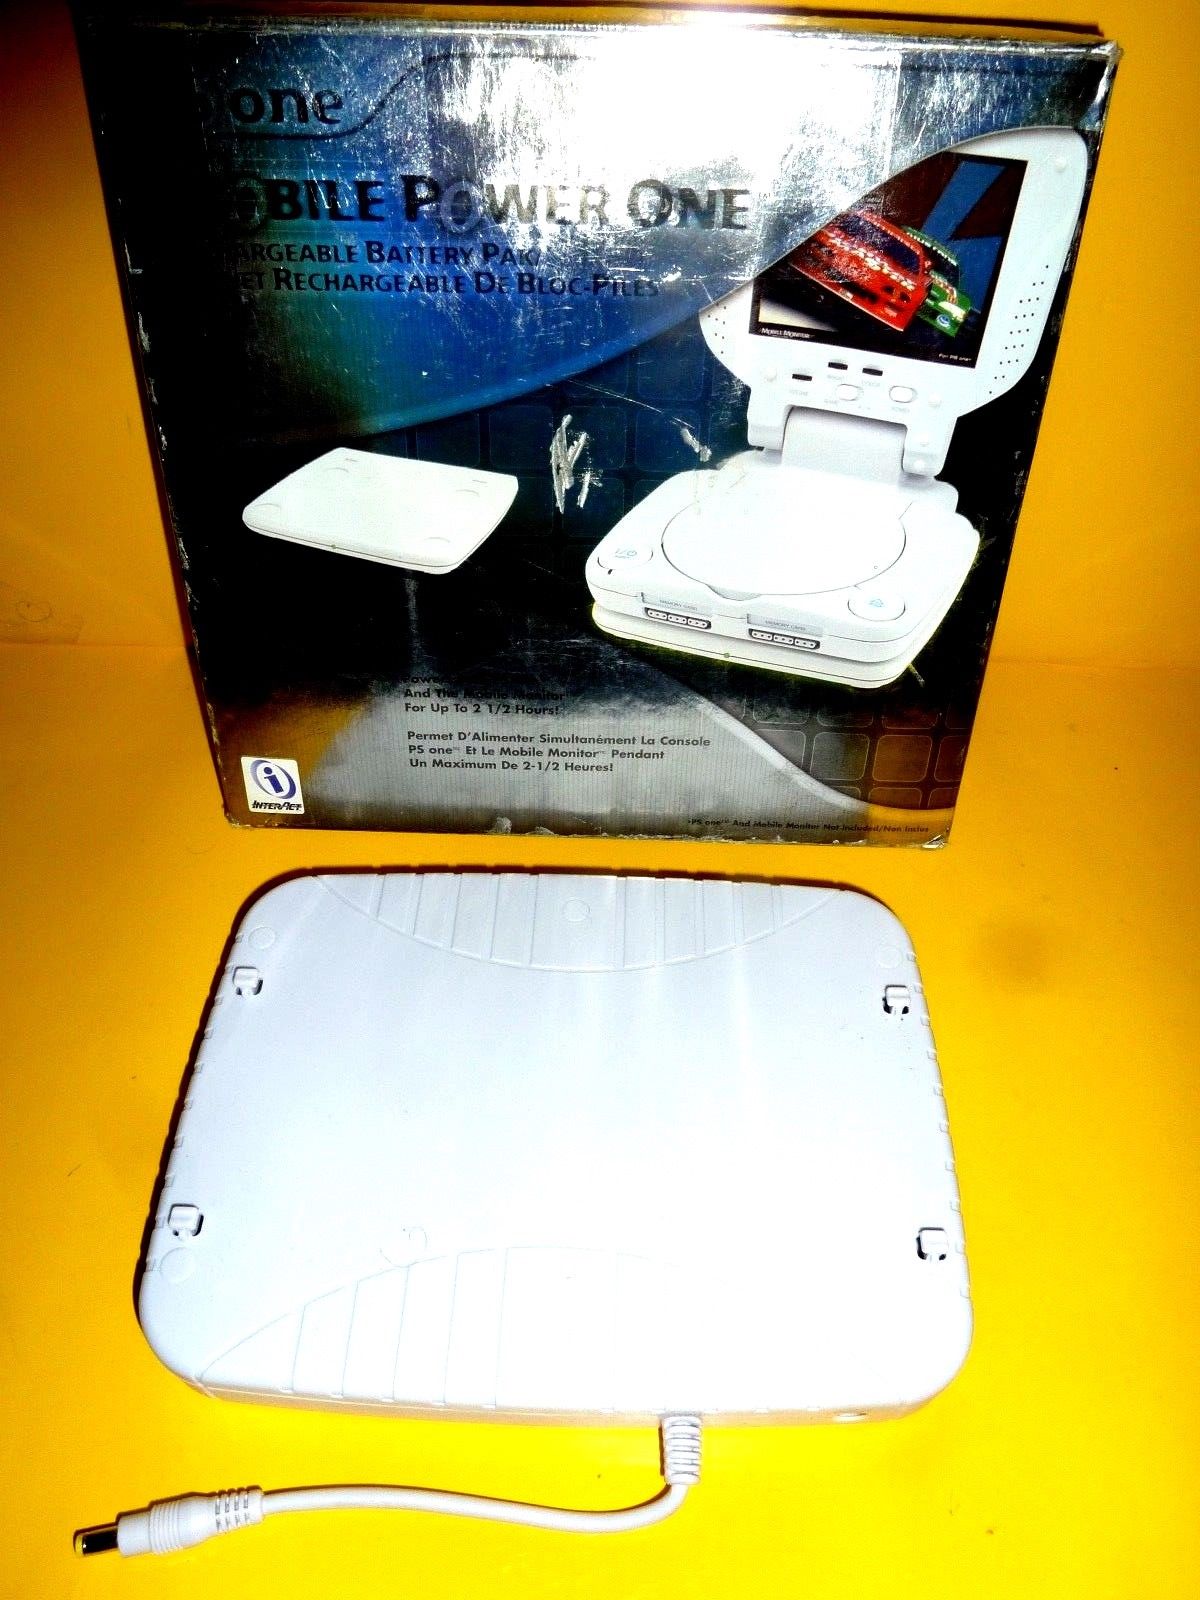
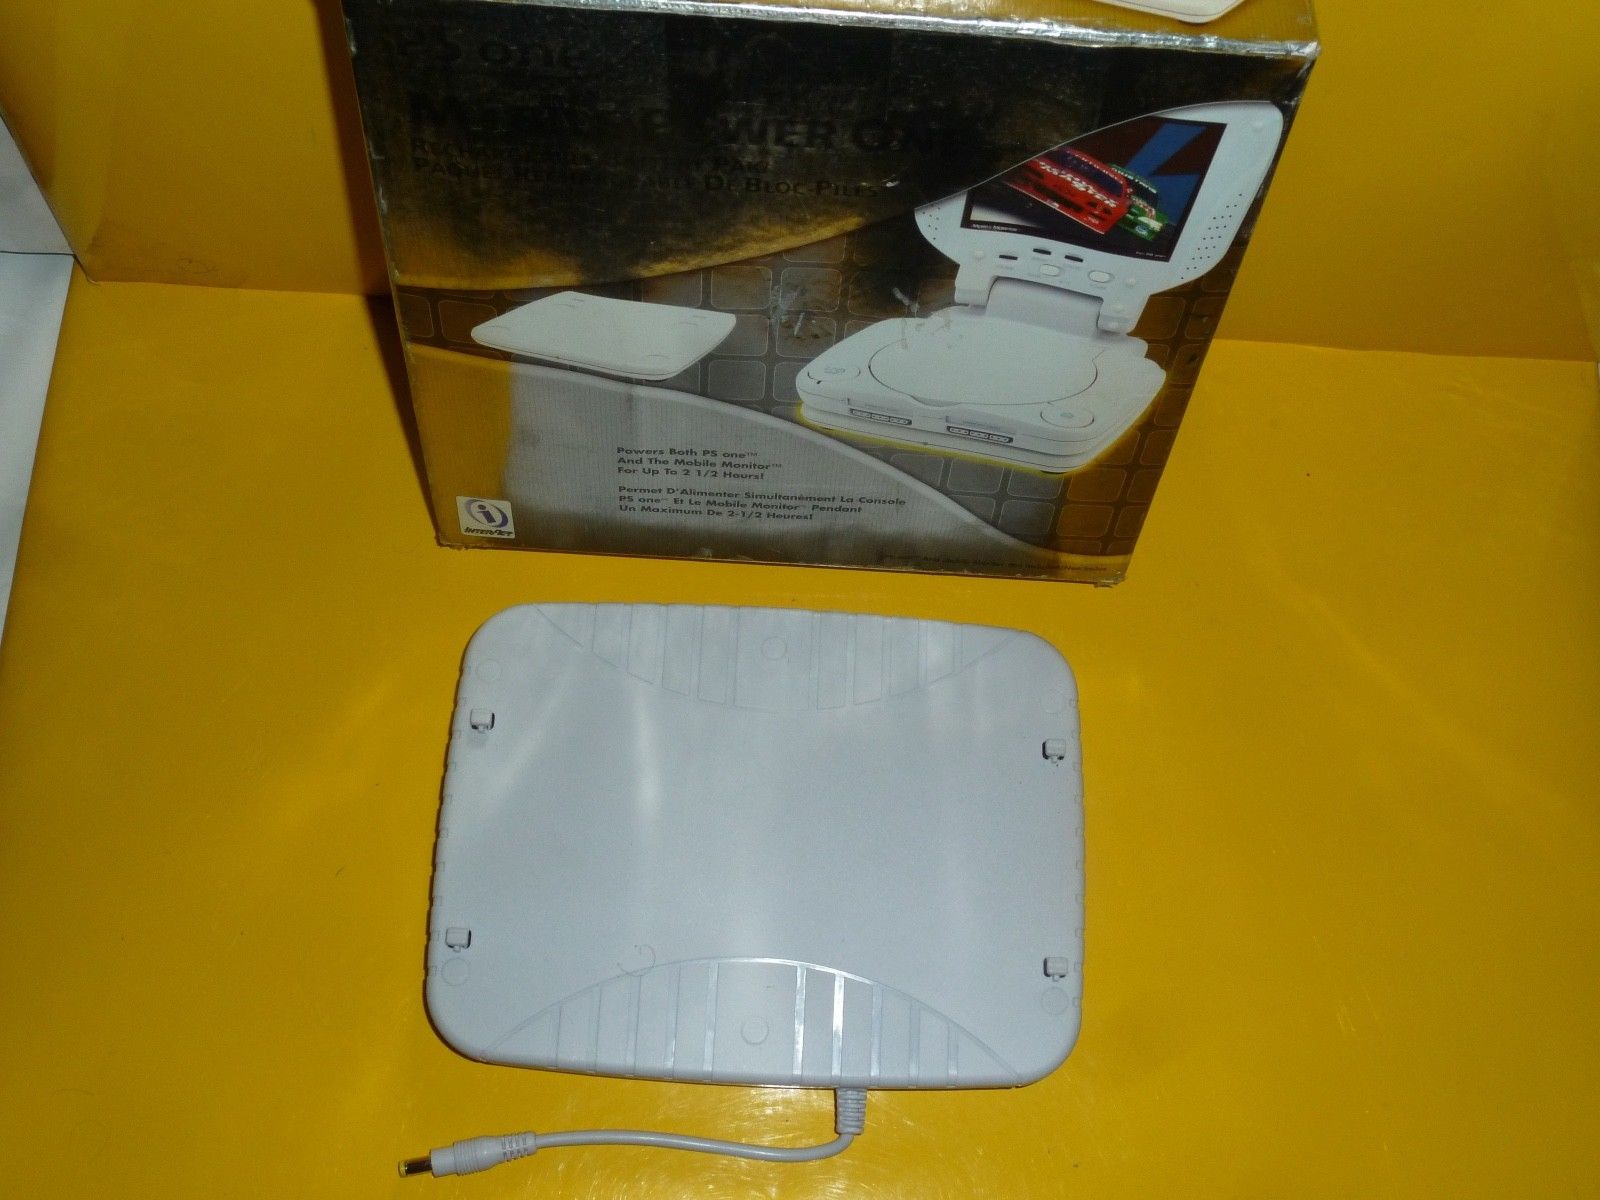
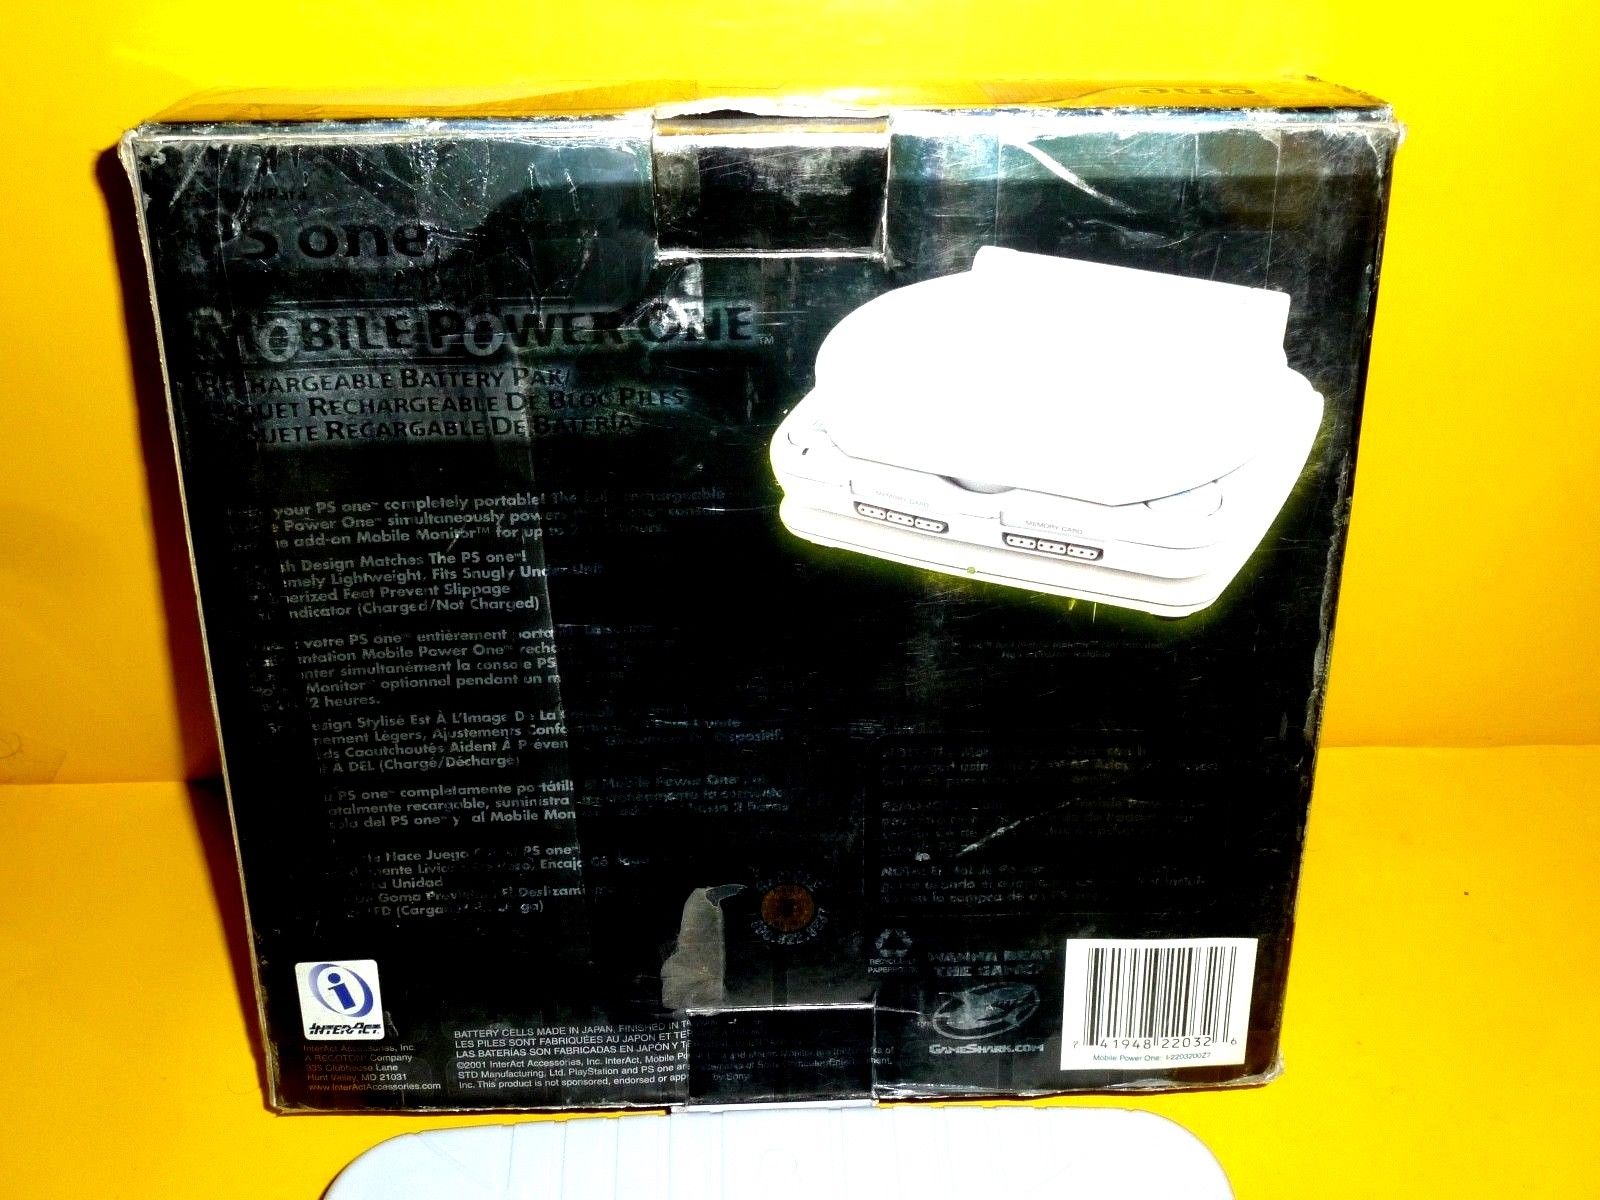
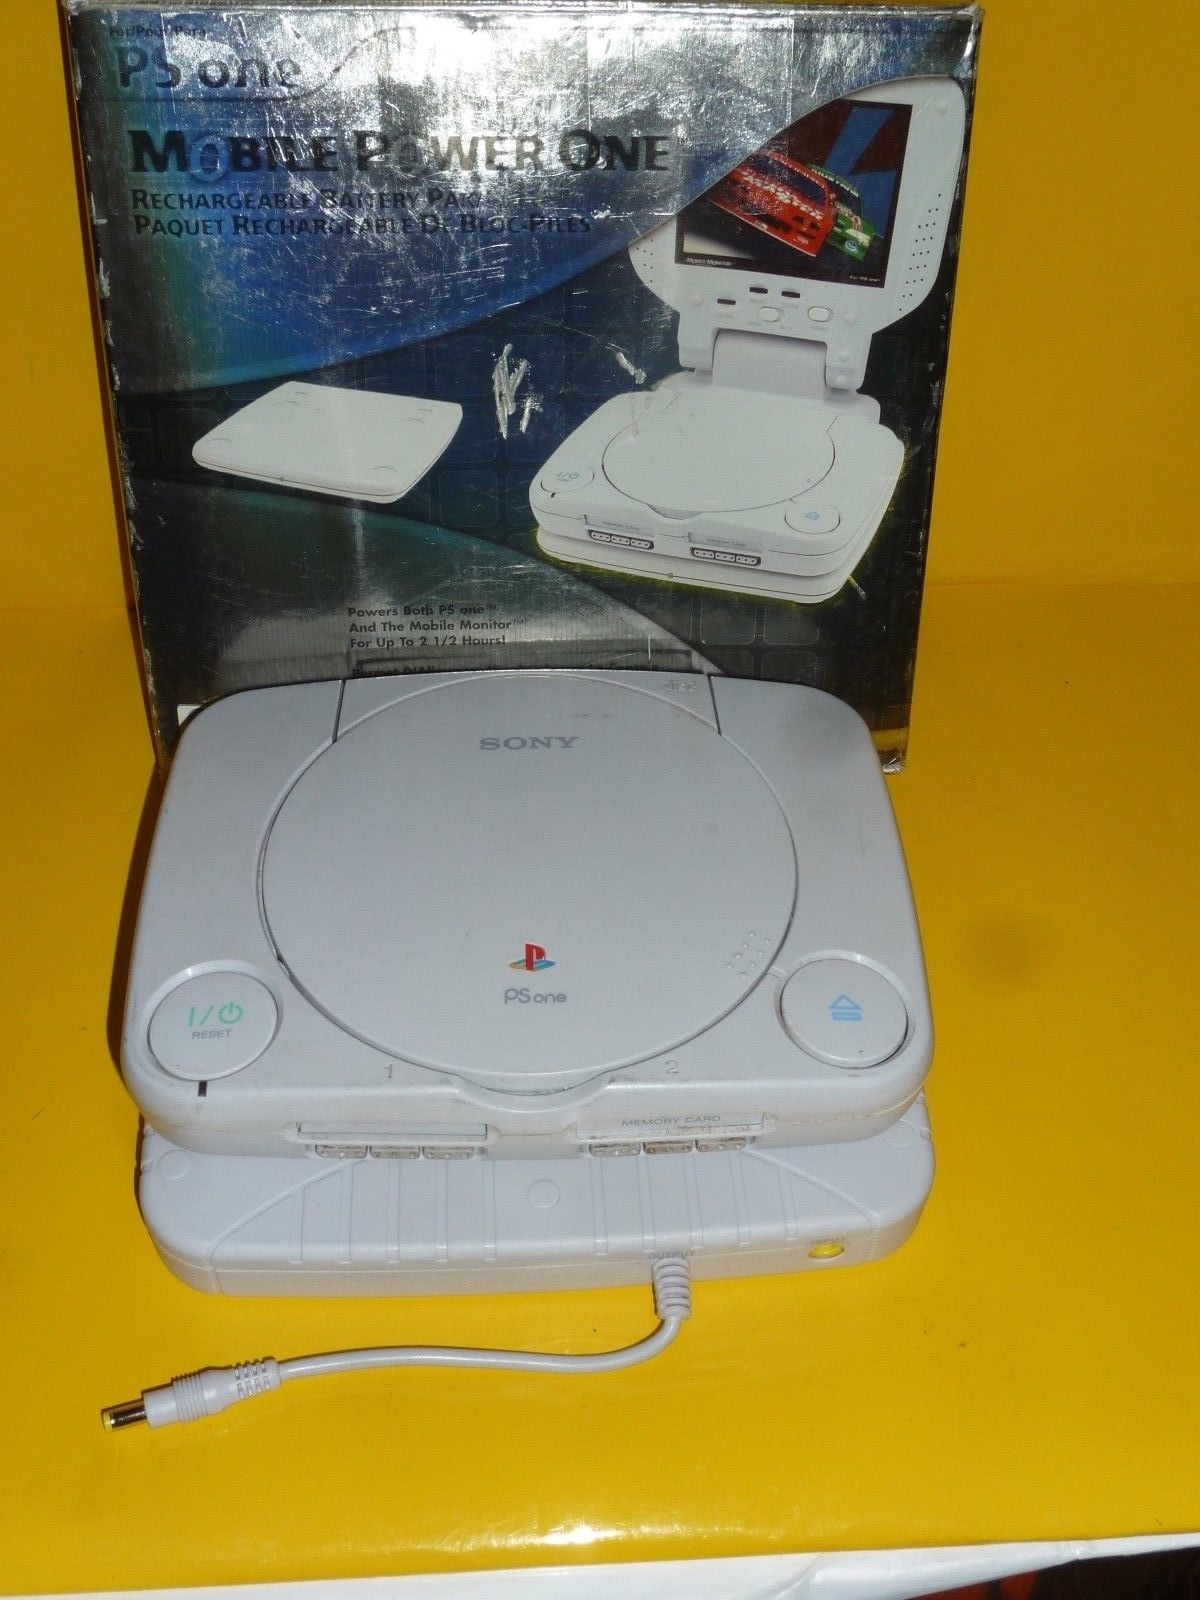
That’s right — I bought a battery old enough to attend college for twenty dollars. When it arrived in the mail, I removed the bulky accessory and its clamp from the shipping package. Three LED lights on the front indicated the battery status, and a small switch was to the right of this. There were no other markings, switches, or indicators of any kind, other than a spot for the power plug from the console. I decided to open the battery to find out what made it tick. That's when I entered phase two of this adventure. Eventually this will end with me playing a game of Castlevania: Symphony of the Night in a Panera Bread. But for now, it ends with a torn-apart battery pack on my workbench.

Next time, we build a battery pack out of individual NiMH cells.