Monitoring and Power Control on a Dime (The Web Power Switch Pro from DLI)
Author’s Note: I am not endorsed by, nor have I been compensated by, DLI. (Note: Make sure to see Parts 2, 3, and 4 in this series, where we explore other details, including CSV writing, APIs, and more!)
We’ve all been there—you’re working on a very expensive piece of hardware when suddenly, rain falls inside of your home or office. As a somewhat unnatural occurrence, you discover the source of the rain is an overflowing toilet on the second floor. As you gasp, running toward the server or your storage device, you become painfully aware of the fact that you have no backups. (You should, and your colleagues should, but…do they?) Fortunately, you get there in time, sheltering your precious storage from the torrent of water. But what if you weren’t at home? What if you weren’t in the office that day?
Catastrophic environmental disasters happen, whether the air handlers give out in your server space, or the humidity rises to a dangerous level, or someone clogs a toilet upstairs. Environmental monitoring is a key component of any sound IT business continuity or disaster recovery plan. Yet, many server spaces and offices lack basic temperature and power monitoring. For that reason, we’re going to talk about environmental monitoring, and how you can get it for cheap (under $199 with no strings attached).
But first, what is environmental monitoring and why would you want it on premises in your office or home? What if you store all of your vital information or computing power in the cloud?
My basic definition of an environmental monitor is some hardware, software, or combination system, with an array of sensors, each attuned to a different variable of the installation. These sensors capture those variables at predetermined increments, record deltas, and alert or document the observation.
So that’s great…watching the floor for wet spots and all. But more than that, these systems can save countless hours of your time. Tedious restoration of laptop images, downloading thousands of backed-up files, restoring mailboxes, or replacing damaged networking/VoIP/printing/projecting/presentation equipment, can all be avoided with a careful eye toward the office space or lab. There are many levels of sophistication in the systems that can keep that careful watch for you—some as simple as temperature gauges with attached analogue phone lines. Others are so complex, they rely on cloud architecture and relays to transmit their measurements to a central reporting server.
To get started in this world, you can either build your own system or buy one that is preconfigured and manufactured for a set of criteria that you define when you order or plan out your kit. Before you do that, however, careful consideration should be taken on what dangers your location could face and what data points to measure. In short, what are we looking for?
Temperature - This one is obvious and nearly ubiquitous in any installation. It’s also a primary failure factor in a lot of equipment. Generally, heat is a killer of electronics, so monitoring for its presence is an easy enough consideration. But beyond that, what are the normal temperature swings in your environment? Is your cooling system active or passive? Some environmental monitoring systems can measure airflow, while others rely strictly on a temperature probe for measurements. Others can measure heat index, and some can even identify current drawn by air handling equipment. Which of these you choose to monitor is entirely dependent on the location.
Humidity - Another killer of equipment and another commonly measured variable in a location behind plain temperature, 40% - 60% relative humidity is a pretty good rule of thumb for any space holding electronic equipment. If the humidity is too low, static electricity can build up in components, causing damage to sensitive circuits and hardware. If humidity is too high, condensation can form, causing water damage or shorts.
Fire / Smoke - Smoke monitoring is a good idea, even if a place has adequate fire suppression and smoke detectors. While an Inergen system can save your server room, not many businesses can afford this, especially on a smaller scale. Further, monitoring for smoke independently of a larger, more reactive system can buy time in the event of an equipment failure. It’s much easier to find a malfunctioning power supply before a fire suppression system discharges into a room, than to try to hunt down that particular power supply in a massive data center. Where did the smoke originate? Strategically-placed sensors can offer granularity in detection and help to pinpoint the origins much faster.
Power - Some systems monitor power, either in current utilization or in voltage presence. Using too much current in a PDU can be a fire hazard. Using too little could waste resources and money on an oversized source.
Water - Flooding is a major cause of equipment damage, and easily monitored. But where does your water come from? Contact sensors can detect water flowing on a horizontal surface, like a data center floor. But perhaps you are more worried about water coming from above? Some sensors can measure water above racks and on wiring.
But what if you have no money for this?
Behold: the deliciousness sensor.
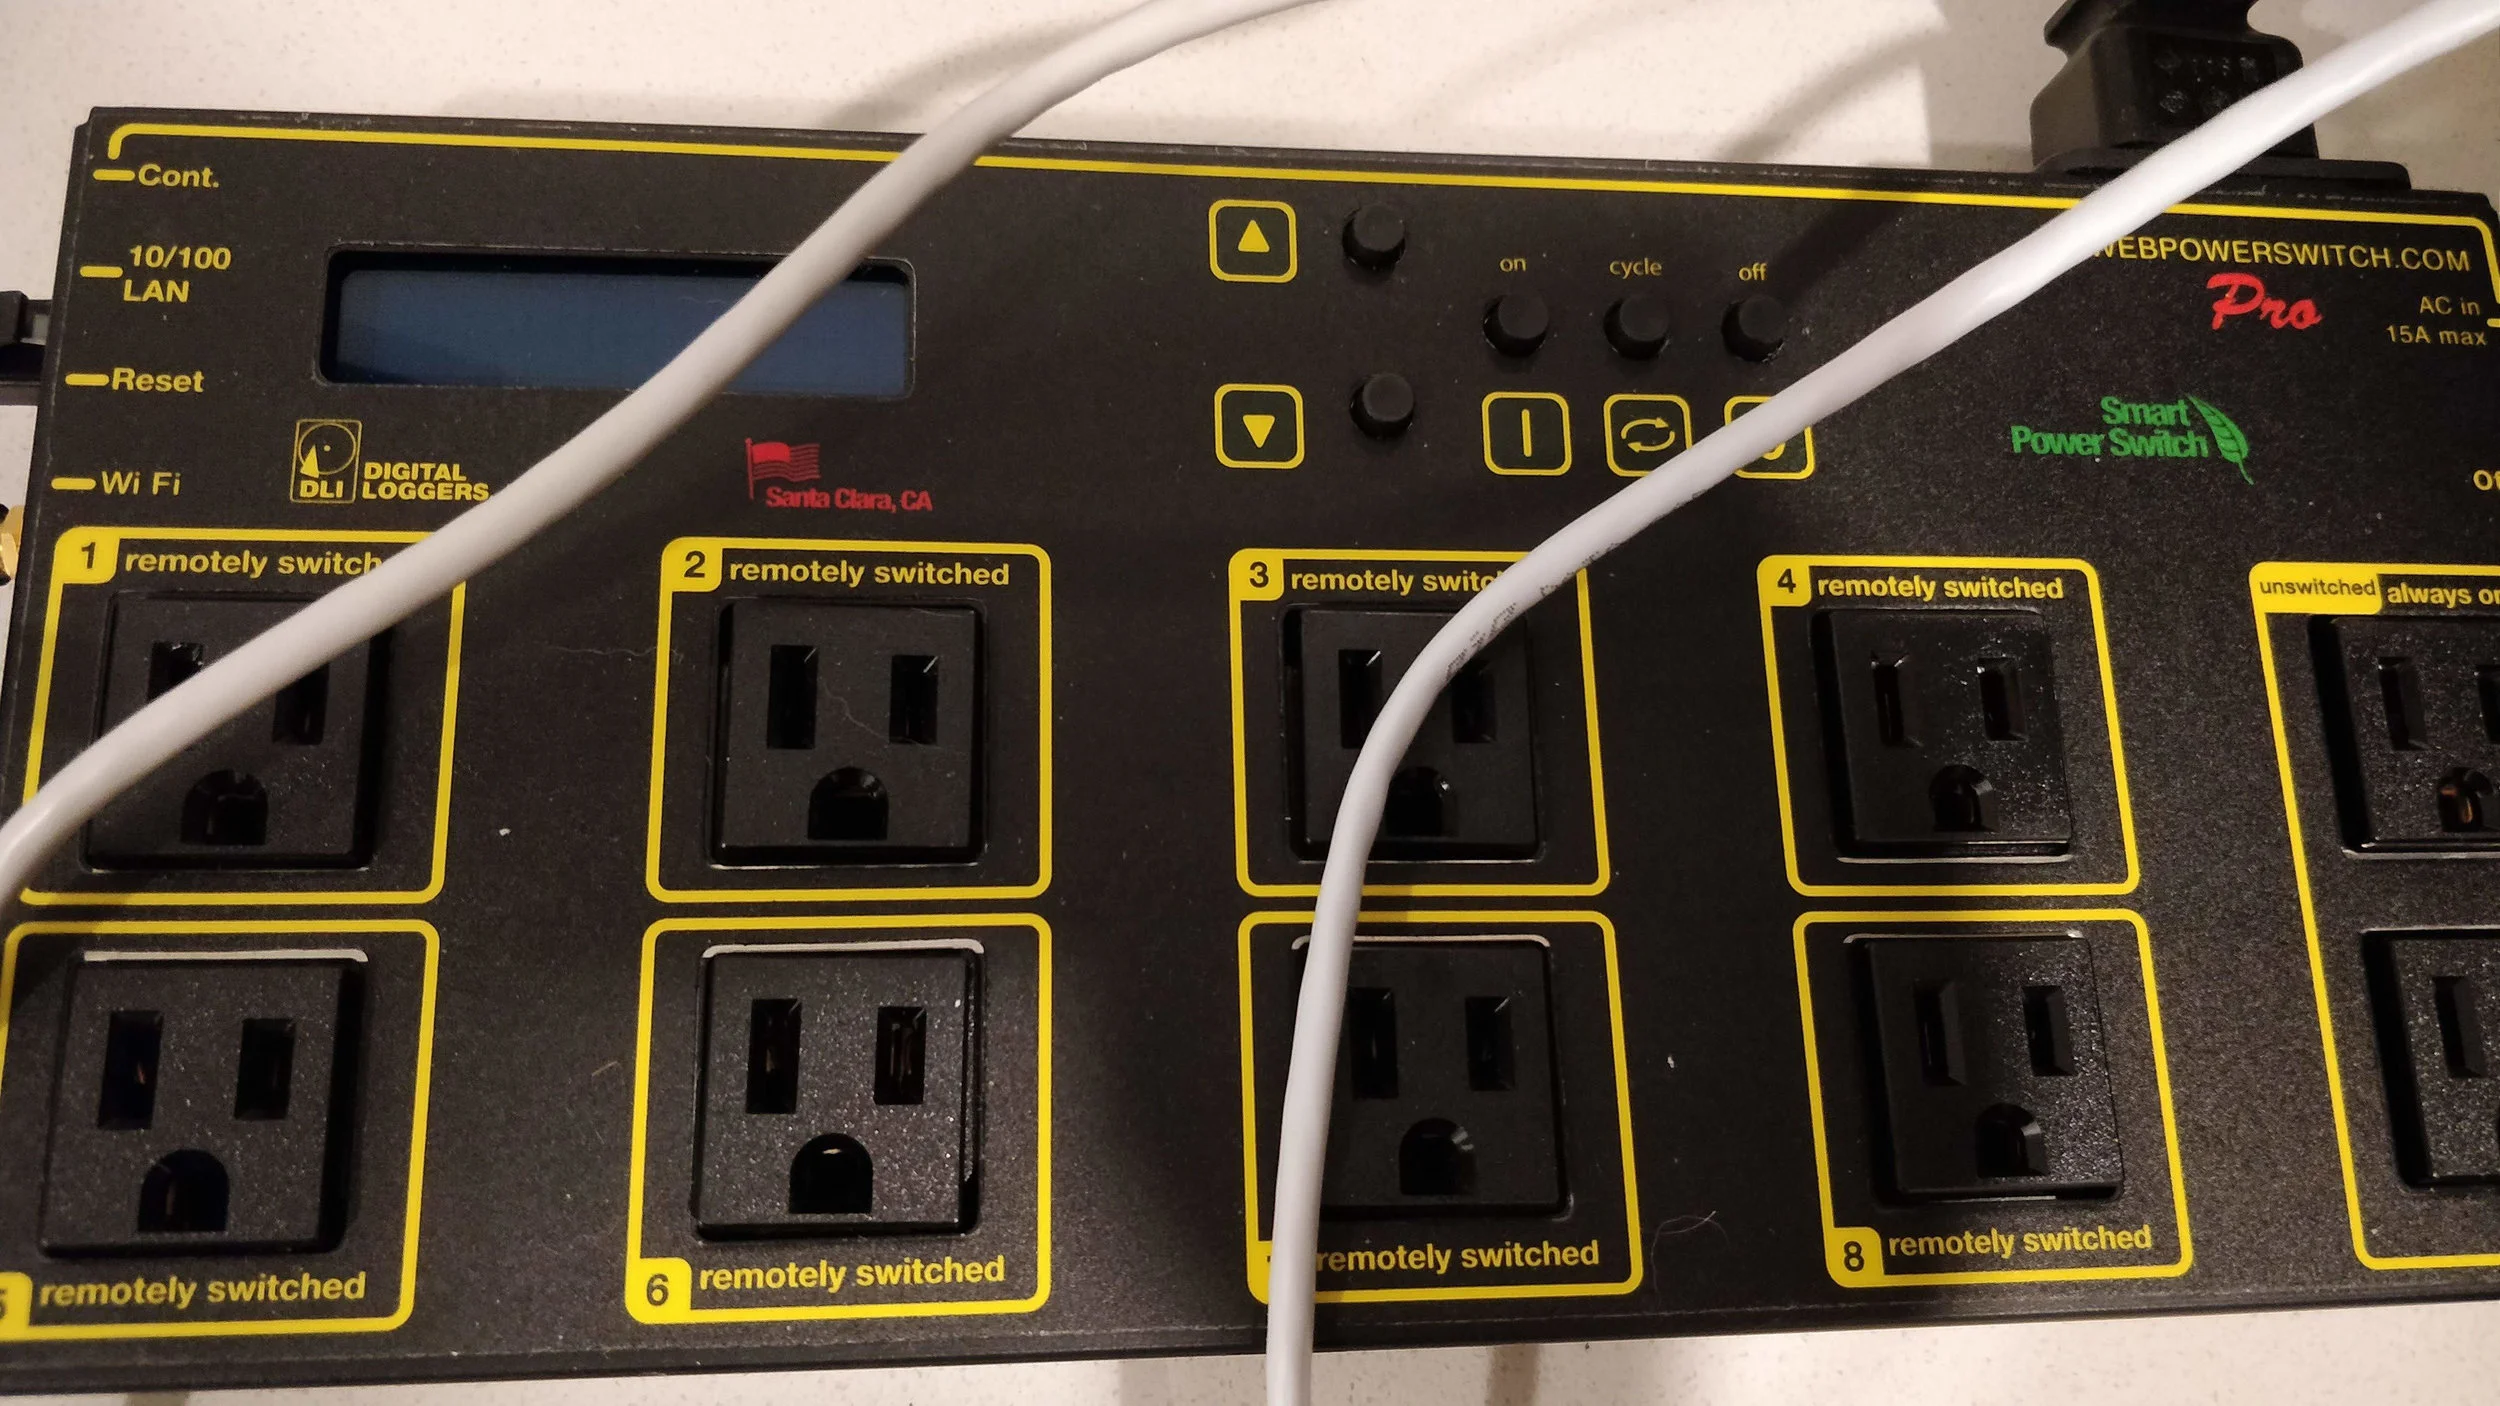
A while back, purchased a Pro Switch 7 from Digital-Loggers for a small business owner that needed environmental monitoring. This device looks like a heavy-duty, apocalypse-ready power strip that would be used to power a set of small business servers or even a little rack of equipment. Eight individual 15 Amp circuits on web-controllable, programmable (Lua) relays. Warning beeper. Built-in wifi access point with OpenWRT. And, most importantly, temperature monitoring and logging. Brand new, these go for about $170, but you can find them on steep discount on eBay or the second-hand market. I would recommend that you pick one up directly from Digital Loggers though, as their customer service is top notch, and these switches are worth every penny in terms of build quality and components.
To put together your temperature monitor and connect it to the switch, you’ll need to find some DS18B20-based sensors at your favorite online electronics store. These are relatively inexpensive and can be found in nearly any location that sells bulk electronics equipment. As a fairly common part, the DS18B20 is a one-wire digital temperature sensor that is reasonably accurate (±0.5°C in most normal operations).
Once you receive the sensor, unpack it and take note of the wires. Usually these come with three different wires: a red, a black, and a some other color. For me, that’s yellow. Pay special attention to what they are on the specific sensor that you get! On the first link that I posted, Red is data, yellow is VCC, and black is ground.
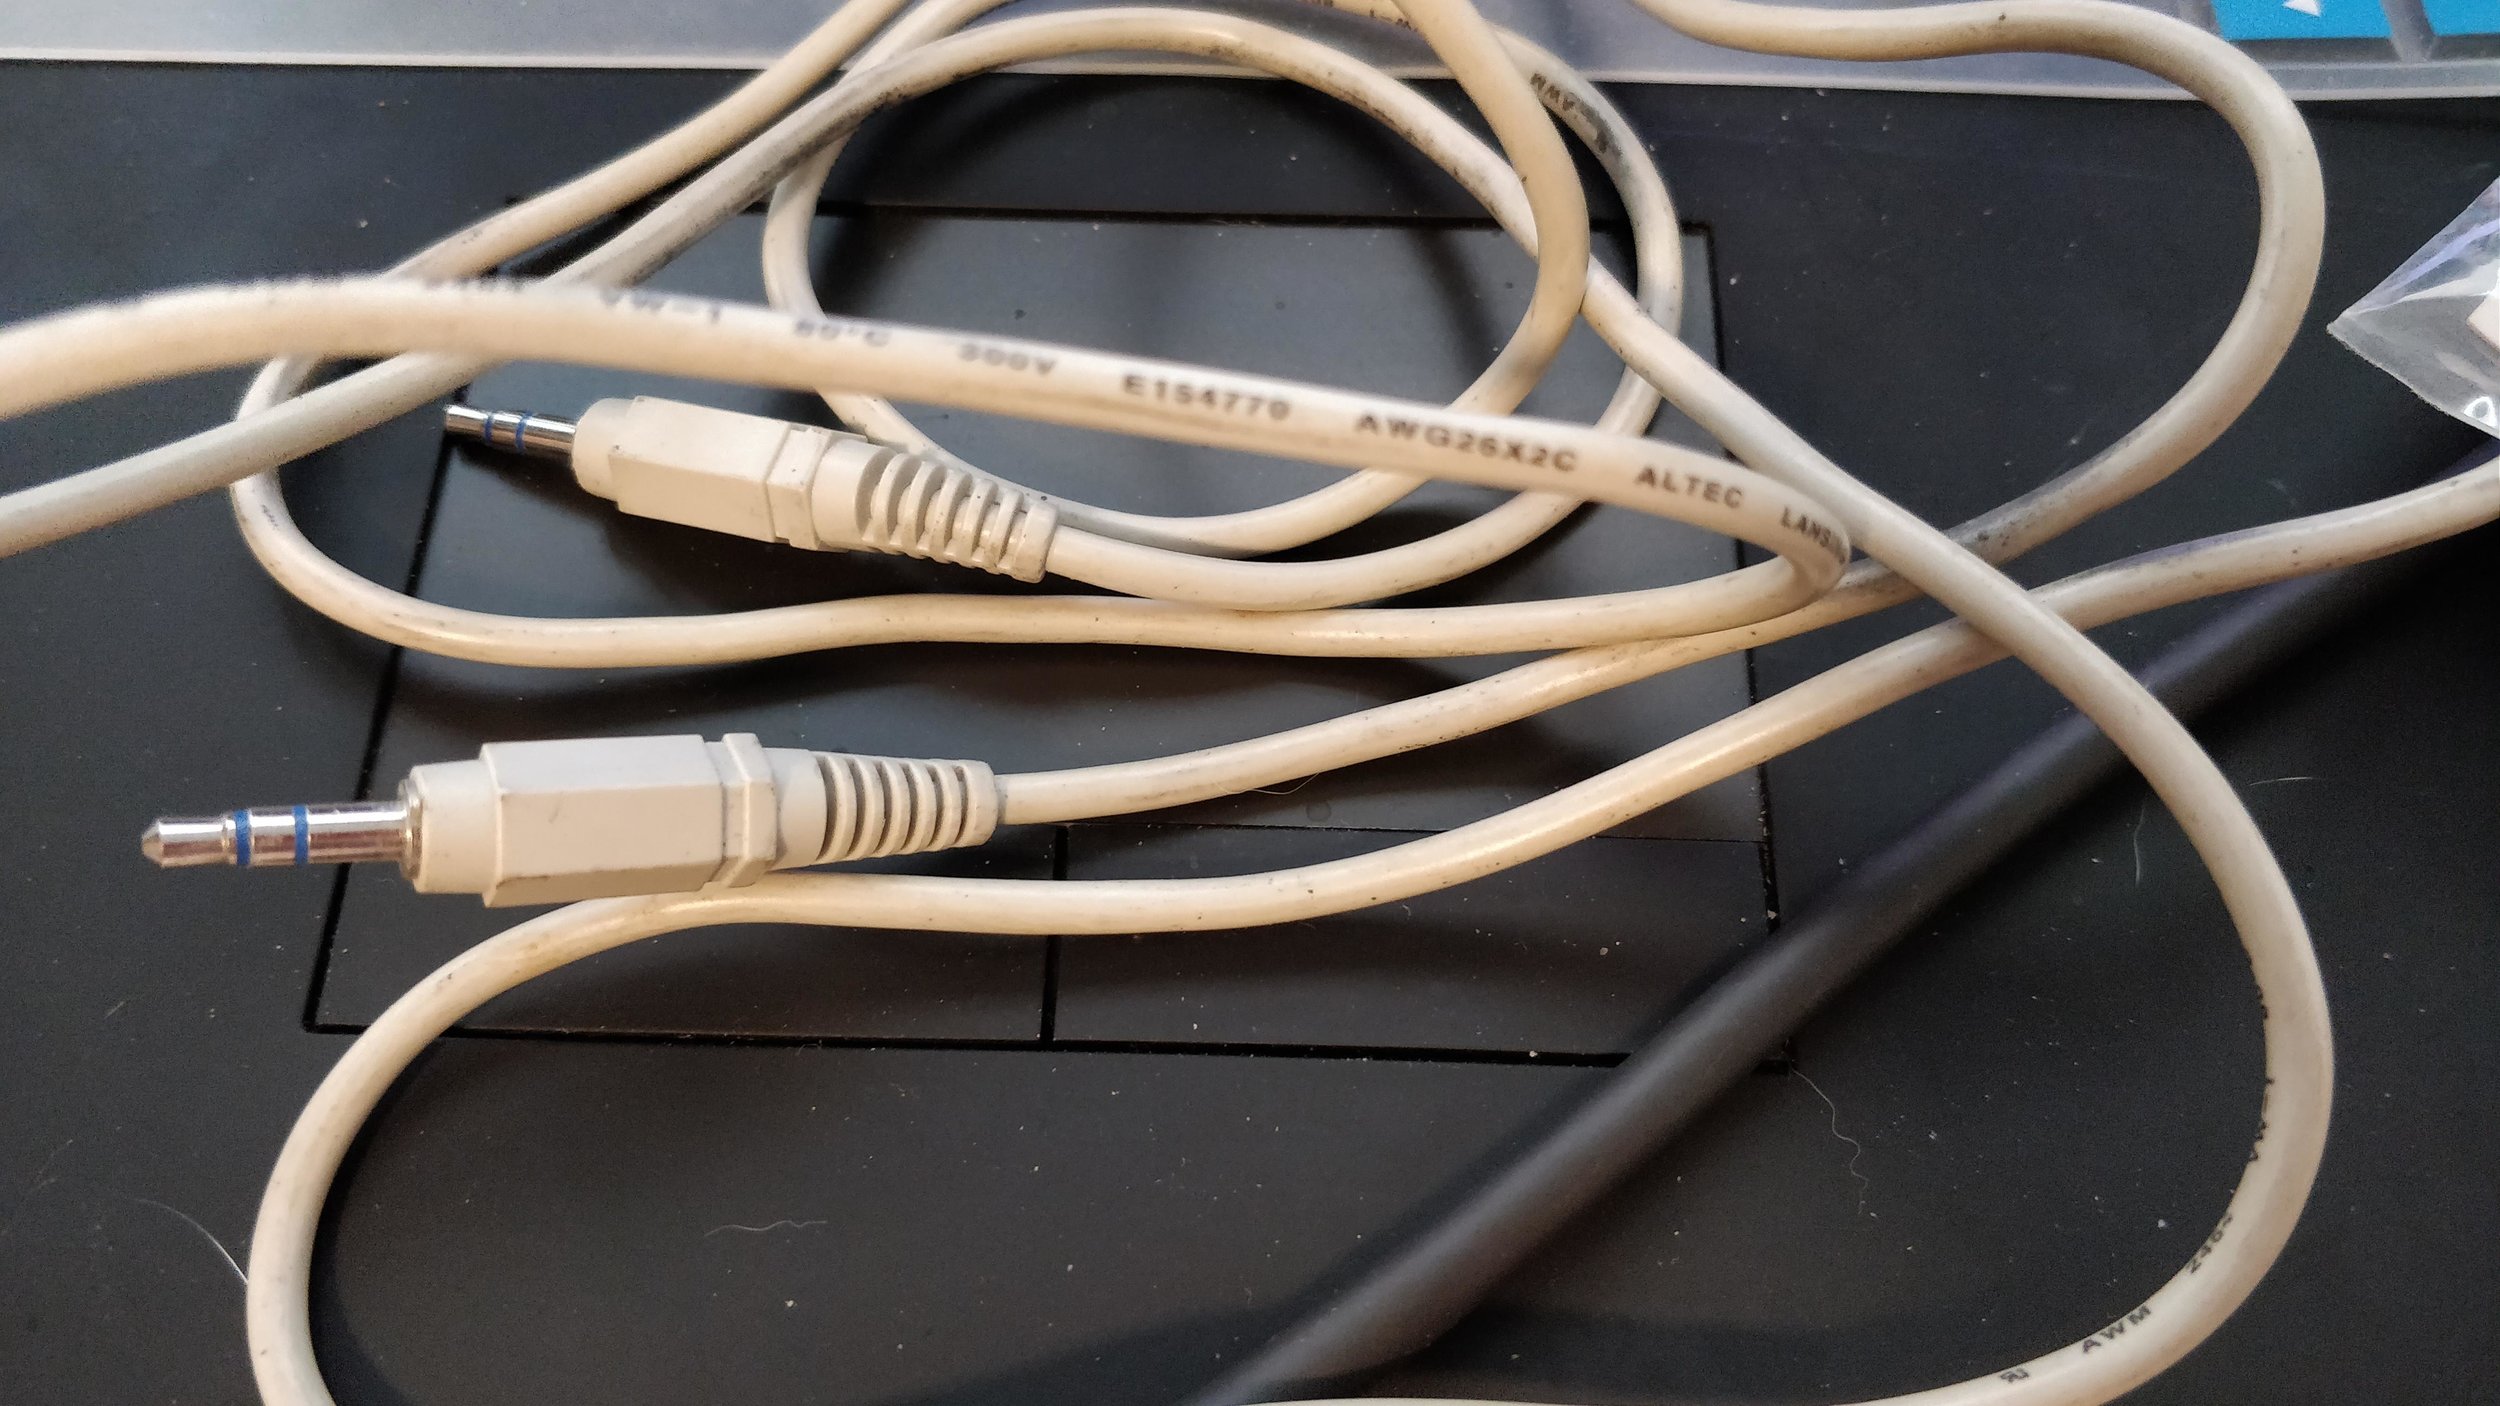
Next, find an old pair of headphones or an audio cable with a 3.5 mm headphone jack. The only real requirement here is that you need to solder to to the sensor wires, so picking something with thick enough wiring to solder to is probably the ideal candidate. In my case, I will strip the insulation off of the wire on the two leads. The jacket is ground.
Begin soldering! On the Pro Switch, the following is the pinout of the small headphone jack below the wifi antenna:
The tip of the jack will provide 5 volts DC.
The center ring of the jack will be for TTL data.
The sleeve (part closest to the wire of the plug) is ground.
You may need to use a multimeter in continuity mode to figure out what order your cable’s wires are in. Once you do, be sure to wire your sensor so that the corresponding leads on the DS18B20 go to each segment on the plug. Wrap everything well, especially if you are going to be placing the sensor in a place where it will be exposed to extreme elements or swings in temperature.
Once your sensor is wired up, plug it into the Pro Switch. If you wired it correctly, temperature data can be seen almost immediately once the “energy monitor” tab is clicked in the web GUI.
Note: On the data sheet for the DS18B20, it is mentioned that a pull-up resistor is required. This isn’t true for our uses here.
And what about monitoring? The default temperature meter should work, but if not, these are the values that will create a small three-zone temperature meter like the one on the left:
For a nice temperature plot over time, you can use the default one, or if that’s gone, you can create a new one with the following settings for one similar to what you see on the left here:
Now your high-quality web power switch also has environmental temperature monitoring as well as a chronological graph of temperature. That’s wonderful, but what happens if the temperature goes out of range? The web GUI cannot be open at all times.
Email notifications can be configured if access to the device is configured in such a way as to allow an SMTP server’s communication with the web switch. If your SMTP server is in the same subnet as the Web Pro Switch 7, then you won’t need to do any configuration for the two to communicate. You may wish to log in via SSH and try to ping your mail server, however.
After switching off “Same subnet access only” in the config menus, you may send outbound emails to Gmail from the web pro switch. Later, I realized that these settings control the firewall underneath the controller’s GUI and I could simply SSH in and modify the rules to allow Gmail’s SMTP servers.
In my next update, I’ll talk more about how the switch can actually update when power loss occurs, or when ping timeouts happen, or when other scenarios occur.


