Colec-No-Vision

1 = Skill 1 / One Player
The ColecoVision had a lot of great arcade ports and definitely holds up well.
I love the ColecoVision. I had one when I was younger, and while I don’t remember too much about the hardware, I do remember enjoying Cabbage Patch Kids, the Smurfs, and a great version of Donkey Kong. The ColecoVision earned a spot under our television and was eventually upgraded with a 2600 adapter to play Atari games. I don’t remember what happened to it, but I always meant to get a new one with a few games.
When I was given the opportunity to look at a broken ColecoVision for someone, I was excited to try some more of those games on the original hardware. When I received the broken console, the owner told me that it didn’t display anything on the screen. I connected the AV wire and dragged the (unnecessarily heavy) AC adapter toward the outlet. After making room for the monolith’s spot in the power strip, I sat down in front of the console and flipped the power switch.

Nothing happened and the screen remained snowy. Other items on the electrical strip were functioning just fine, so I assumed that the console was receiving power. The switch was definitely in the “on” position and everything else was in its proper place, so I decided to pull out a multimeter and measure the voltages of the AC adapter.
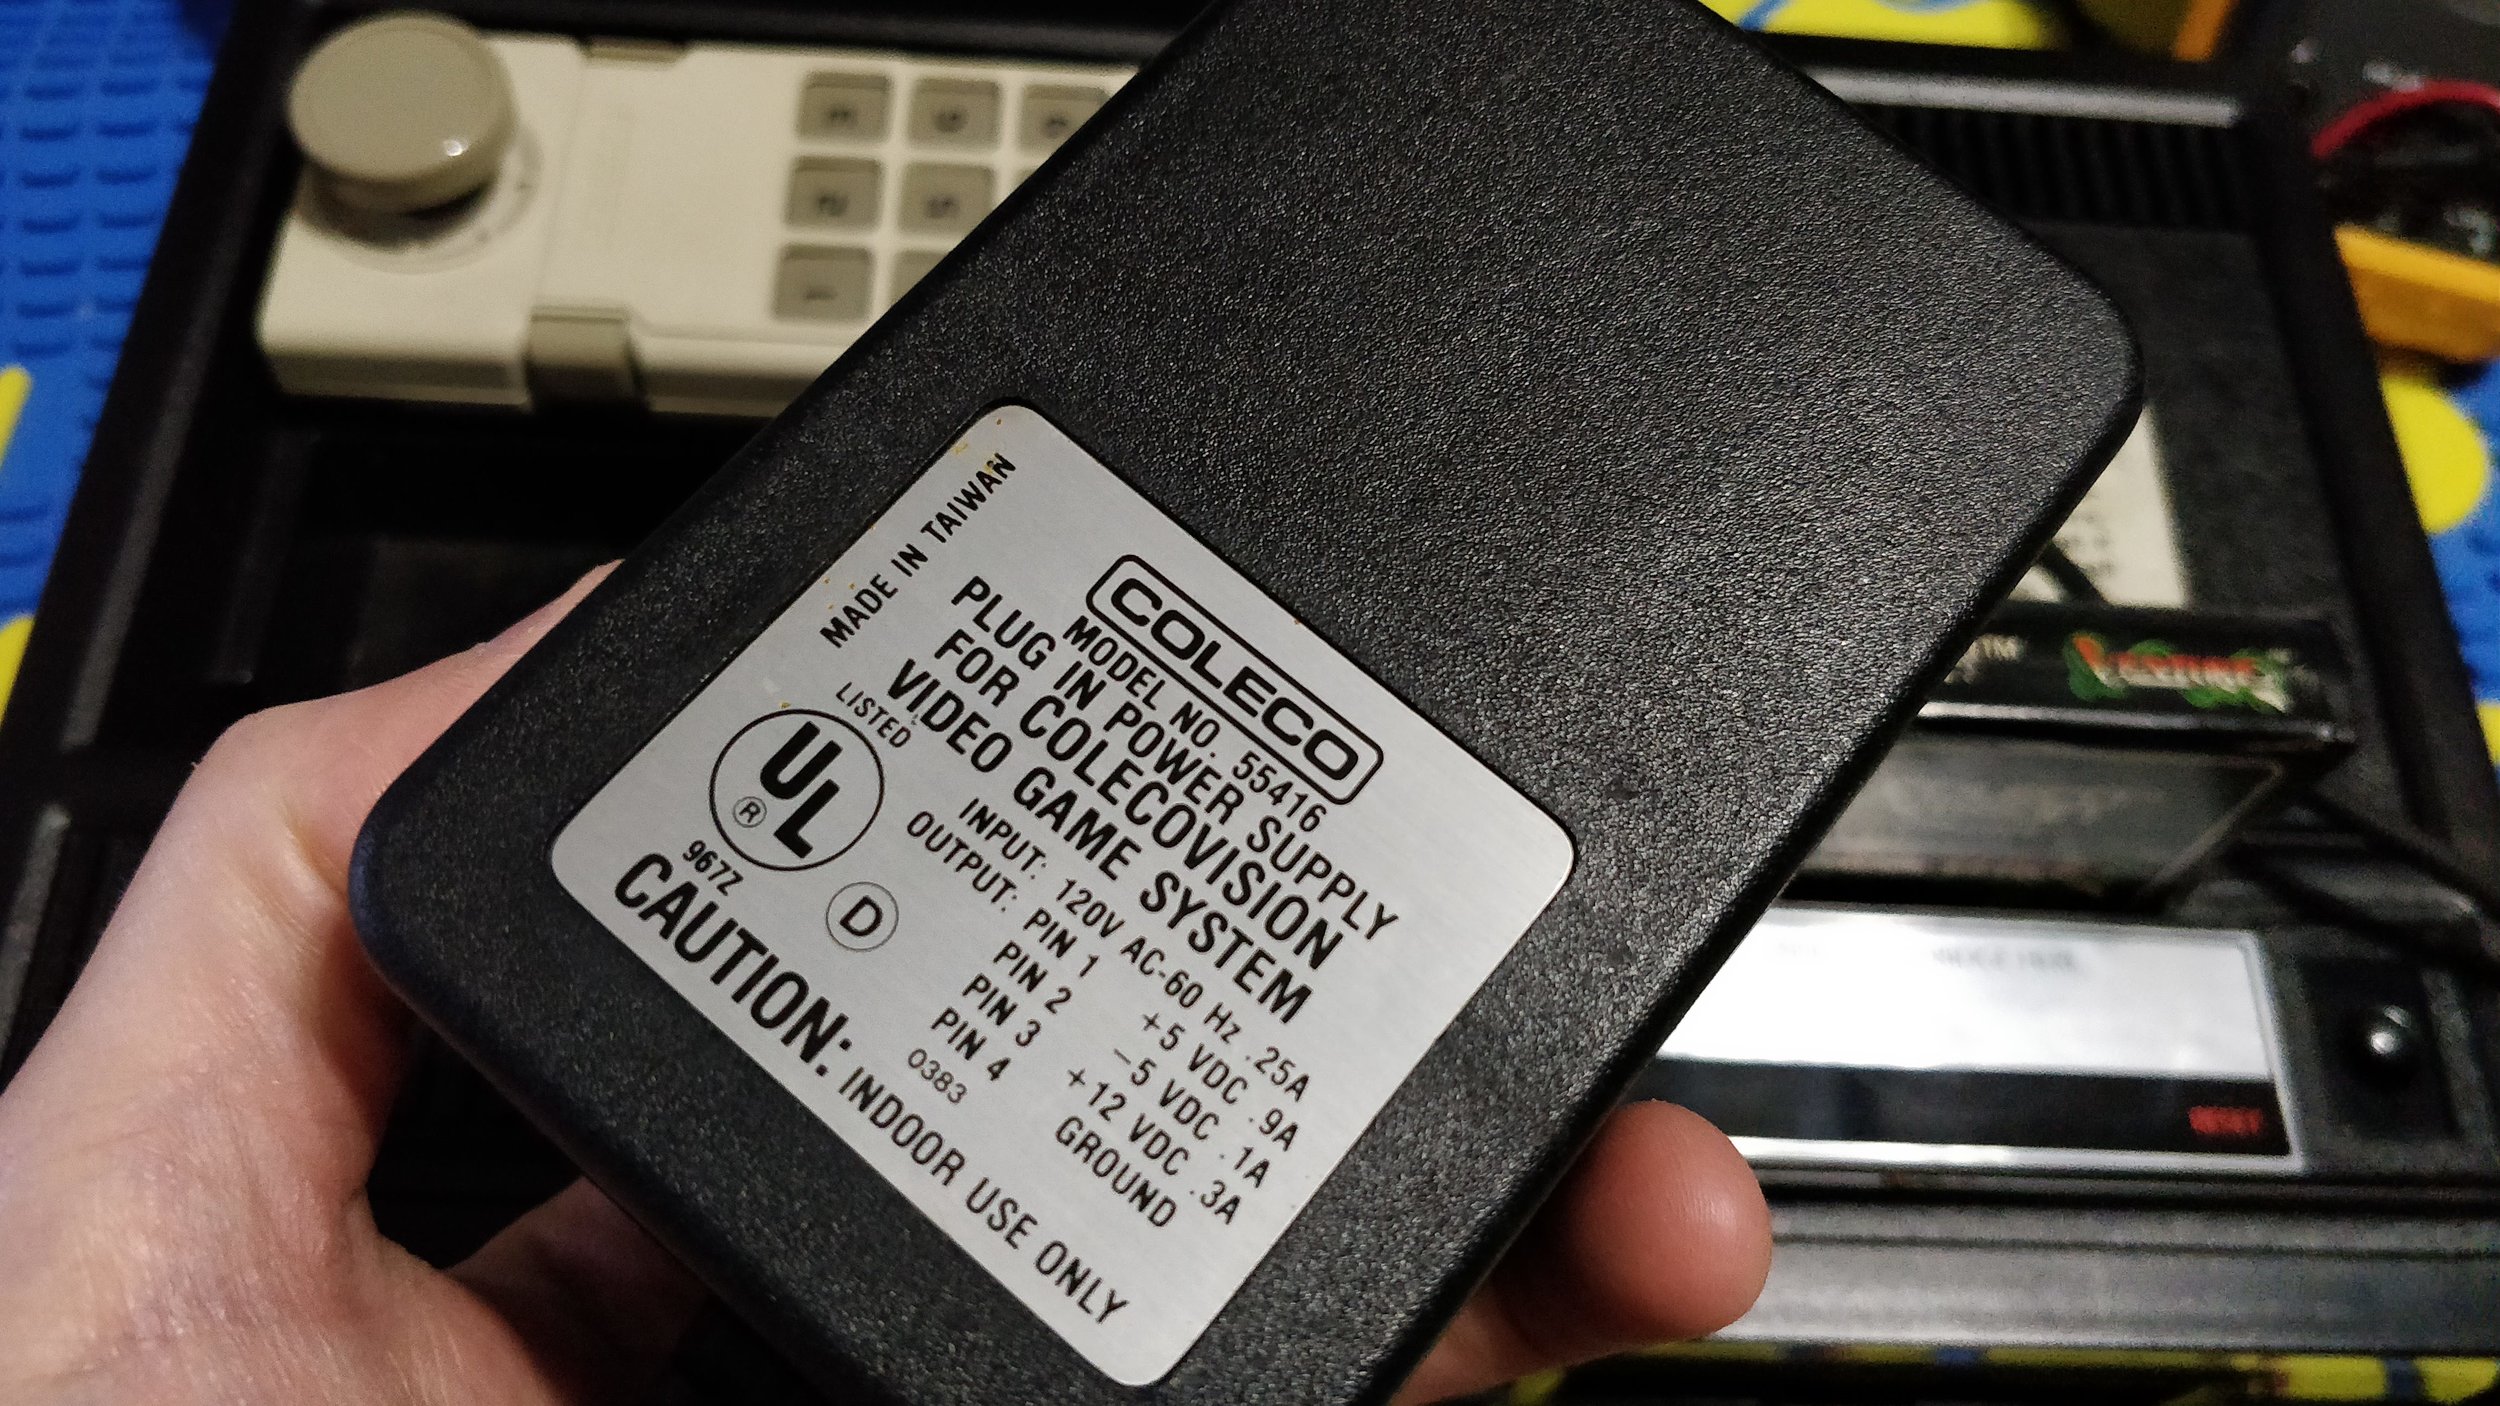
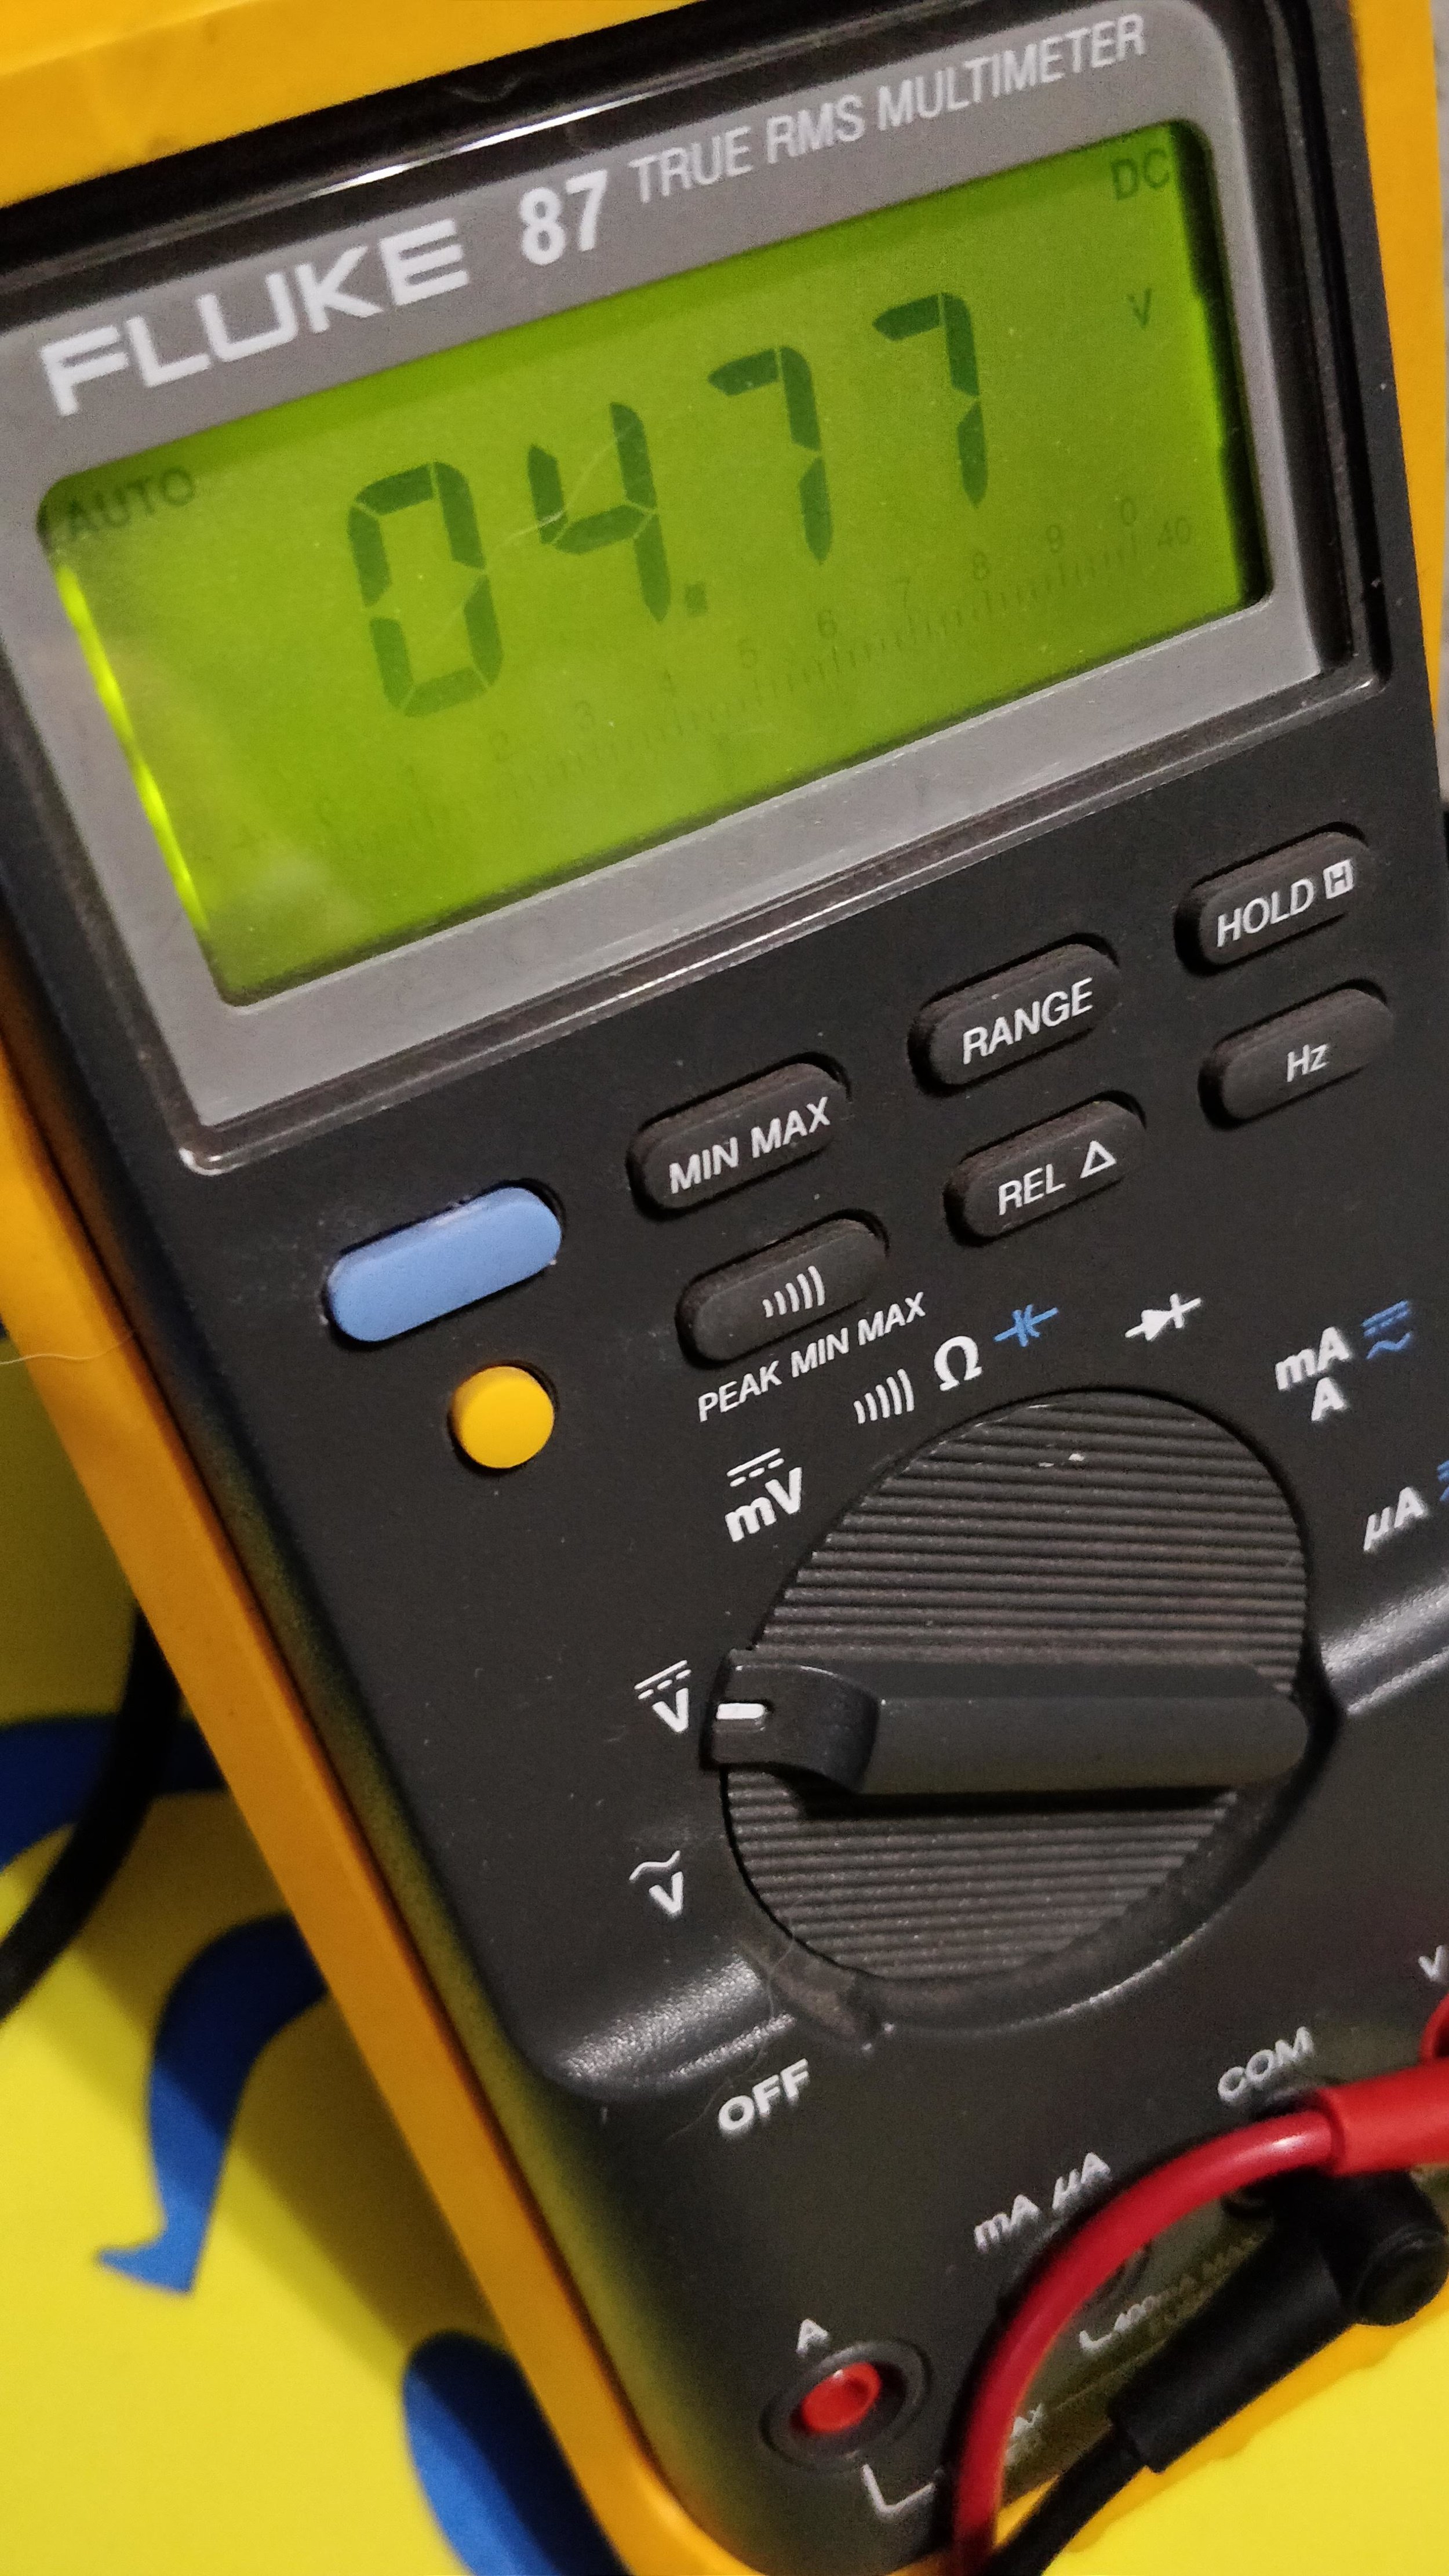
There should be voltages of twelve, negative five, and positive five. The twelve and the negative five were just fine, but measuring the positive five yielded four and some change. I began to get suspicious, but couldn’t accurately measure the voltage while the adapter was plugged into the console. Because of that, I decided to pull the console apart for better access to the plug’s inputs.
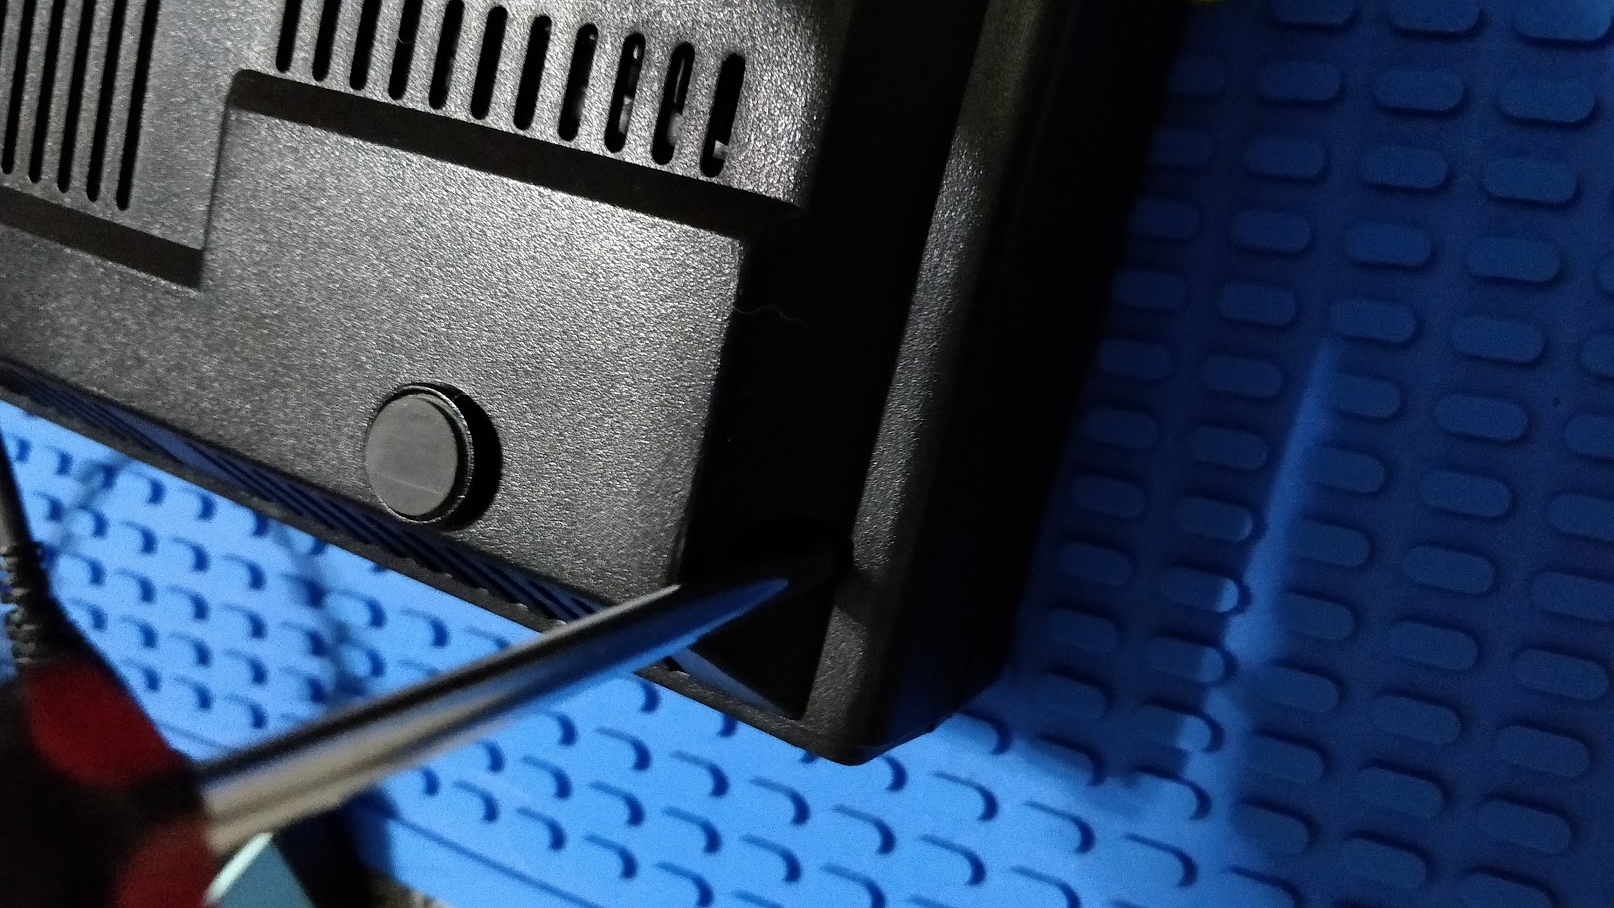
The ColecoVision can be taken apart in two different ways. In one, three different screws are removed from the front panel, under the sticker. Then the remaining screws are removed from the bottom of the console. While this is the most direct (and easiest) way to take the console apart, it requires mangling the sticker on the front of the ColecoVision. The other method of pulling the case apart involves sliding the top of the case forward so that the plastic rim no longer catches on the front plate. That requires getting a little “rough” with the console. I chose the first method, but tried to be as careful as possible not to rough up the adhesive or the sticker too much.
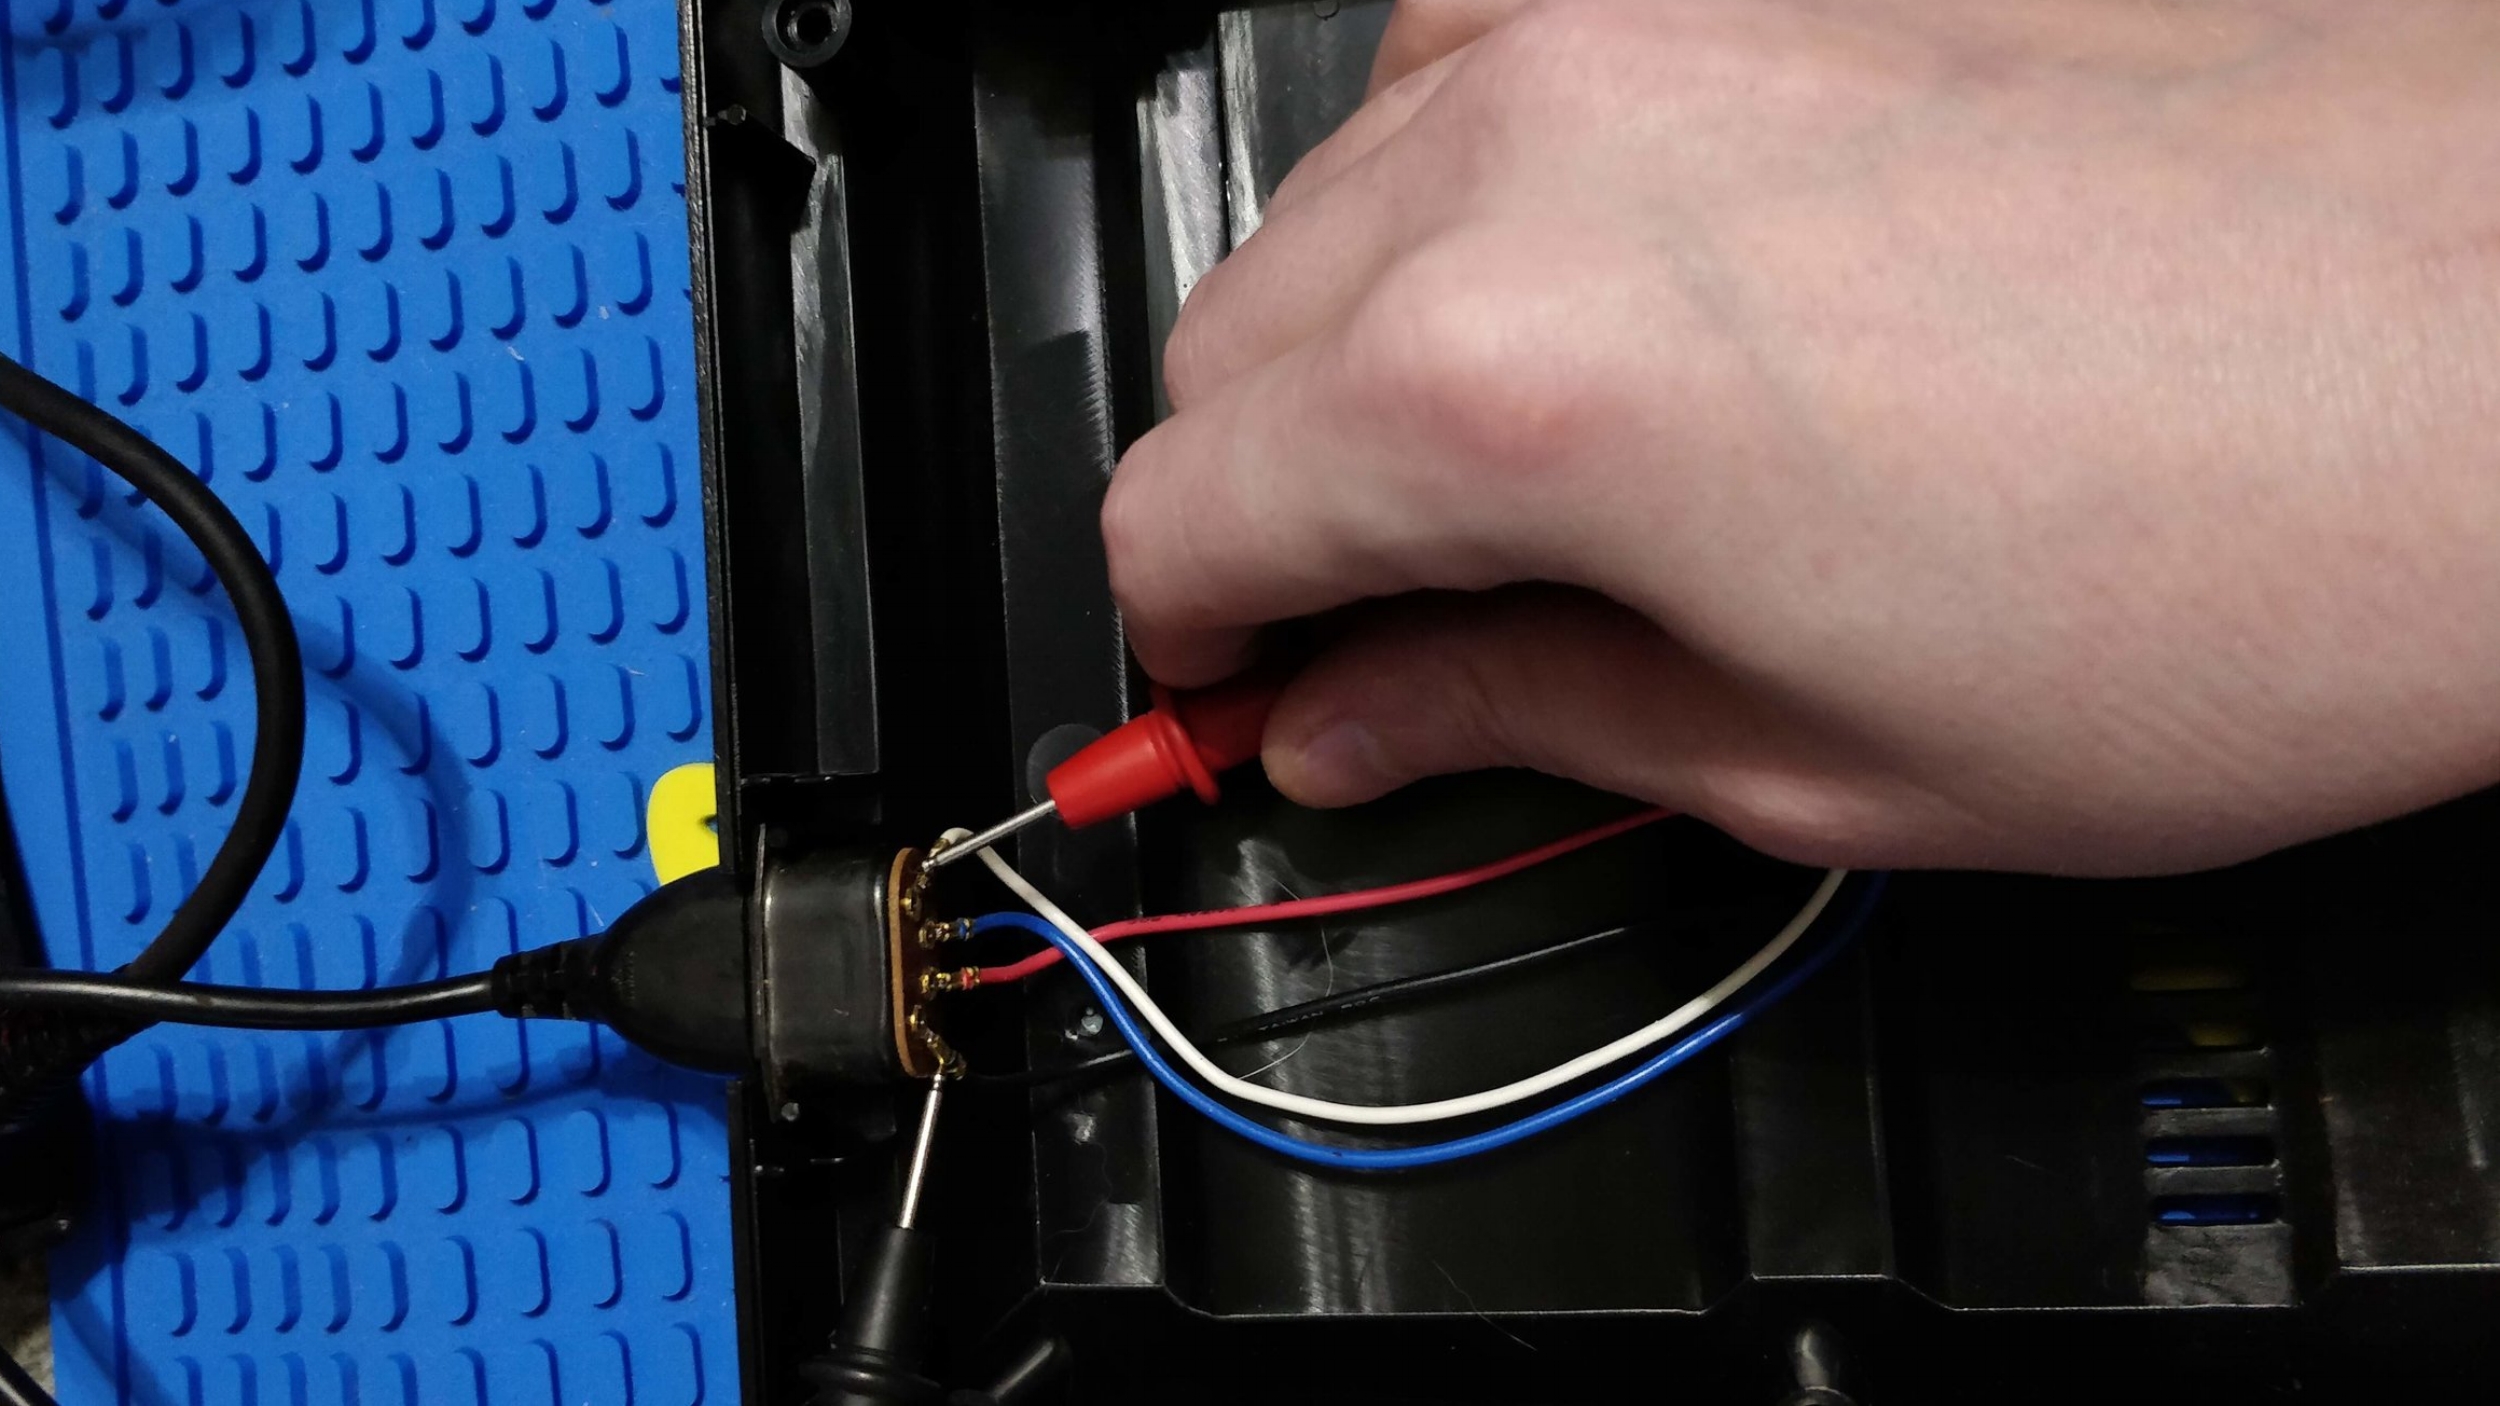
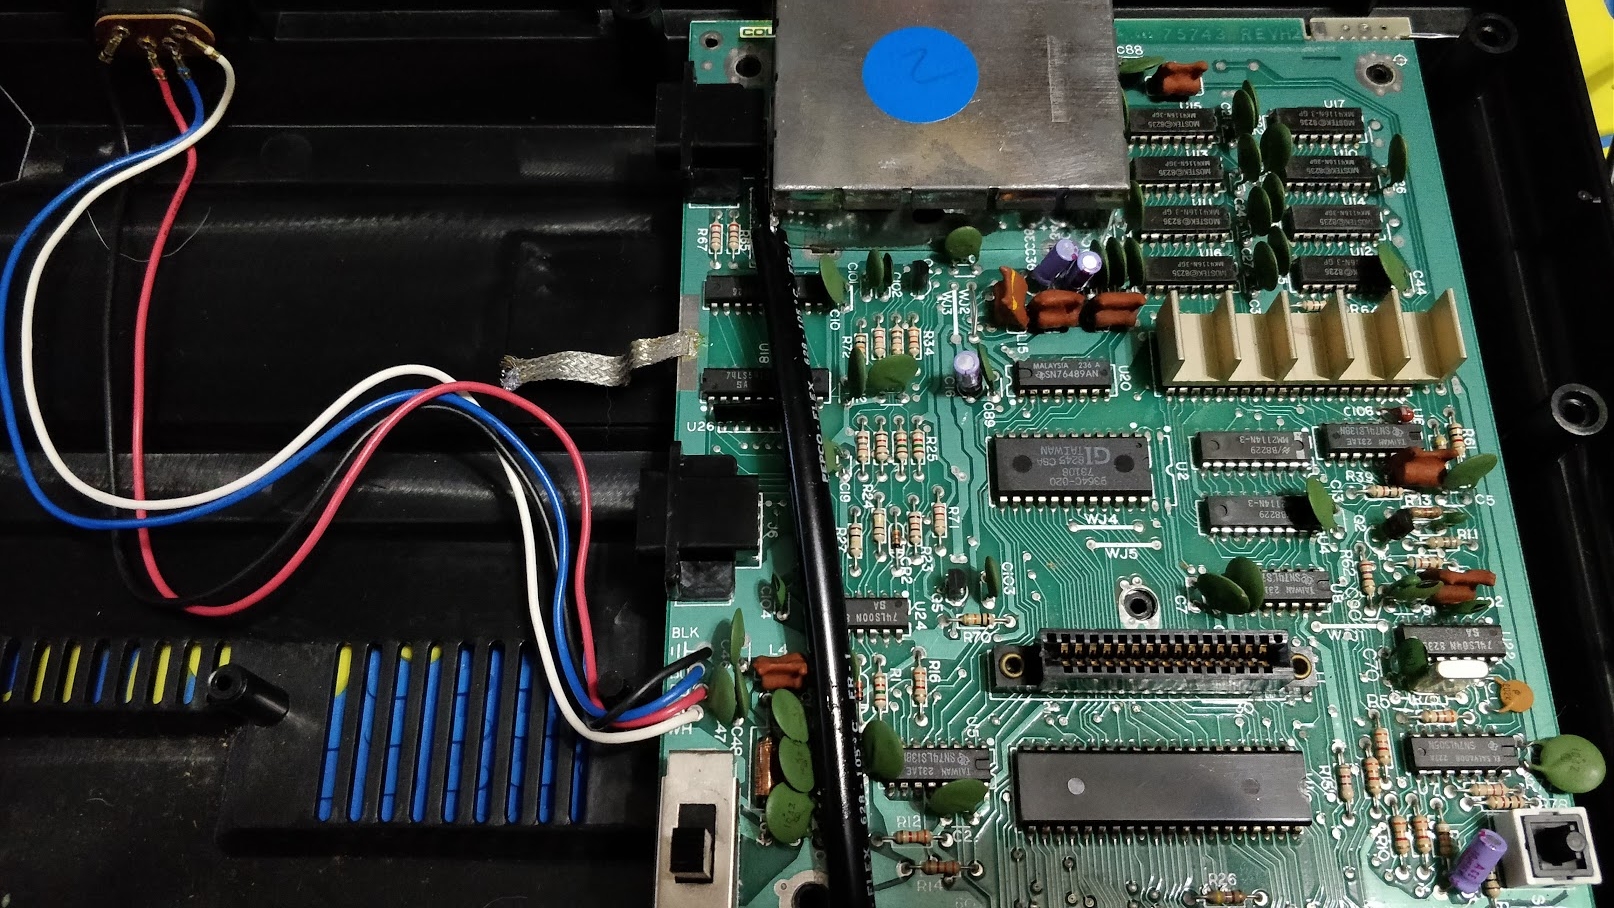
Once i had the console apart, I measured the input from the socket’s connection points. At the rear of the socket, the multimeter’s probes got five, twelve, and negative four with some slop, once again. But something strange happened once I turned the power on — negative five dropped away completely and turned into a big zero on the multimeter. It was the power adapter.
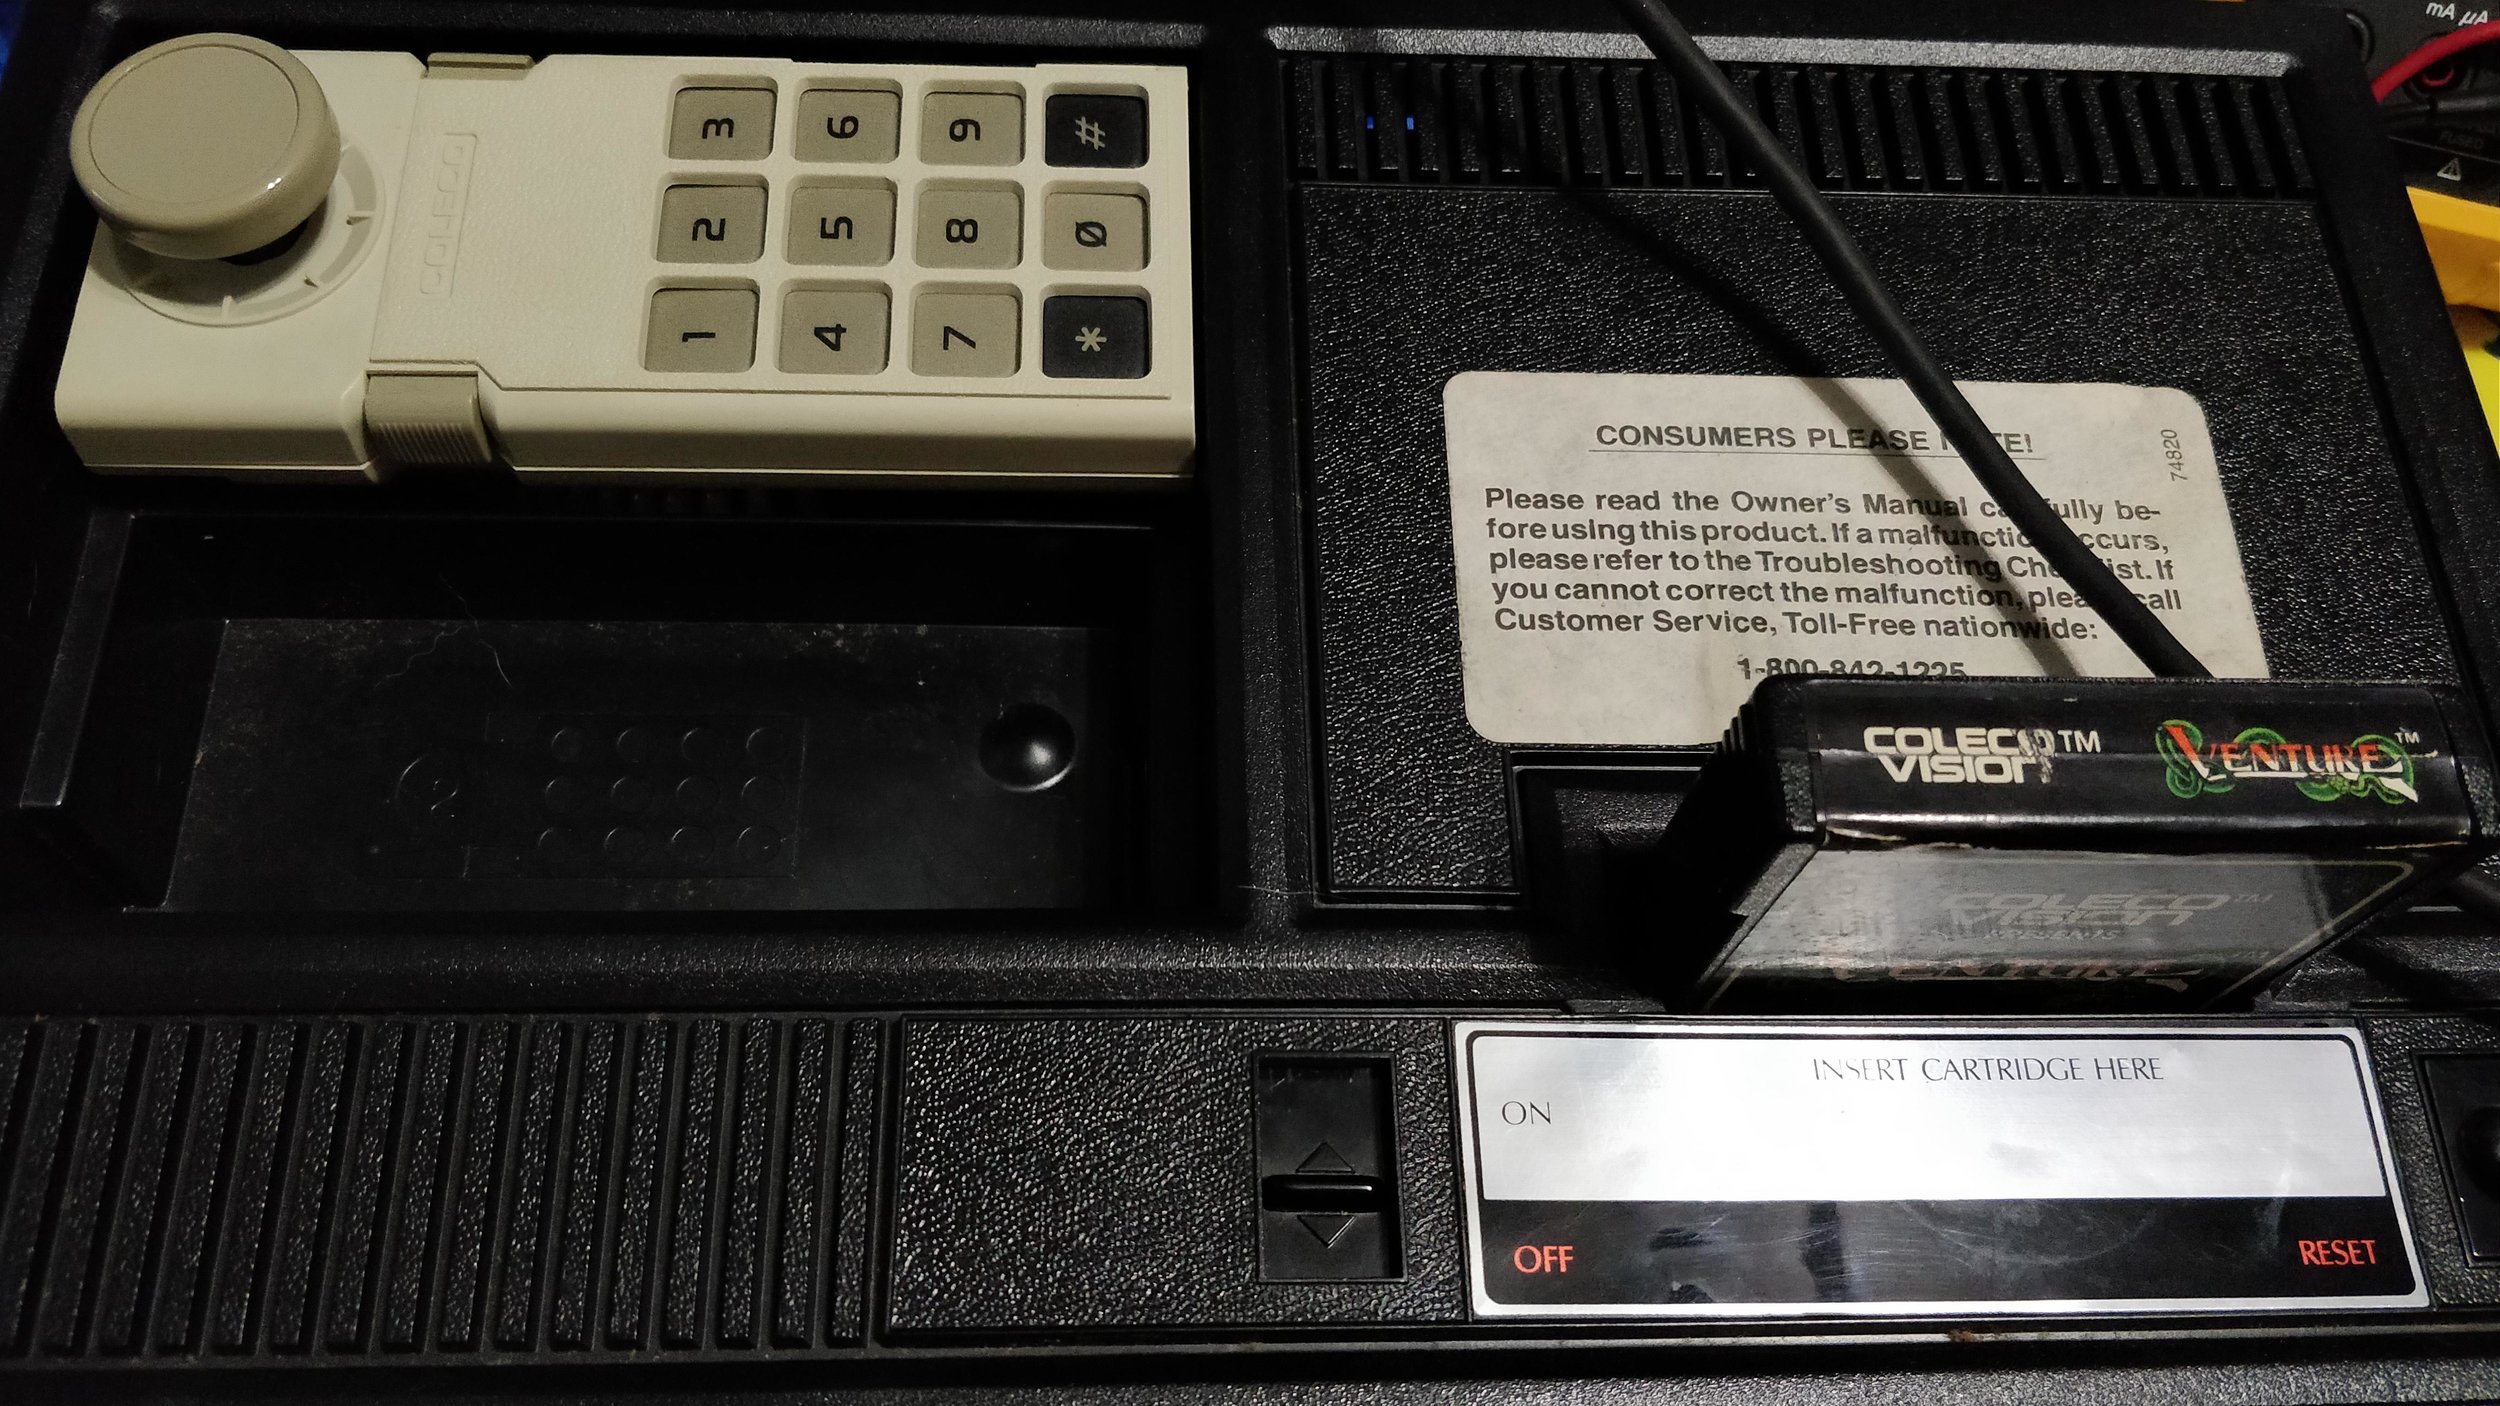
From that point I talked with the owner and we decided that buying a new adapter from eBay was the best course of action. While I could pull the old one apart and try to replace parts inside of it, the disassembly isn’t exactly easy, and I doubt it would go back together in the same clean way that an unmodified version appears to the naked eye. Once the new adapter arrived, I plugged it in, connected it to the console, and….
Jackpot! We played Venture for about an hour, and after connecting a Sega Genesis controller, I was able to collect all of the treasures. Good times! I’d like to look at that power adapter sometime, but I think that the owner is happy enough having a working ColecoVision.
There are a ton of mods one can do to the old console. New RAM that requires less power, new capacitors, heatsinks, new BIOS chips that have zero boot times, and composite AV mods, are all available with a quick Google search.