The Rat in the audio DAC Hat

A Console You Can Build Yourself
The Odroid Go is a great DIY project.
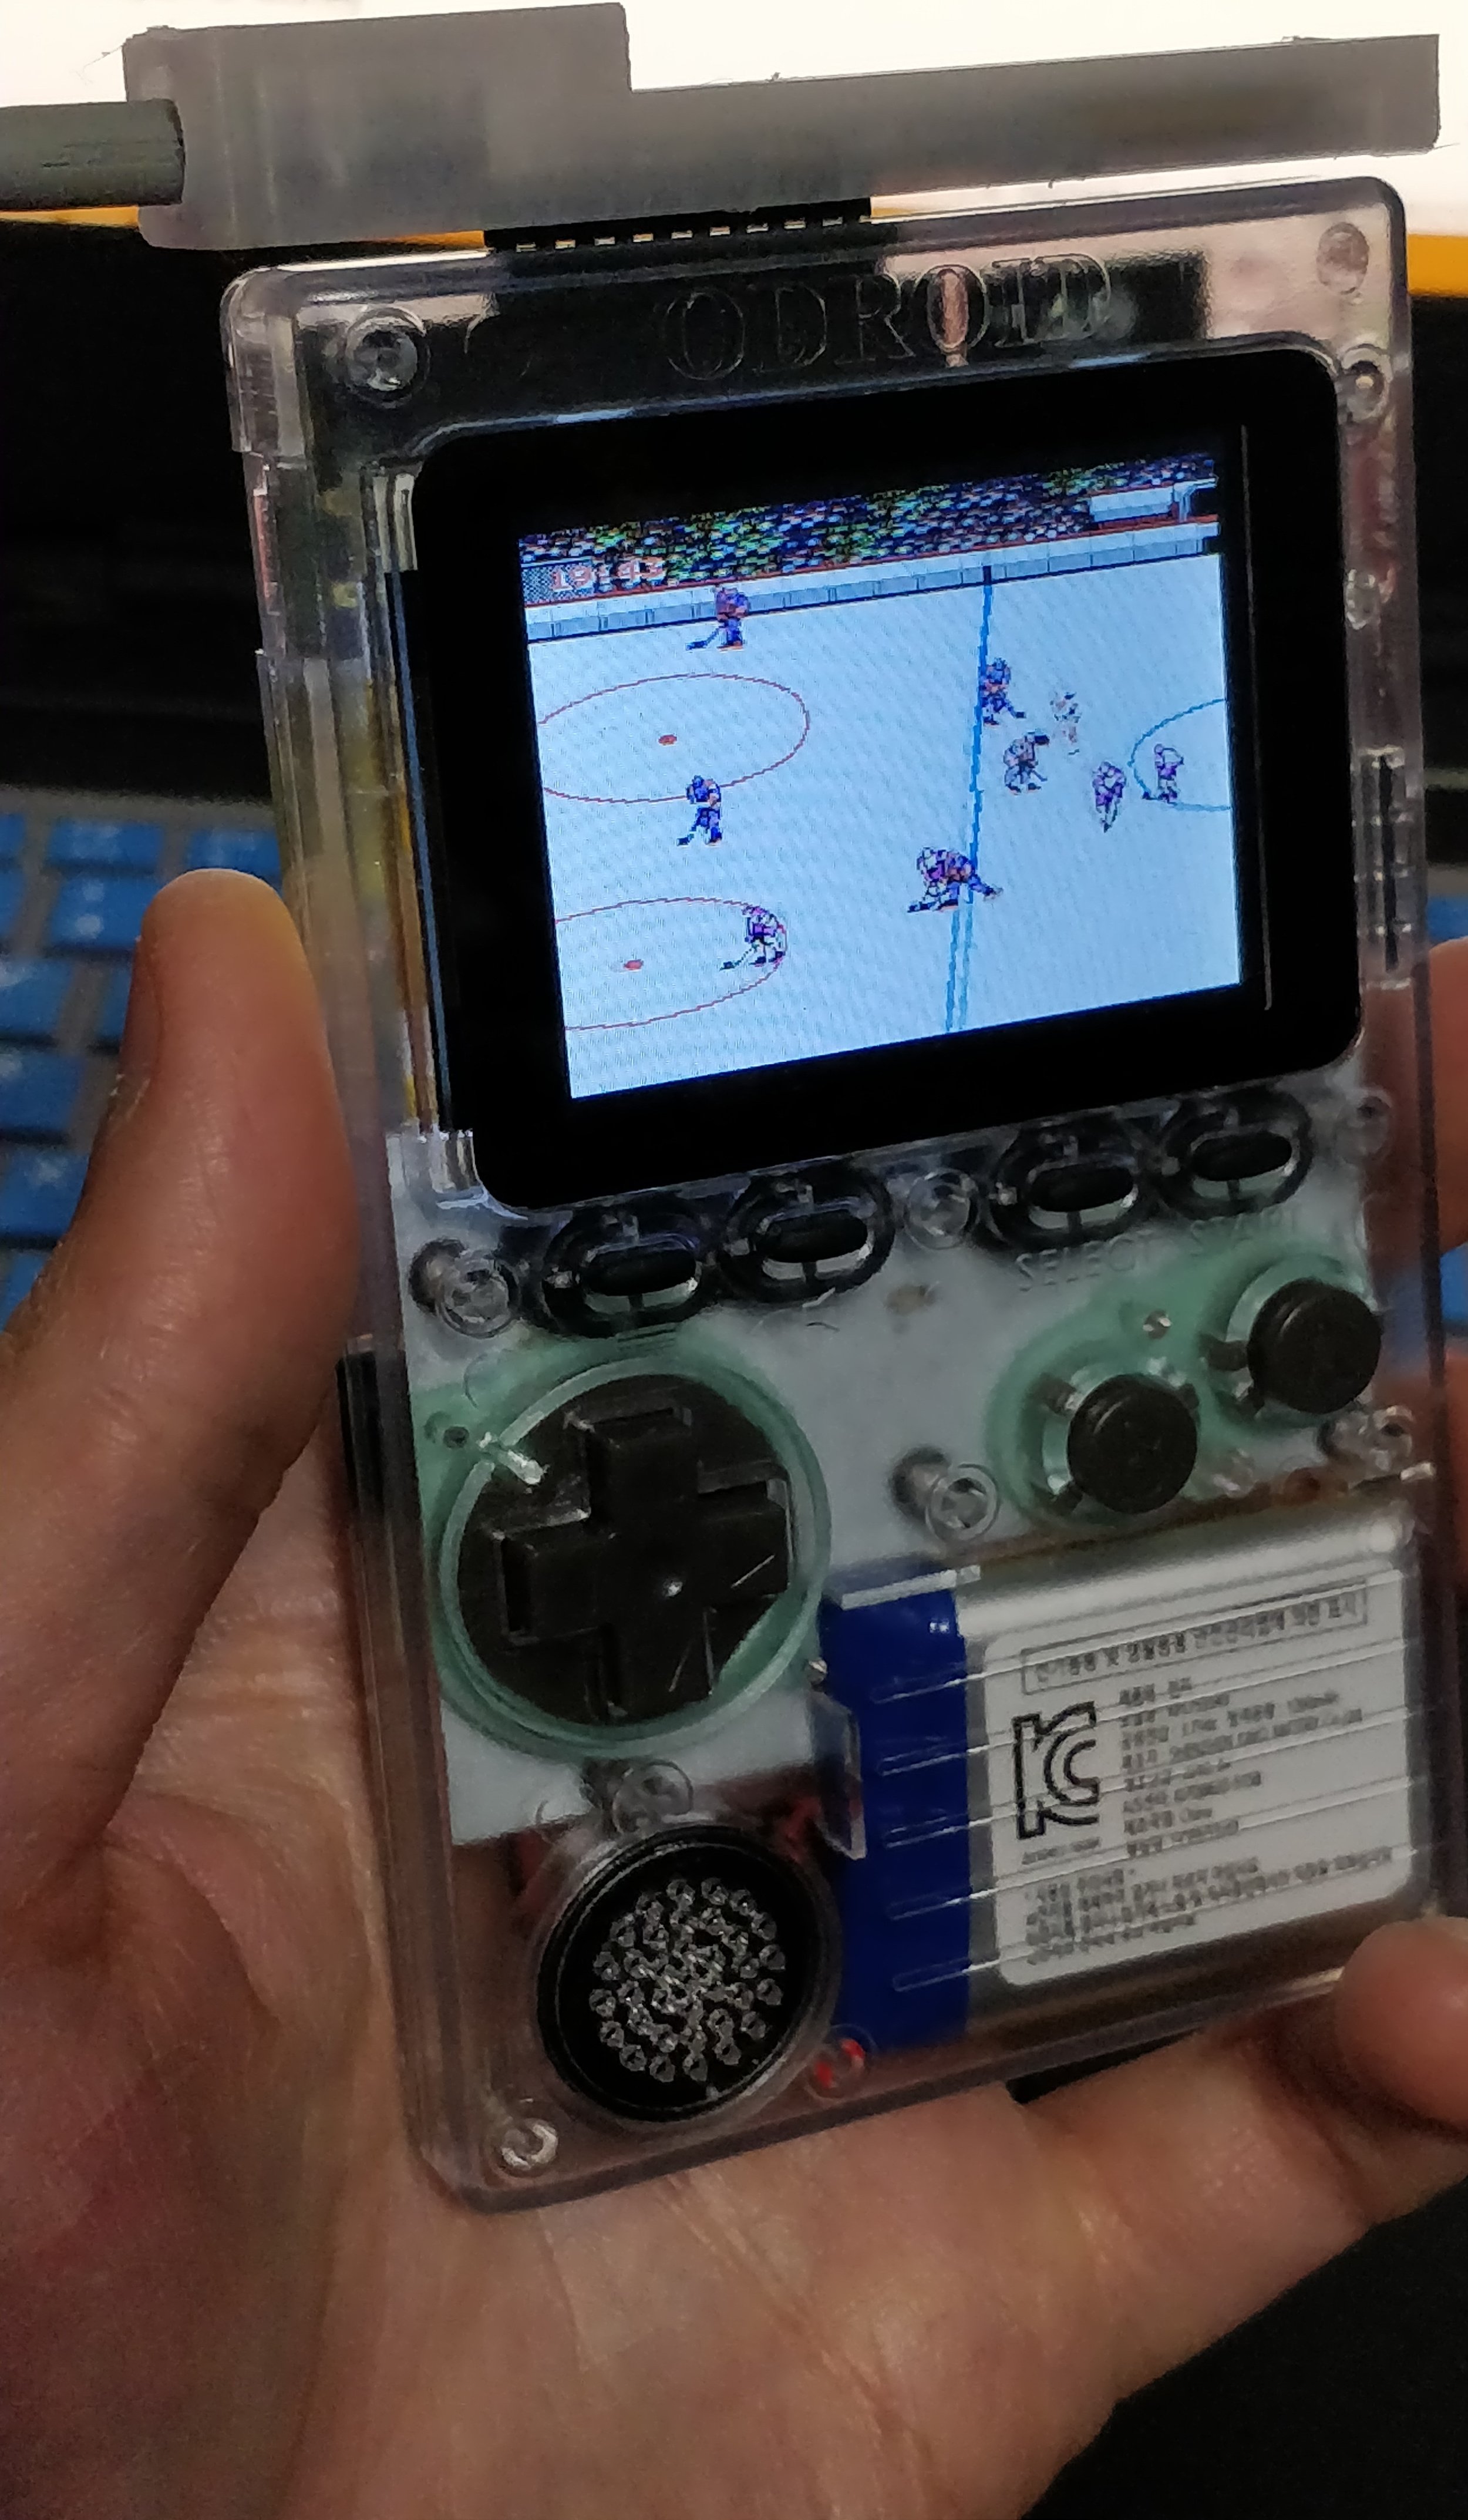
The ODroid Go is a wonderful piece of hardware. For $35, you can get an experience that closely resembles the Game Boy in form factor with a bright screen, long battery life, and crisp sound. The Go can emulate several different consoles right now:
Game Boy
Game Boy Color
Atari 2600
Colecovision
Game Gear
Master System
Nintendo Entertainment System
You get all of that for under fifty smackers. Not a bad deal! When you receive the unit, it’s in pieces. You must assemble it yourself (I took about 20 minutes to get mine together.) and screw together the case by following a wiki full of instructions. After your Go is assembled, you provide an SD card, flash some firmware onto the device, and feed it some of your favorite ROM files.
The controls are your standard four-direction D-Pad and two round buttons, A and B, to the right. They are sharp and responsive…certainly not spongy like other emulator handhelds in this price range. A hard power switch is on the upper-right of the console and out of the way of hands in a normal play session. Four smaller rubber buttons are aligned with the bottom edge of the LCD screen. They are for the main system menu, the audio, select, and start, respectively. A development header at the top of the console allows the user to connect compatible development devices (temperature sensors, LCD displays, IR, etc.) and hats with which they can develop their own programs via the Arduino SDK.

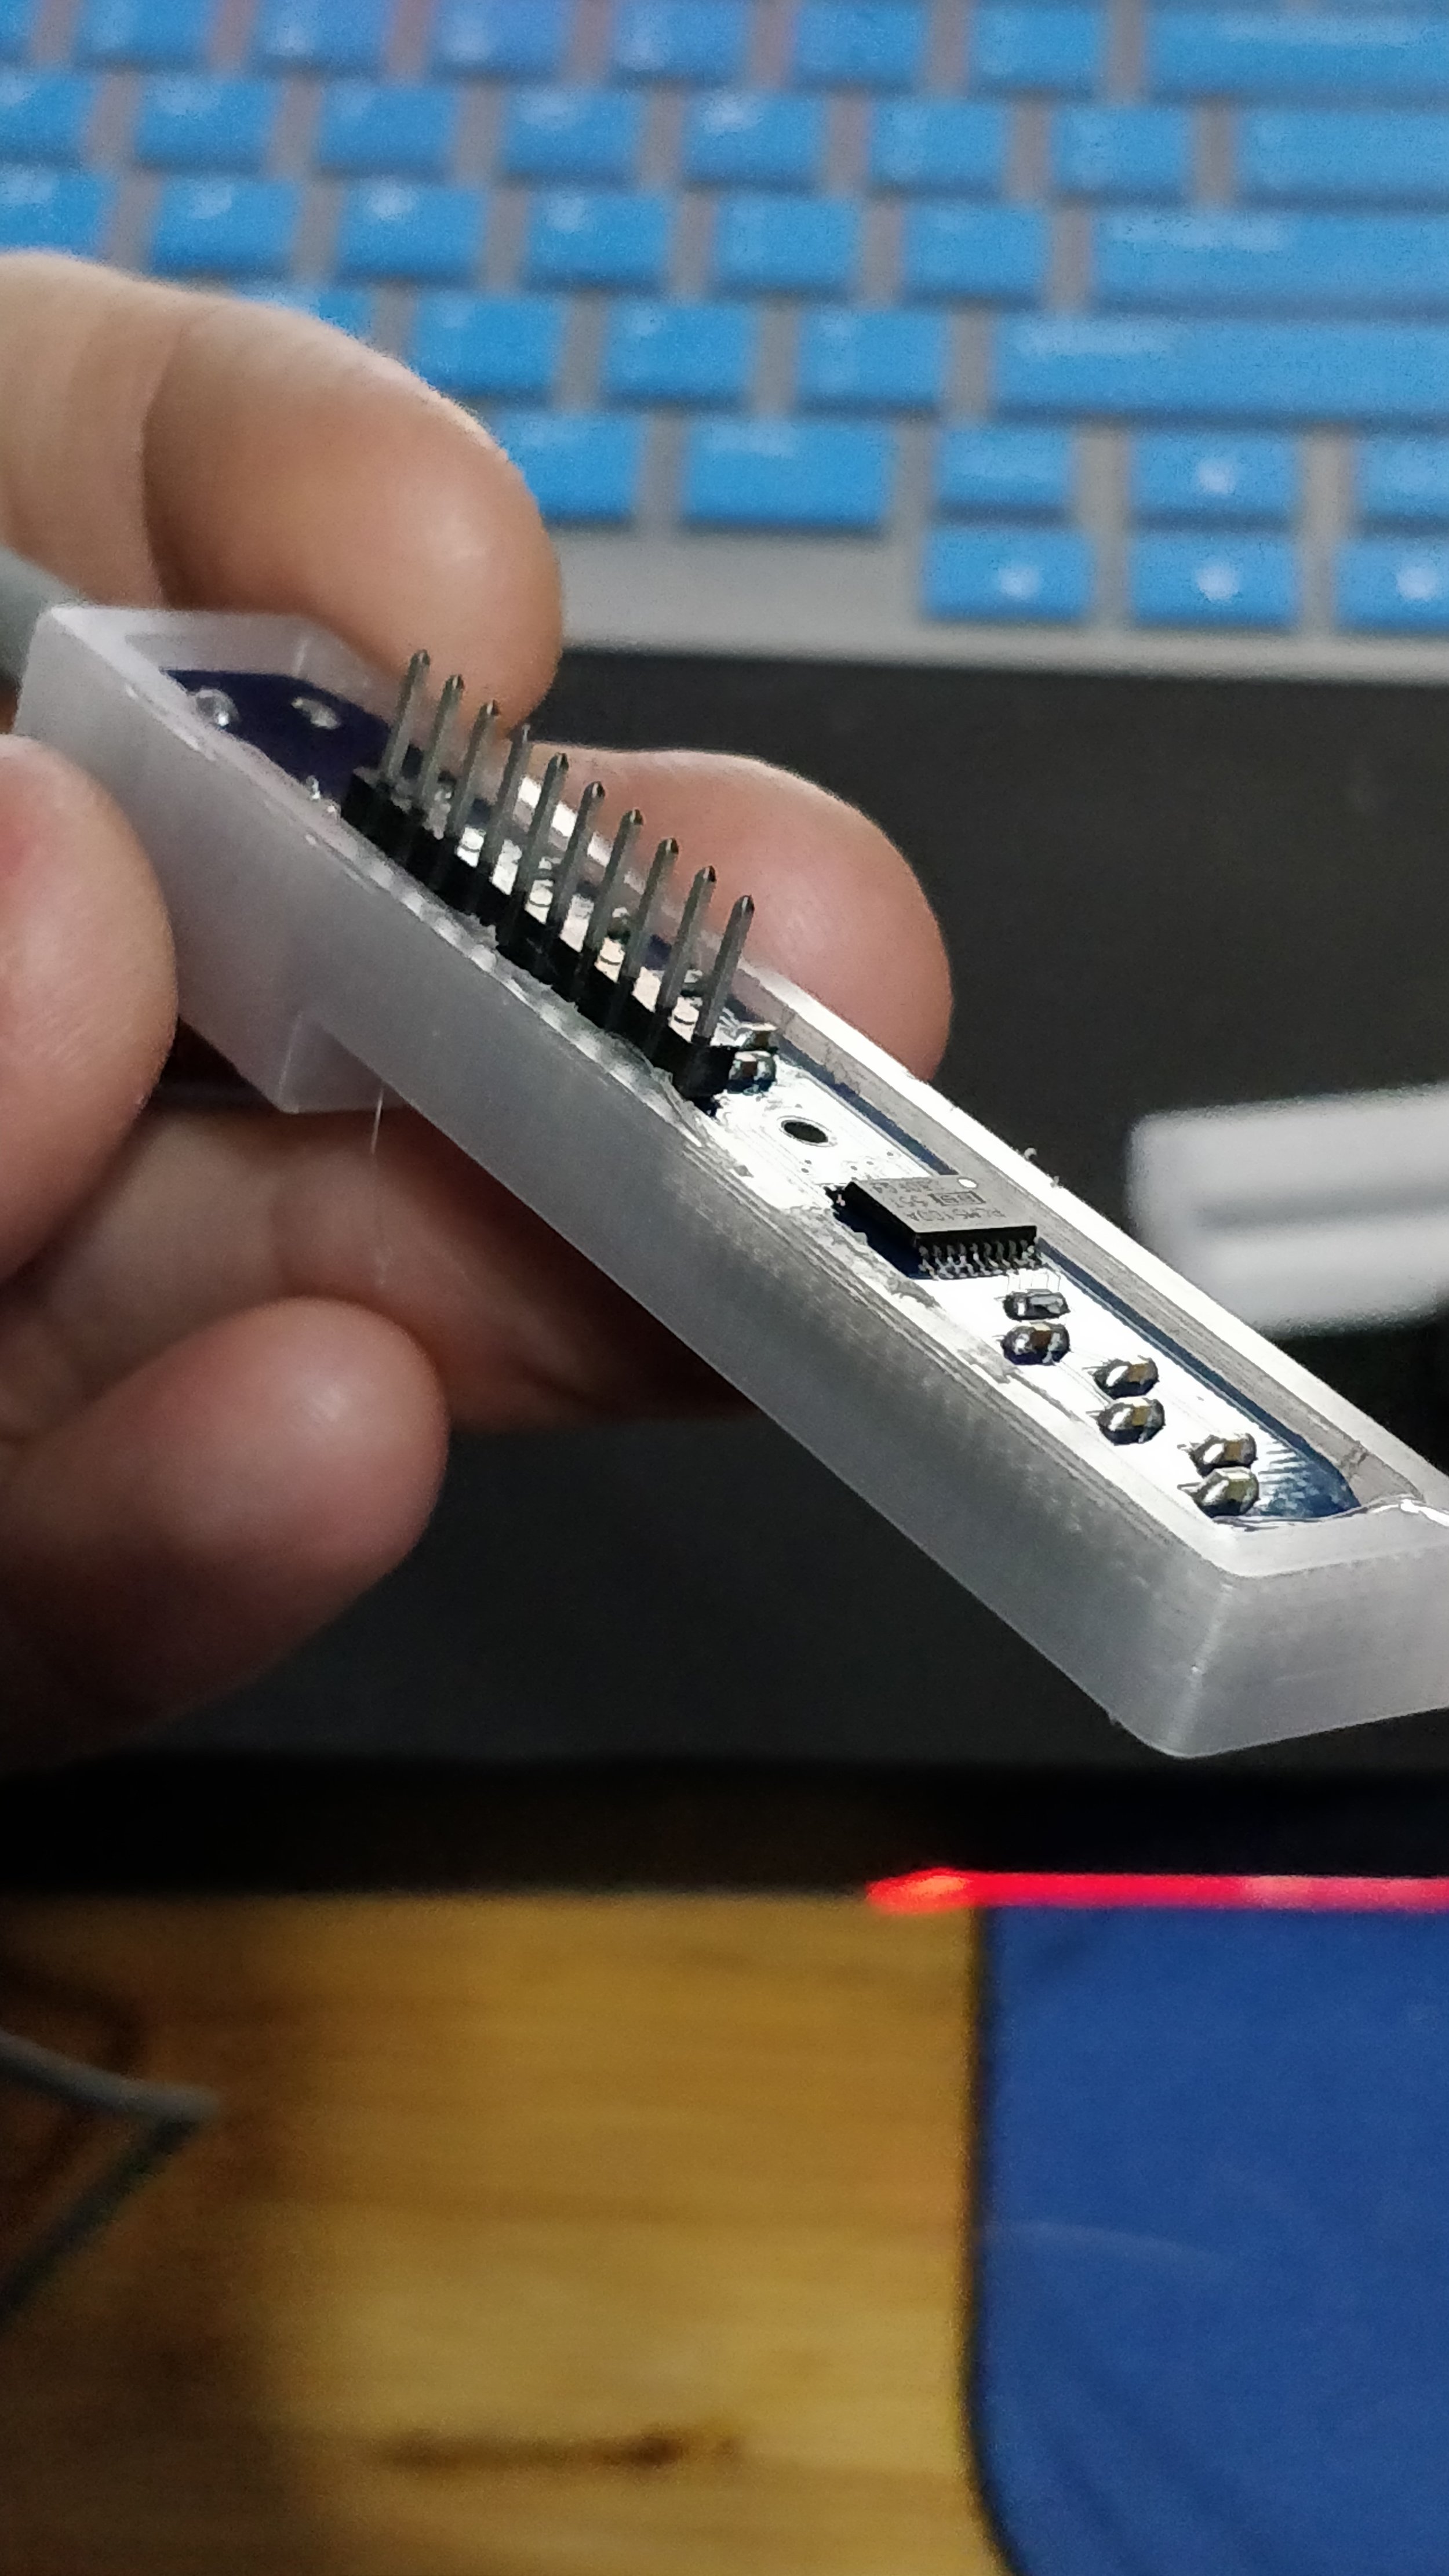
Audio hat by backofficeshow.com
Emulation on the unit is mostly good, although there are some small glitches that are noticeable while playing certain titles. For example, the digitized speech in Blades of Steel (NES) is distorted and comes through as a rough, scratchy wheeze at the beginning of the game. In another case, there was some screen tearing on Sonic for the Game Gear. For less than the price of a sit-down dinner for two, though, these are forgivable quirks.
The big, hard-to-overlook flaw in the ODroid Go is actually its omission of a headphone jack anywhere on the unit. The only audio to the handheld was out of a small speaker to the lower left of the console, which at times, could sound tinny and muffled under your palm. There were no alternatives to this, and you just had to ignore the audio quality. Until now.
The ODroid Go supports an audio (I2S) DAC on its external connector. Dr. A’s Curiously Cute Audio Hat is a device that plugs into the aforementioned header on top of the console and fits flush with the header interface. A headphone jack on one end of the hat allows the user to plug in a pair of earbuds. You can use any headphones or earbuds that you like, as long as they have a 3.5mm phono jack. If you’re strange like me, you can also plug it into your audio system and jam to the Mega Man 2 soundtrack all night long.
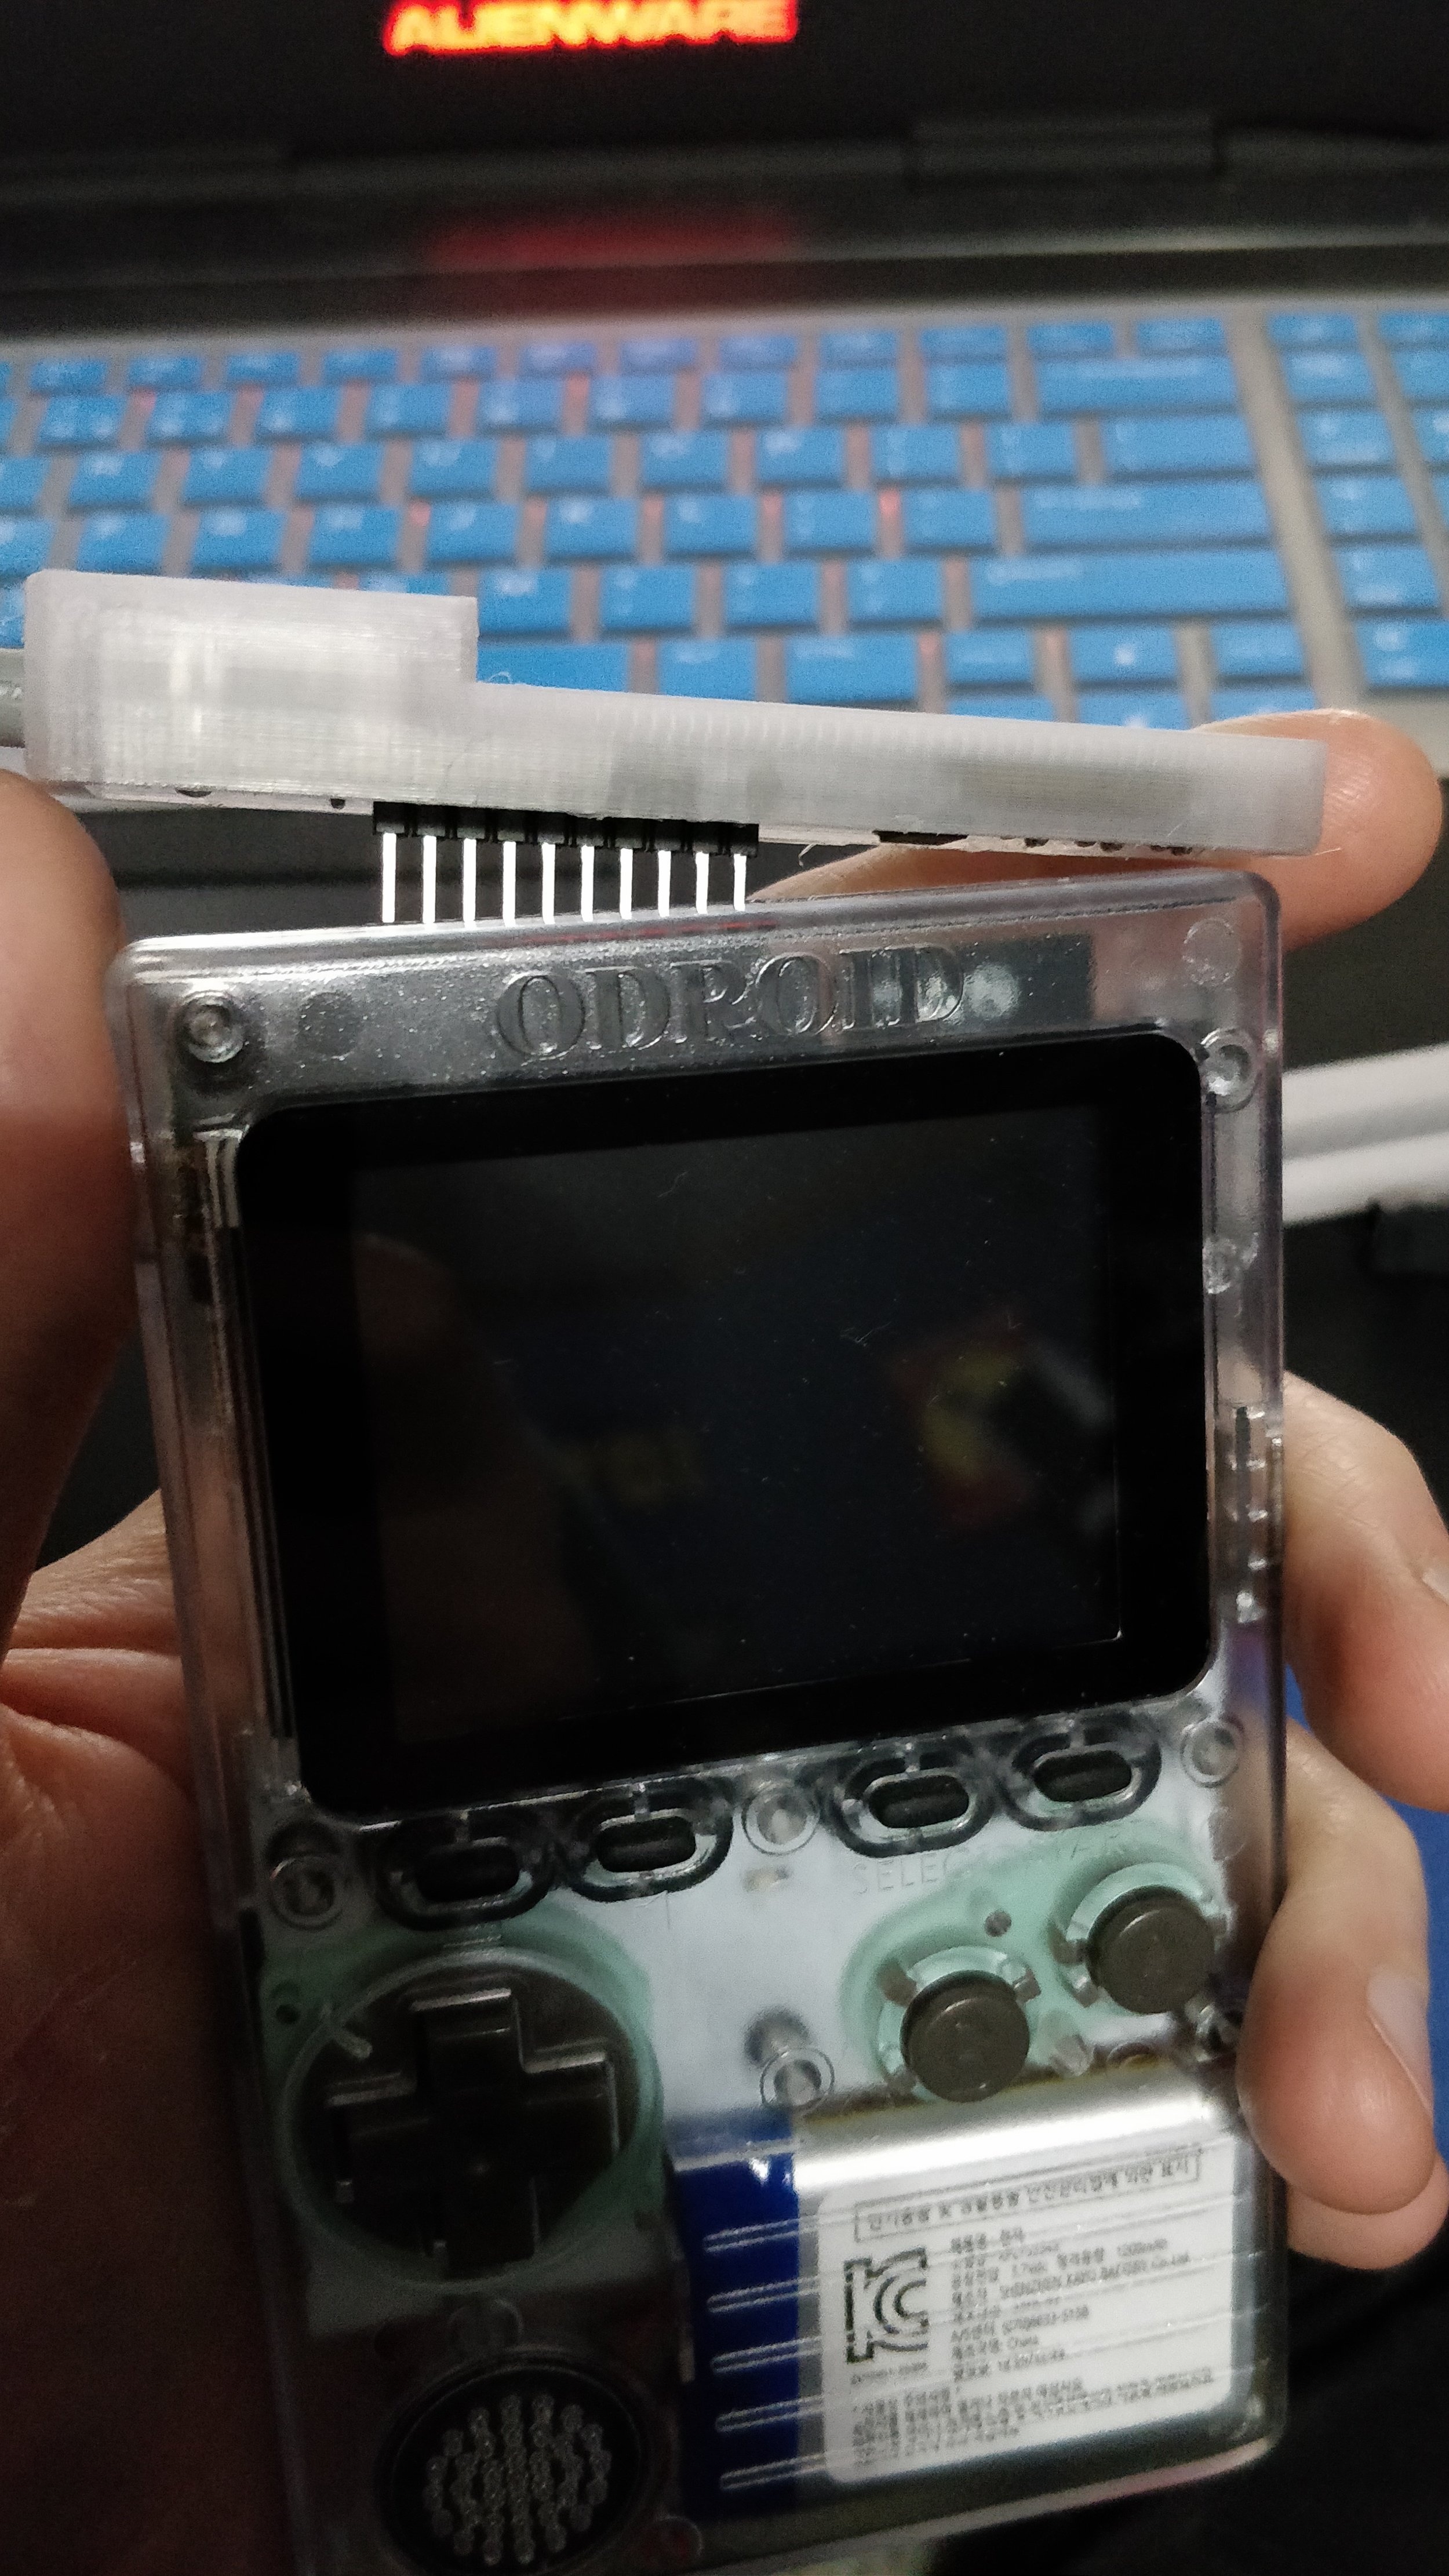
My impressions so far are…great! The audio is clear and not distorted in any way. Highs are crisp and sound just like they should on a pair of high quality headphones. The boards are reasonably priced, well constructed, and were shipped quickly to me after placing my order. Getting the board to work is fairly simple. You simply plug it in by lining up the pins on the top of the console with the hat, then press firmly down to insert the pins into the connector. Once that is done, boot the console into the main menu. Hold down the audio button and push “right” on the D-pad. A small square wave symbol will appear next to the volume indicator. That’s it!
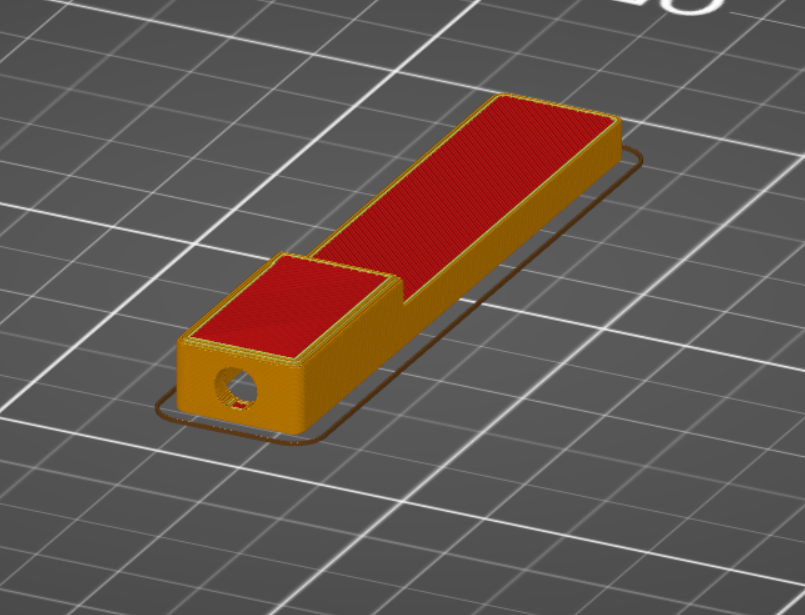
The board comes bare without any plastic cover to protect it from static or from dirt/dust/water/coffee. Because of that, I designed a cover that provides a bit of static and shock protection for the board and DAC. It fits over the top of the board and secures in place with a few dabs of hot glue or double-sided tape.

Audio hat in printed shell.
I highly recommend that you pick one of these audio hat boards from the website while you can! Thank you to Dr. A for such a wonderful device!