Building Your Own Keyboard for Fun (But Maybe Not Profit)

That’s a lot of keys.
There is a Best Buy in this city, you know?
Sure, I could have ordered a mechanical keyboard, but I wanted the satisfaction of building one from scratch. Building a keyboard can mean different things to different people. Some might buy a keyboard that's 70 or 80% assembled and just add their own mechanical switches. Others might get a keyboard with switches installed and necessary hardware but add their own keycaps later. For me, I wanted to build the keyboard from the ground up—or at least from a lower level than most.

Some silkscreening on the boards.
Discovering the Pico 87 Keyboard Kit
Luckily, there's a solution that fits my needs perfectly. Ian Dunn, the owner of Bolt Industries, posted his own custom keyboard design. Bolt Industries sells a kit that lets enthusiasts like me assemble their own keyboards from scratch. You can check out Ian's detailed guide here.
The Pico 87 keyboard kit from Bolt Industries includes all the components needed, allowing you to solder diodes, mechanical switches, and even the USB-C port yourself. You can use the Arduino IDE or a Raspberry Pi Pico to customize the keyboard's firmware. I chose the Raspberry Pi because I wanted to use Python and the suggested KMK firmware, which runs on CircuitPython. Alternatively, BMK firmware can be loaded through the Arduino IDE.
The Assembly Process
When I received the kit, everything was neatly packed in several anti-static bags. The kit included three large pieces of PCB, and I purchased the Raspberry Pi separately. I started by gathering all the components and preparing for the extensive soldering ahead.

The top side. Note where the Raspberry Pi Pico is soldered as a surface mount component.
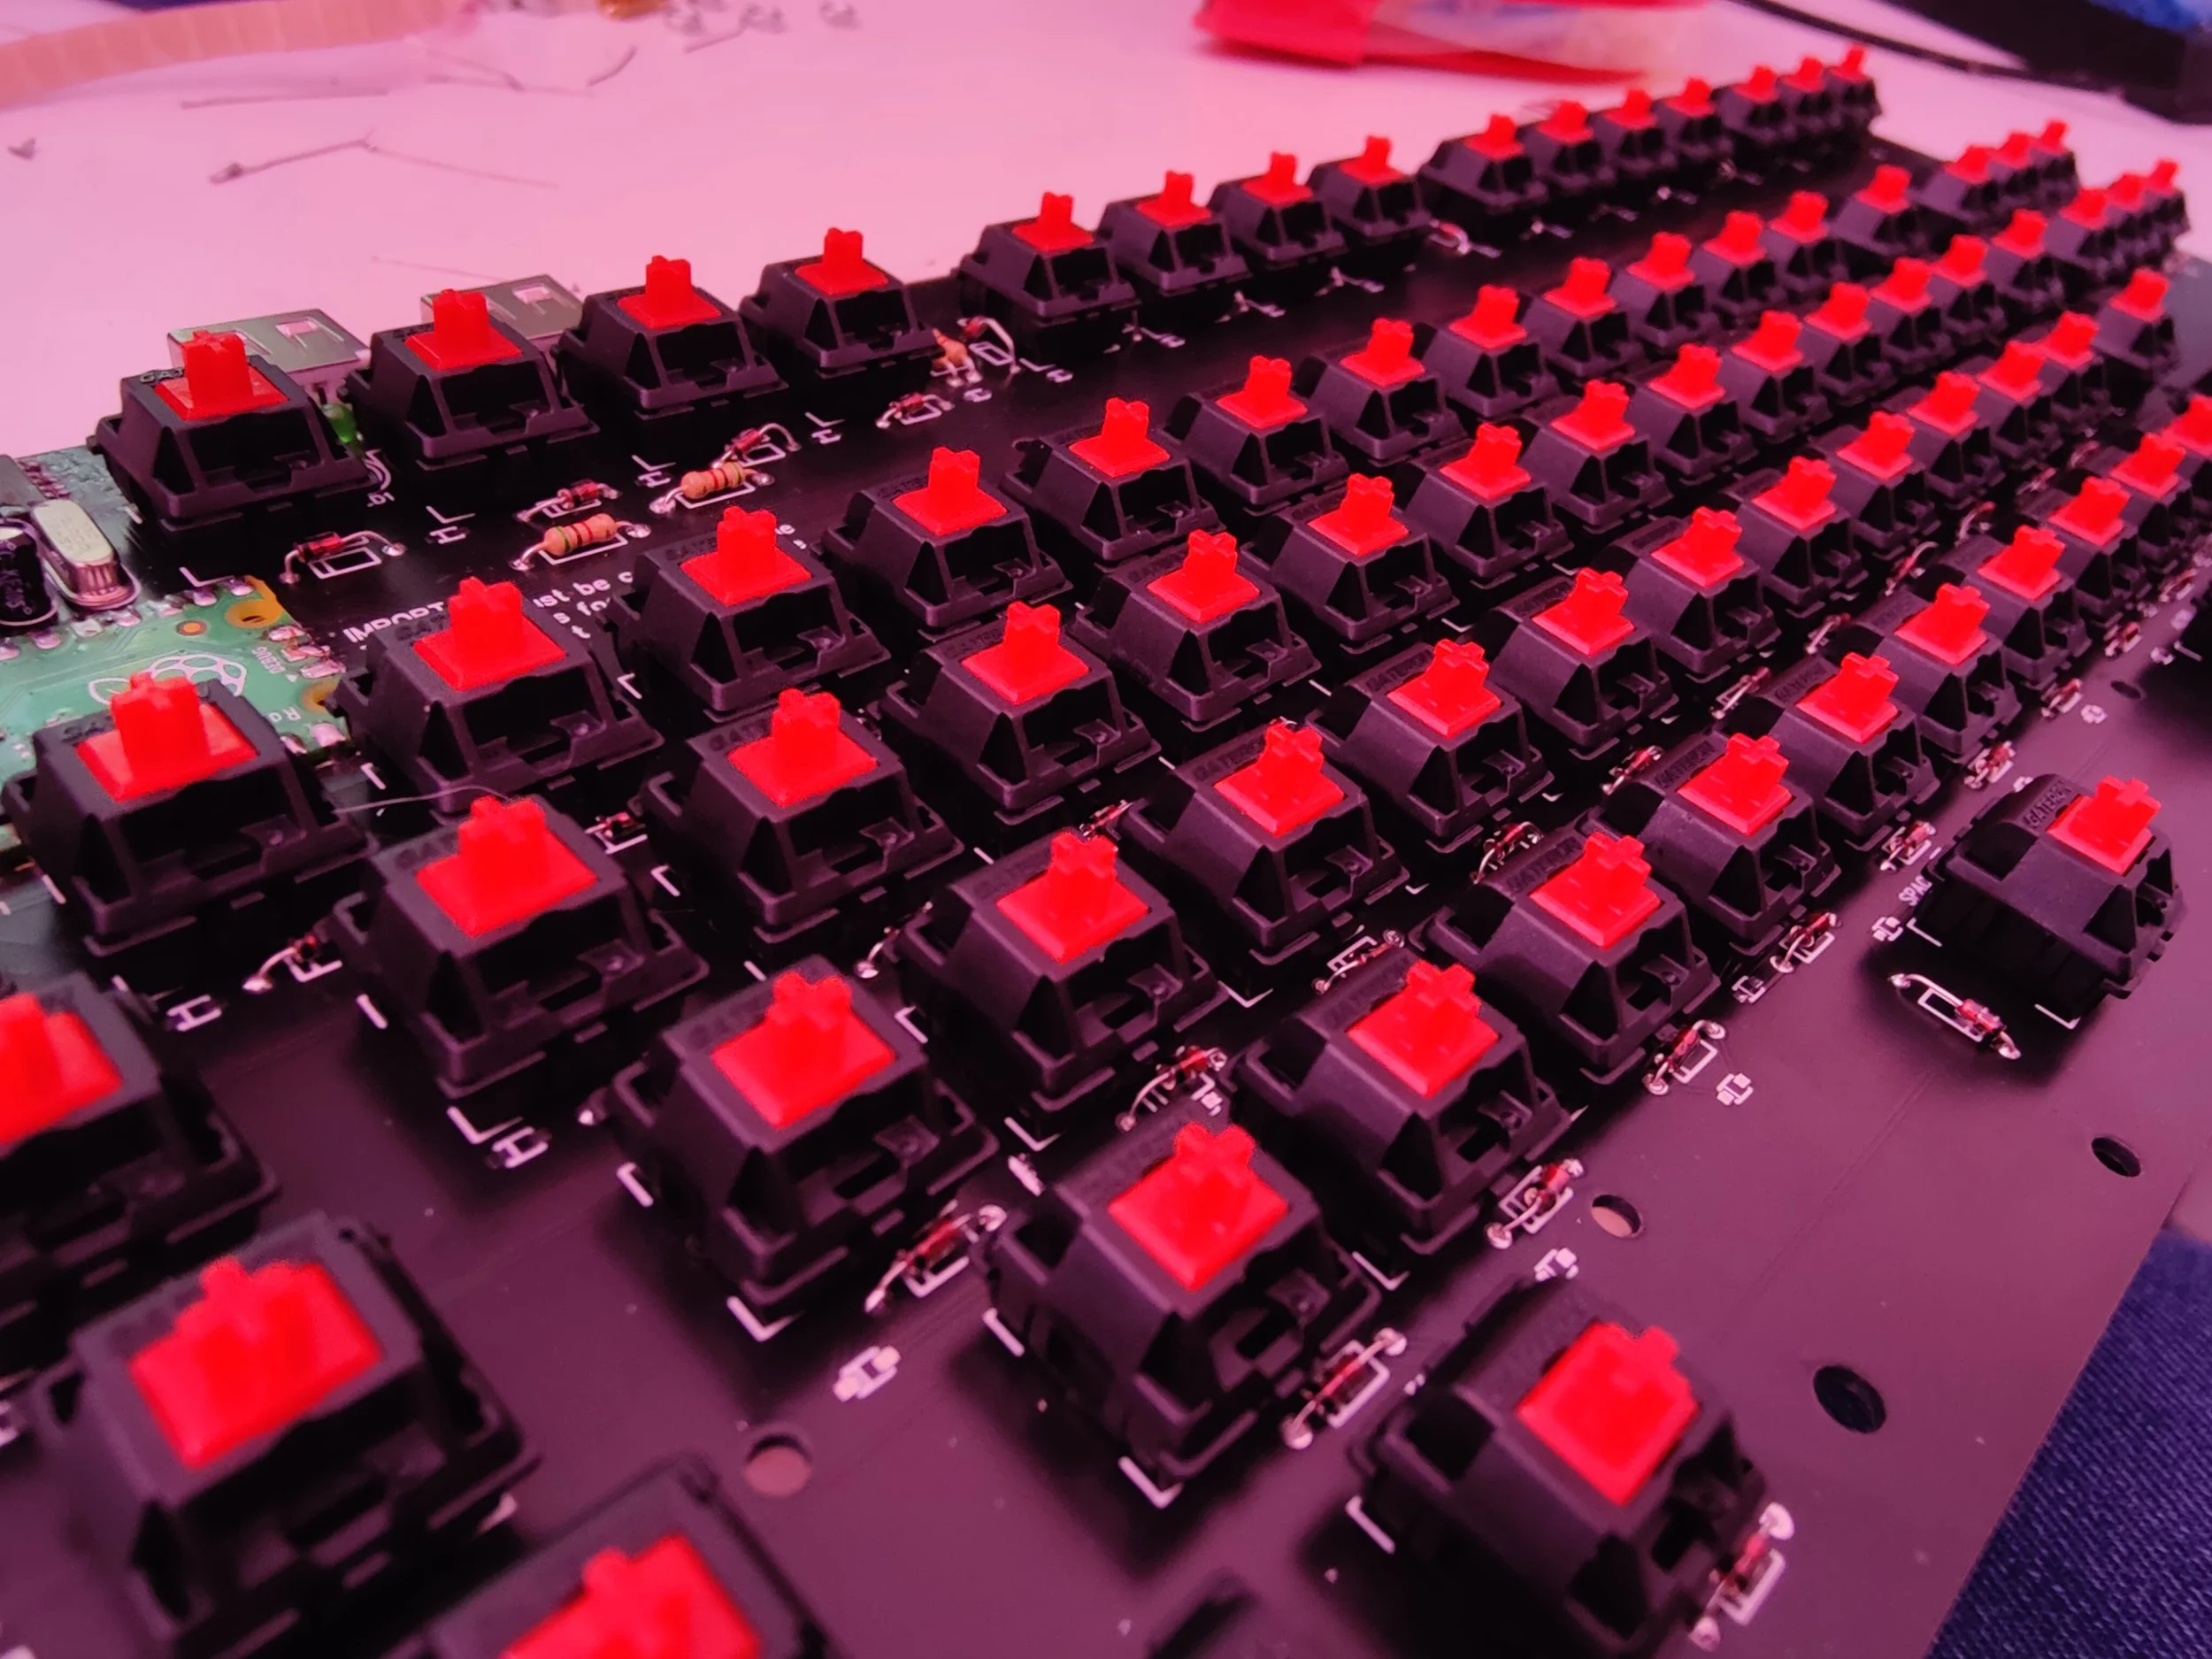
Soldering Diodes and Switches
The kit comes with 1N4148 switching diodes—a ton of them. Soldering the diodes became almost a zen-like activity after a while, and I found myself enjoying the repetitive process. I chose Gateron red switches, which are light linear Cherry MX Red clone switches. They provide a nice key feel and are moderately priced. For the keycaps, I went with orange ones with black letters, adding a vibrant touch to my custom build.

Raspberry Pi Pico in place.
Assembling the Hardware

Key 6 of 87.
Assembling the hardware required patience and precision. The package included hex screws, M3 standoffs, and stabilizer hardware. I went with the plain black trim, although a shortcut trim with legends for commonly used keyboard shortcuts is also available. Soldering the USB-C port was challenging, as it required careful attention to avoid bridging the closely spaced points. Some points needed to be bridged, which added complexity to the task.
To prevent the keys from falling out while soldering, I used a sheet of soft foam to hold them in place from the bottom. This ensured the keys were level and avoided awkward angles. After hours of solder work, the keyboard was finally assembled.
Firmware Installation
I enjoyed soldering these, and I also know how to replace any of them, rather than throwing out the keyboard if a key or two stops working.
Installing the firmware was surprisingly easy. When I connected the keyboard to my computer, CircuitPython showed up as a removable drive. Following the instructions from the provided links, I quickly got the KMK firmware up and running. KMK is a powerful, flexible, and easy-to-use firmware that leverages the capabilities of CircuitPython.
Here are the steps I followed:
Downloaded the latest version of CircuitPython for the Raspberry Pi Pico.
Dragged and dropped the .uf2 file onto the Pico, which automatically installed CircuitPython.
Downloaded the KMK firmware and copied it onto the CIRCUITPY drive.
Edited the
code.pyfile to configure my key layout and custom shortcuts.
The entire process was straightforward and well-documented on the Hackspace Magazine and Bolt Industries websites.
Final Touches and Testing
Once the assembly was complete, I plugged in the keyboard, and it worked flawlessly. I decided to add additional USB 2.0 ports for expansion and to plug in my mouse. Although these ports functioned well, they're only held in place by the solder joints of the USB pins, so I have to be careful when plugging and unplugging accessories. To protect the USB-C port, I bought a USB cable with a flat 90-degree turn onto a ribbon cable connector, reducing stress on the socket.
Conclusion
The entire assembly process took a few hours, but it was incredibly rewarding. Now, I have a custom-built keyboard that I am proud to call my own. I'm grateful to Ian Dunn and Bolt Industries for designing and providing the components for makers and enthusiasts like me. For those interested in assembling their own keyboard, I highly recommend checking out the Pico 87 kit from Bolt Industries. You can find the assembly instructions here and purchase the kit from Bolt Industries.
Thank you, Ian Dunn and Bolt Industries, for making this project possible!