Lets Do Launch Together Sometime

The Finished Product
Assembling a custom keyboard like the System76 Launch Heavy can be both a rewarding and challenging experience. When I first received my kit, I was excited to see how it would compare to the DIY kits I’ve built before, like the Bolt Industries Pico 87.
While the System76 kit immediately impressed me with its polished design, solid aluminum shell, and attention to detail, I’m writing this guide to help others navigate the build more easily, because that part is a little harder to figure out without a bit of experience assembling keyboards.
This guide will not only walk you through the step-by-step process of assembling the Launch Heavy but also share my own thoughts and tips along the way. If you’re a DIY keyboard enthusiast, I think you'll find this project both fun and challenging, and the end result is worth every moment of effort.
What’s in the Box?
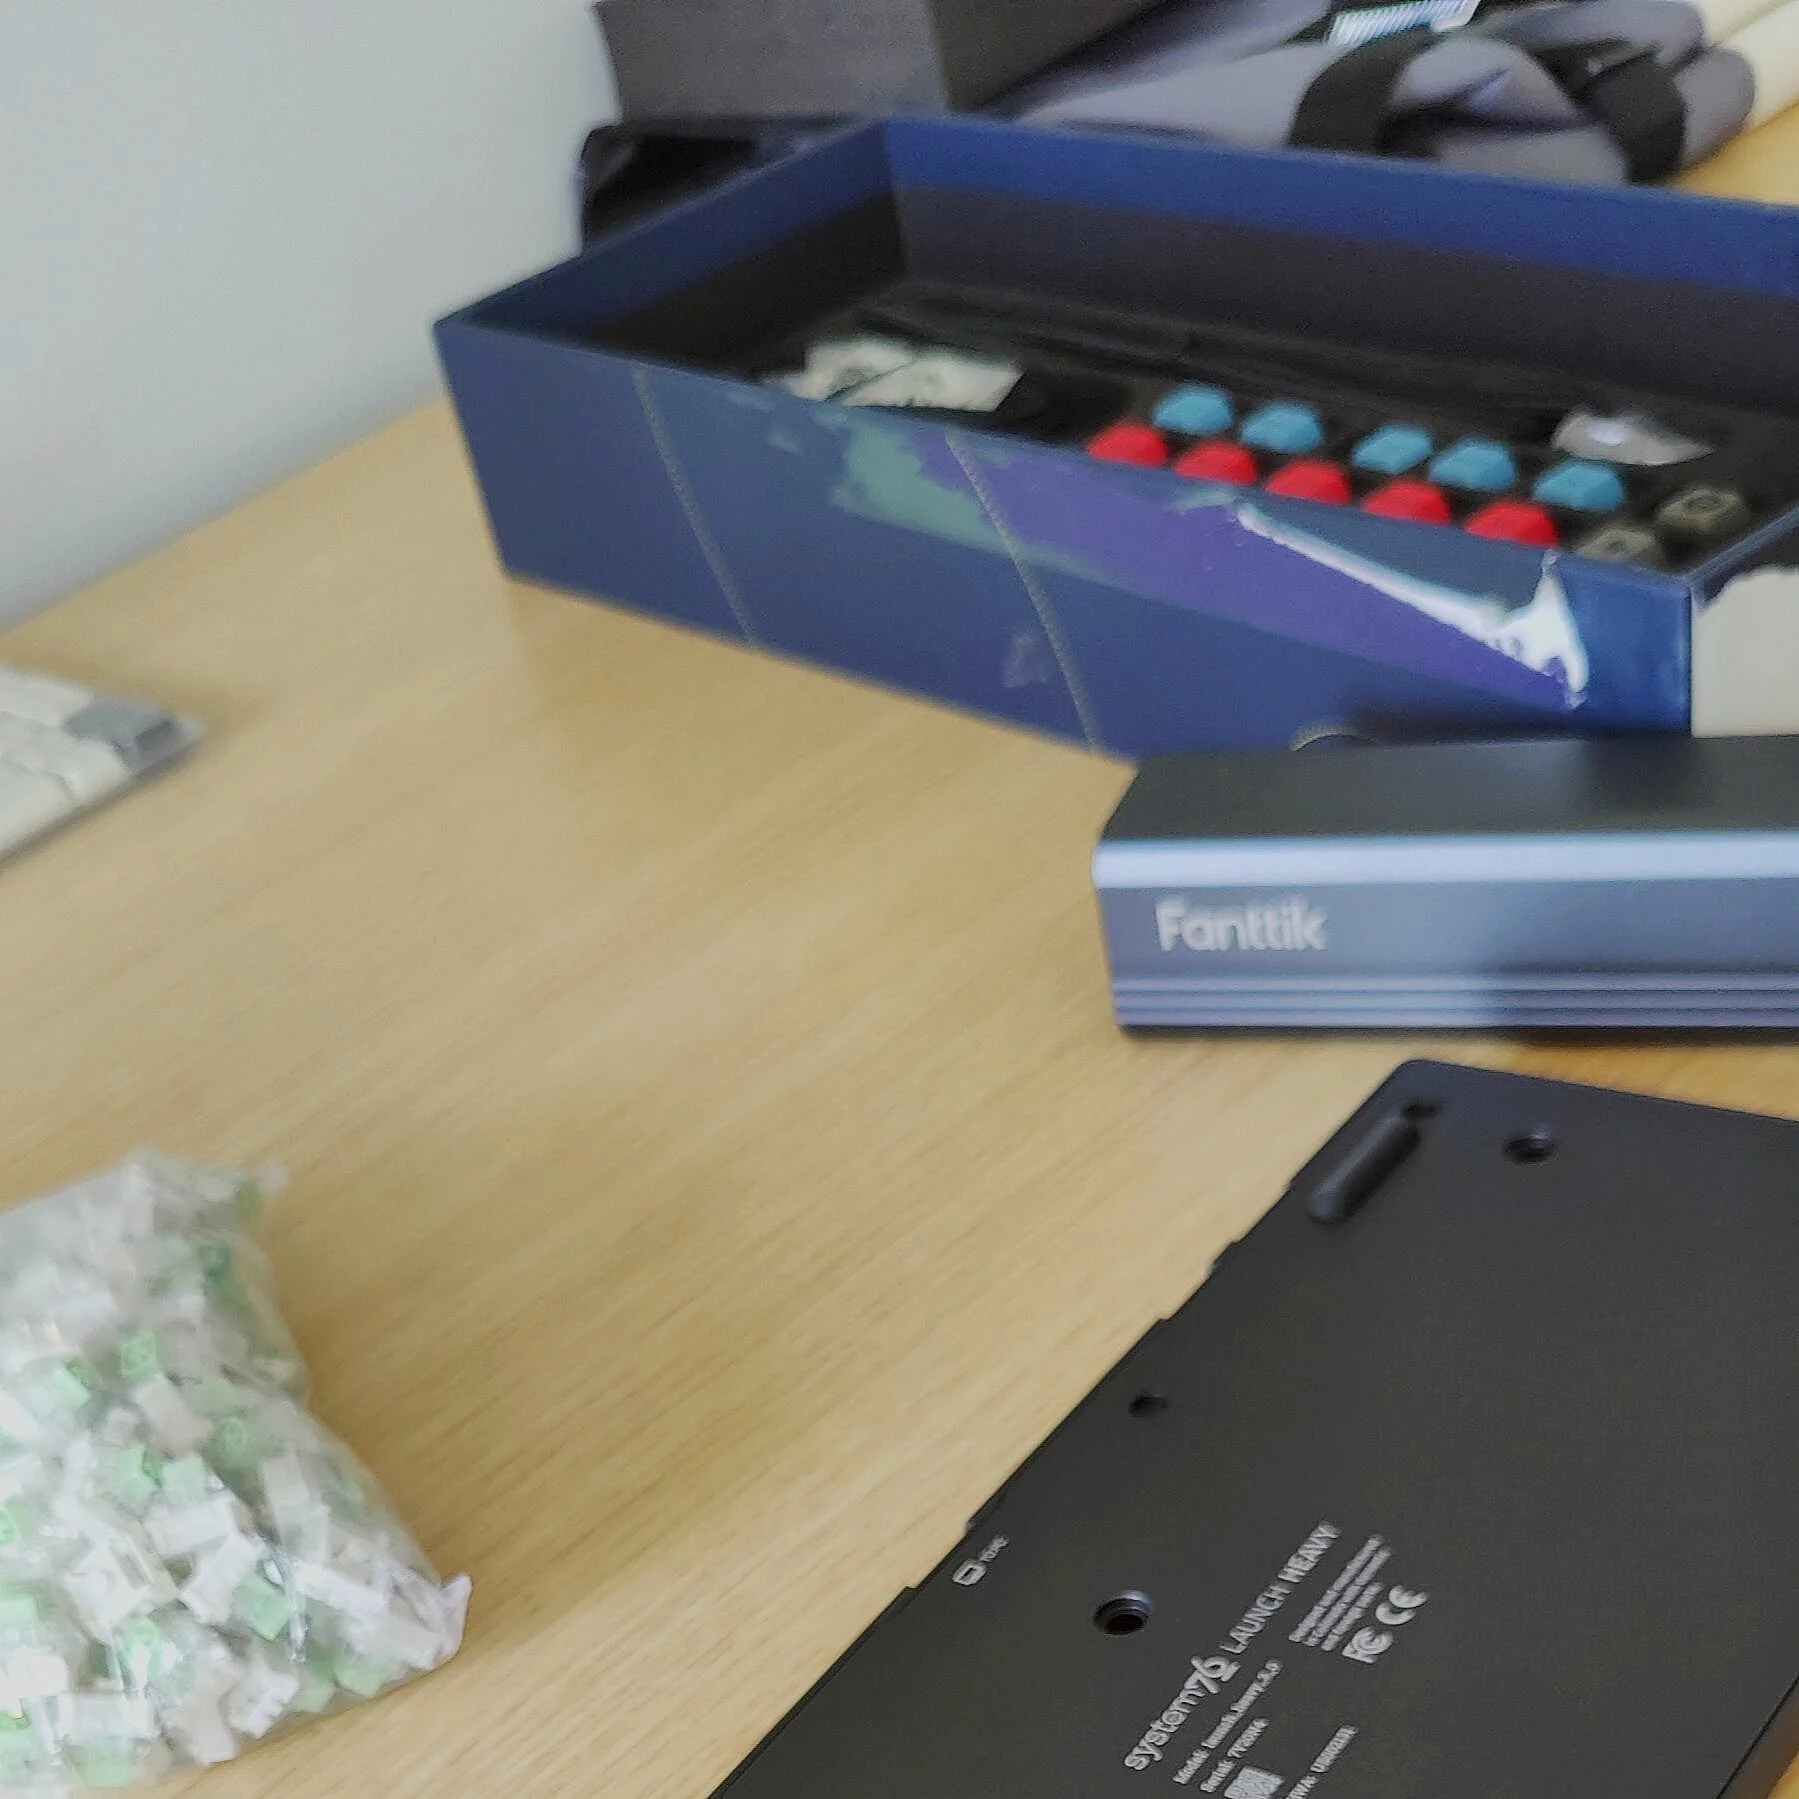
The shell comes together in shipping, but hollowed out, and you'll have to pull the two halves apart to begin the assembly.
When I opened the box, I immediately noticed the premium feel of the components:
The aluminum shell: it's milled, sturdy, and surprisingly hefty.
Key switches: I opted for the clicky Kailh jade switches, though there are quieter options like browns or royal purples, depending on your preference.
Keycaps: A full set of die-sublimated PBT keycaps, along with a few custom keycaps, which I particularly liked.
The PCB: This came fully intact and socketed, meaning you don’t have to solder anything, which is great for quick assembly and repairs.
Screws and a keycap puller: All necessary components to complete the assembly.
A set of magnetic feet: They add a small incline to the keyboard by magnetically attaching to the bottom.
Right from the start, I felt like I had everything I needed to build a professional-grade keyboard. The kit is far more polished than DIY options, but it is a bit pricey. The Launch Heavy clocks in at $299, with switches.
Step 1: Preparing the Shell
I gently separated the top and bottom halves and laid them out on my desk.

Separate the two halves of the shell.
Personal Tip: I’ve assembled quite a few keyboards in the past, and while the aluminum shell of the Launch Heavy is sturdy, I suggest laying down a mat on your workspace to avoid any slipping or accidental damage to the surface while you’re working.
Step 2: Installing the Switches
Now comes one of the more time-consuming parts—installing the switches. I chose to use Kailh clicky jades for this build because I love the sharp, tactile feedback they provide, but there are other options available if you prefer something quieter or smoother.

Snap! Snap! Snap! You'll be here for a while.
Installing the switches is relatively straightforward: simply push them through the top half of the case until they snap into place. However, pay attention to the orientation. Some of the switches, particularly near the edges, are rotated 90 degrees. Also, you may wish to wait to install the ones with stabilizers. It’s much easier to put the stabilizer in, then the switch, than try to finesse the stabilizer around the key when it’s already in the socket. The chance of bending pins when doing it that way is much higher.
If you want to check to make sure the pins are all straight and ready for alignment with the PCB, you can set the board down and look at the rows from one end to the other to spot any bent ones. Another trick is to thread a piece of dental floss through and along the pins to see if any “poke” out of a row compared to the rest.

All of the switches in place.

The stabilizers "swing into place" very easily.
Step 3: Stabilizers and Final Switch Placement
With most of the switches in place, it’s time to install the stabilizers. These are used for the larger keys like the space bar and shift keys. Snap the stabilizers into the appropriate slots. If you already put switches in, just remove them by snapping them out of the socket with the switch removal tool on the other side of the keycap puller.
After the stabilizers were securely in place, placed the switches into those spaces. Pay attention to the orientation of these! Some of the switches, particularly near the edges, are rotated 90 degrees.
I double-checked the alignment of all the switches. Misalignment at this stage can cause major issues when pressing the PCB down onto the pins, so it’s worth taking your time here.

This is what you should have at this point.
Step 4: Placing the PCB

Placing the main PCB onto the switches.
Placing the PCB onto the switches is one of the most delicate parts of the process. Start by positioning it gently on top of the pins, and apply even pressure to press it down. You should feel the pins slide smoothly into their sockets on the PCB.

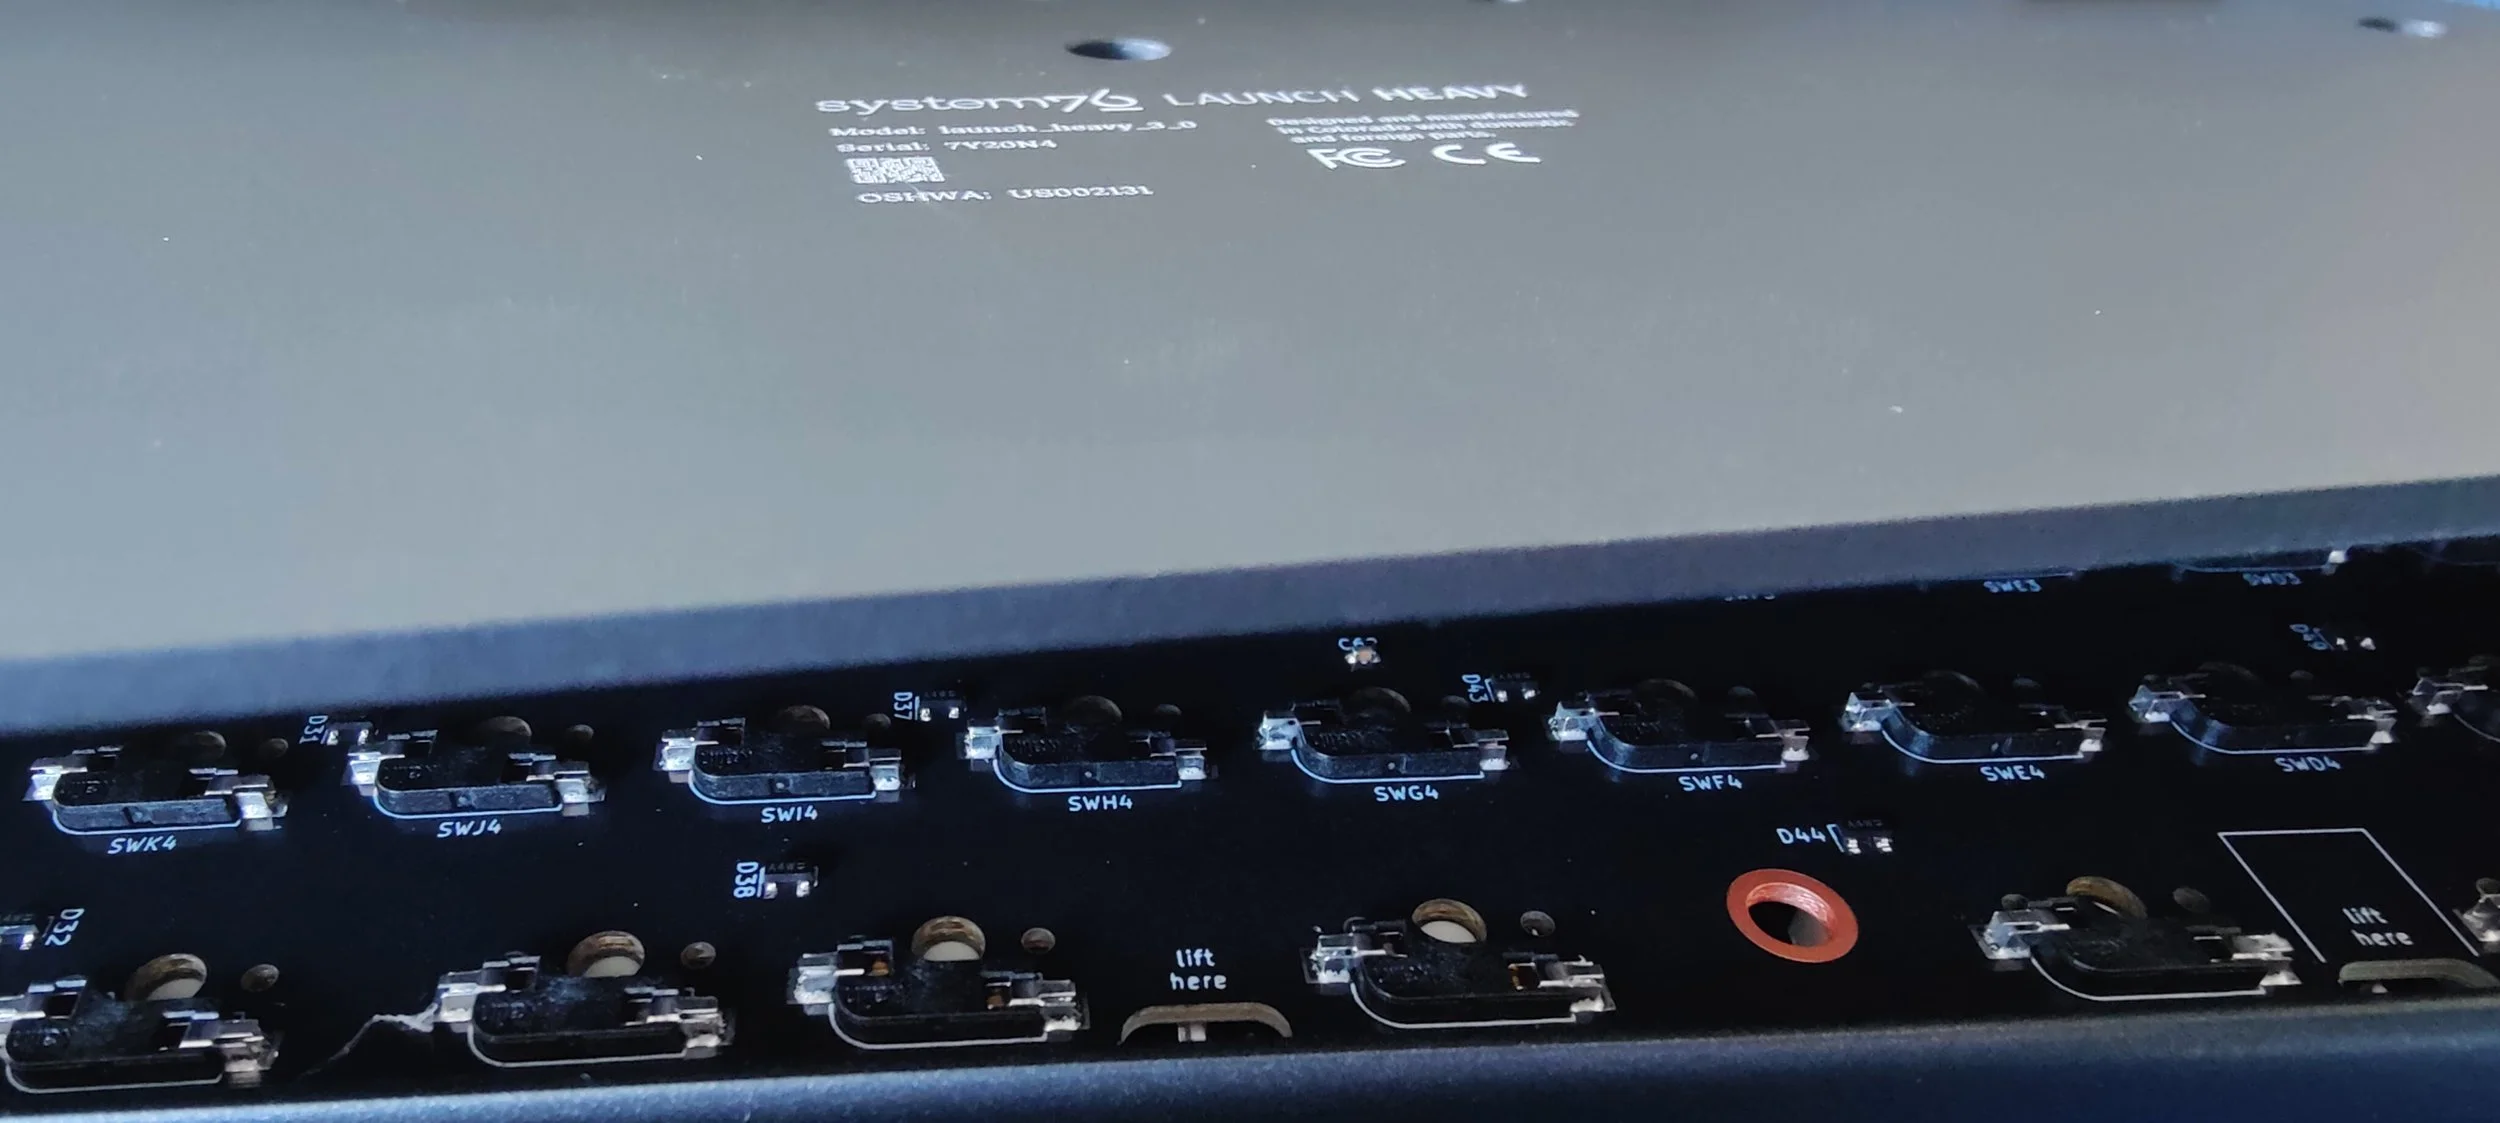
The Kailh switch sockets
Be careful: If any pins bend, you’ll need to remove the switch and straighten them with tweezers. There are a few spare keys included in the bag if mistakes are made. The best way to tell if the pins have been correctly connected to the PCB is to look at the individual sockets on the PCB. There are tiny metal contacts, and each of them should be “gripping” a pin if set into position correctly.Slow, even pressure is the key here. Look at the example picture to see what it should look like.
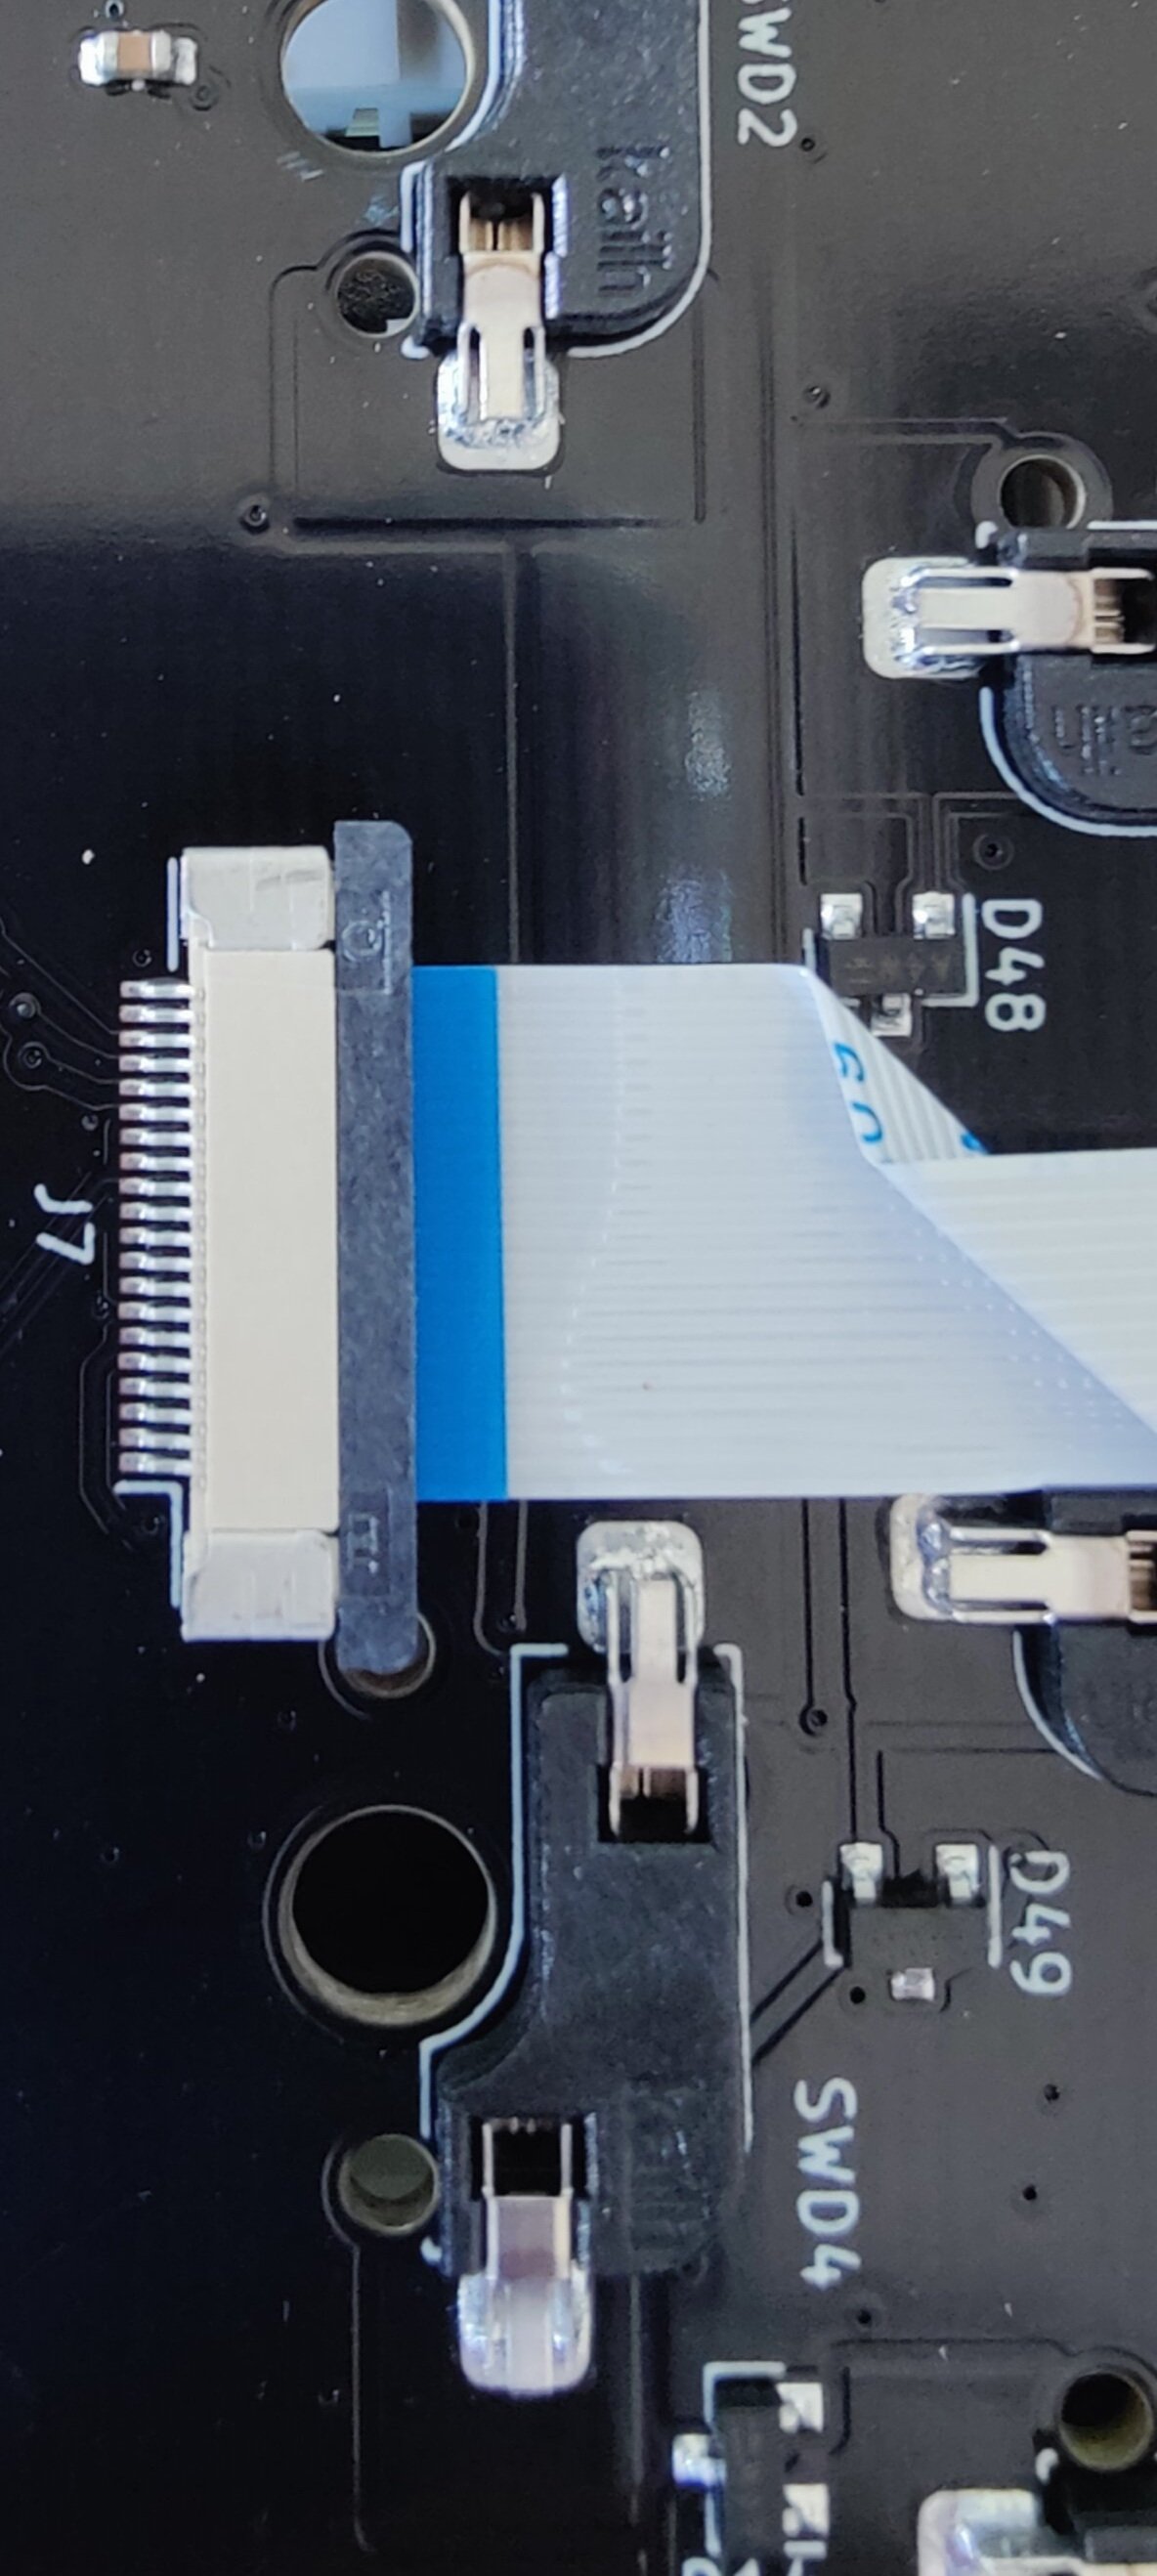
The ribbon cable in the socket.
Step 5: Connecting the Numpad
The Launch Heavy includes a numpad, which is connected via a ribbon cable. After seating both the main board and the numpad, gently open the latch on the PCB, insert the ribbon cable, and close the latch to secure it. I found this step fairly simple, but it’s important to ensure the ribbon cable is fully seated before moving on. If it isn’t properly seated, the numpad will not function correctly when the keyboard is fully assembled. Also, the ribbon itself is fragile, and can be torn or ripped around the edges pretty easily if it isn’t carefully inserted into the connector.
Step 6: Testing the Switches
Before fully closing up the keyboard, I highly recommend testing all the switches to ensure they’re functioning properly. Put a couple of screws in the bottom of the keyboard to hold the shell together, then insert a the included USB cable, and attached it to a computer. Try pressing the keys and making sure they all function as expected. It may be helpful to plug it in and navigate to a site with a keyboard tester that can detect different key presses and combinations. If you find that a key isn’t firing when you press it down, double check the pins by looking at the underside of the PCB, and compare it to the image above with the Kailh switch socket.


During my test, I found that one of the switches on the numpad wasn’t working. After removing the switch, I noticed the pins had bent during installation, so I straightened them with tweezers, reinstalled the switch, and tested again. Once I confirmed that all the switches were working, I moved on to the final assembly.

Adding keycaps to switches.
Step 8: Keycap Installation
The final physical step is to install the keycaps. I had fun choosing a few custom keycaps from the box, and they fit perfectly onto the switches. These keycaps are made from durable PBT plastic, which should last for years without wearing down or becoming shiny. ABS key caps are another alternative, but they tend to wear faster and aren’t as durable.
Keep the other keycaps that you don’t use inside of the box and save them for later! With the System76 Keyboard Configurator, it’s easy to change shortcuts, or assign different functions to keys, so they could come in handy at another time.
The process will take a while, and perhaps it’s easier to do this while staring at a full set of keycaps where they should actually be on a fully-assembled model, so here you go:

You don't have to use my configuration, but I like the red arrow keys.
Step 9: Configuring the Keyboard

The Configurator
Once the assembly is complete, the next step is to configure the keyboard. The System76 Configurator is a versatile tool that allows you to set up custom shortcuts, macros, and RGB lighting patterns. I downloaded the Configurator for Linux, but it’s also available for Windows and Mac.

Hey Little Dude! I recognize you!
Fun Fact: The Launch Heavy uses a Raspberry Pi microcontroller that can be found right by the flex ribbon connecting the numpad to the main PCB. The firmware is based on QMK. It’s all open-source!
Final Thoughts
Building the System76 Launch Heavy was an exciting and rewarding project. The high-quality components, durable aluminum shell, and customizable key switches make it a joy to use. While the assembly process can be a bit challenging at times, especially with aligning the switch pins, the end result is worth the effort.
At $199, the Launch Heavy is an investment, but I truly believe this is the last keyboard someone would ever need. It’s solid, customizable, and has a range of features that make it stand out from other kits I’ve built. Whether you’re a keyboard enthusiast or just looking for a high-quality DIY project, I highly recommend giving this one a try.