Monitoring and Power Control on a Dime Part IV: RESTful APIs, Web Power Switch Pros, and a New Logging Script for You
Author’s Note: I am not endorsed by, nor have I been compensated by, DLI. (Note: Make sure to see Parts 1, 2, and 3 in this series, where we explore other details, including CSV writing, APIs, and more!)
While I was sitting in my lab, the Web Power Switch caught my eye. I decided to quickly write a script that allows us to log temperature and humidity from the API to a CSV file. I’ve updated the tutorial’s Part II and III on my blog, but I’ll also place the script here for your use if you want it:
#!/usr/bin/python3

import requests
import csv
import time
import urllib3

# disable SSL warnings, because this is dev, right everyone? Right!?
urllib3.disable_warnings(urllib3.exceptions.InsecureRequestWarning)

# IP address of the web power switch pro
ip_address = 'x.x.x.x'

# login credentials
username = 'user1'
password = 'hey_look_erase_this_before_pushing_the_commit'

# path to the CSV file
csv_path = 'temperature_humidity_data.csv'

while True:
    # make a request to the API to get the temperature and humidity
    response = requests.get(f'https:///restapi/meter/values/sensors.0.temperature/value/', auth=(username, password), verify=False)
    temp_text = response.text.strip()
    temp = float(temp_text) / 10.0 * 1.8 + 32.0  # convert to Fahrenheit

    response = requests.get(f'https:///restapi/meter/values/sensors.0.relative_humidity/value/', auth=(username, password), verify=False)
    hum_text = response.text.strip()
    hum = float(hum_text) * 100

    # print the results to the console
    print(f'Temperature:  F, Humidity:  %')

    # save the results to the CSV file
    with open(csv_path, 'a', newline='') as csv_file:
        writer = csv.writer(csv_file)
        writer.writerow([time.time(), temp, hum])

    # wait for 10 seconds before checking again
    time.sleep(10)
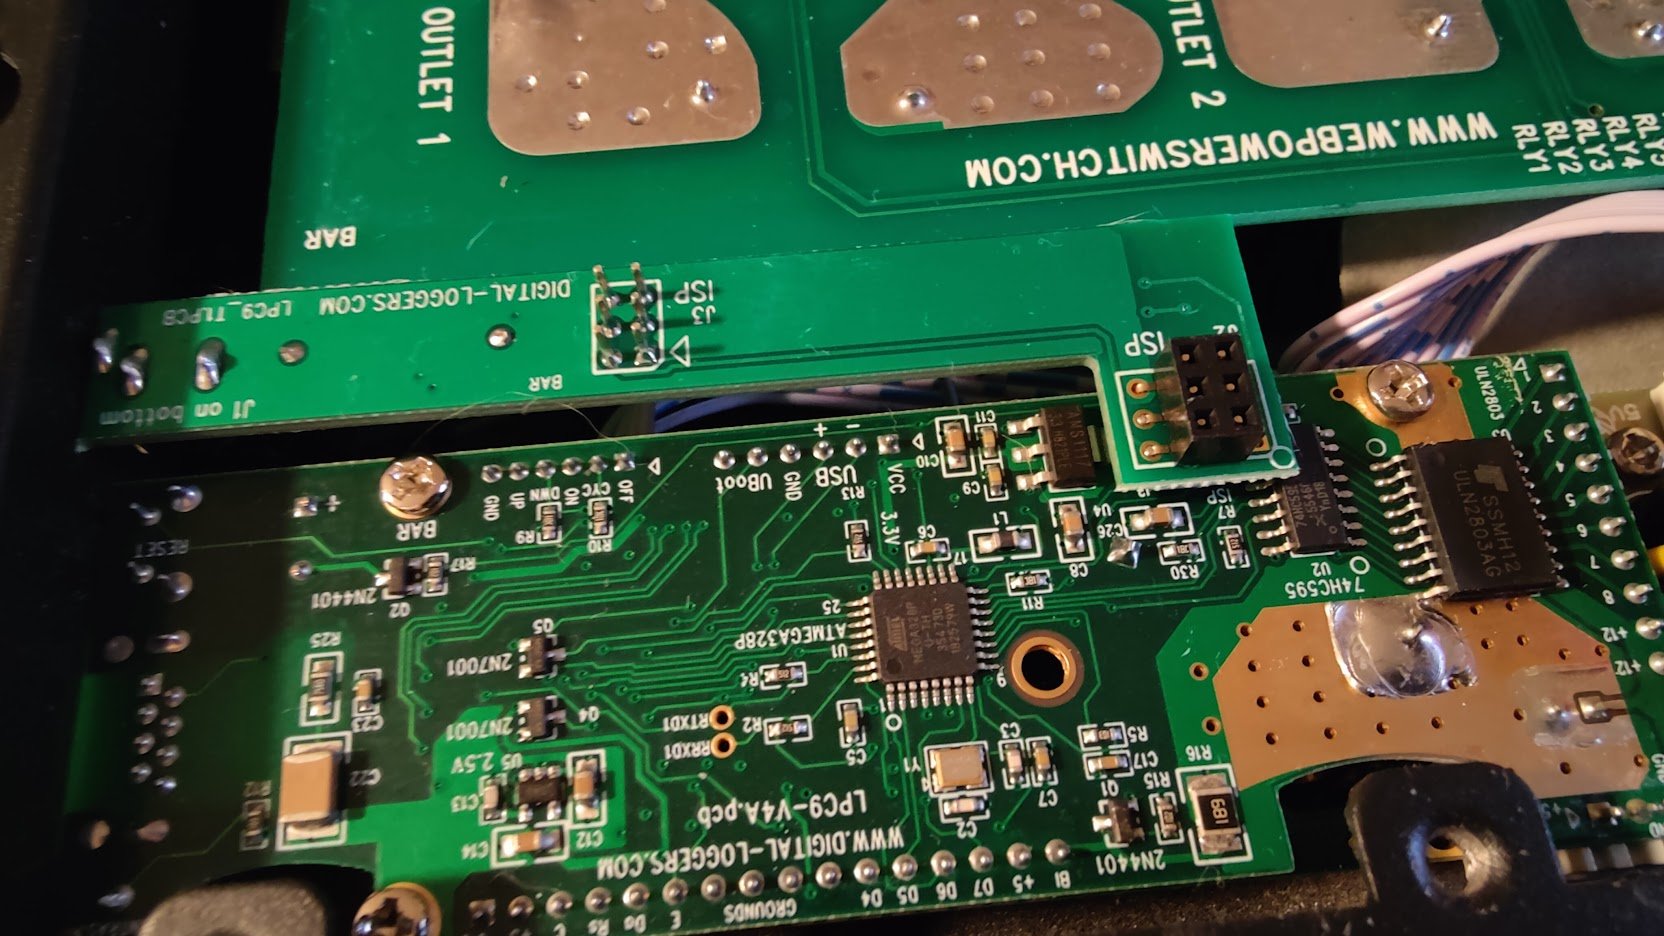
The bottom of the Web Power Switch removed and the boards exposed.
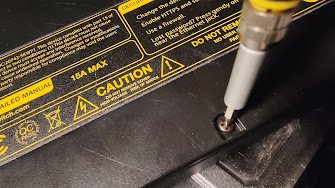
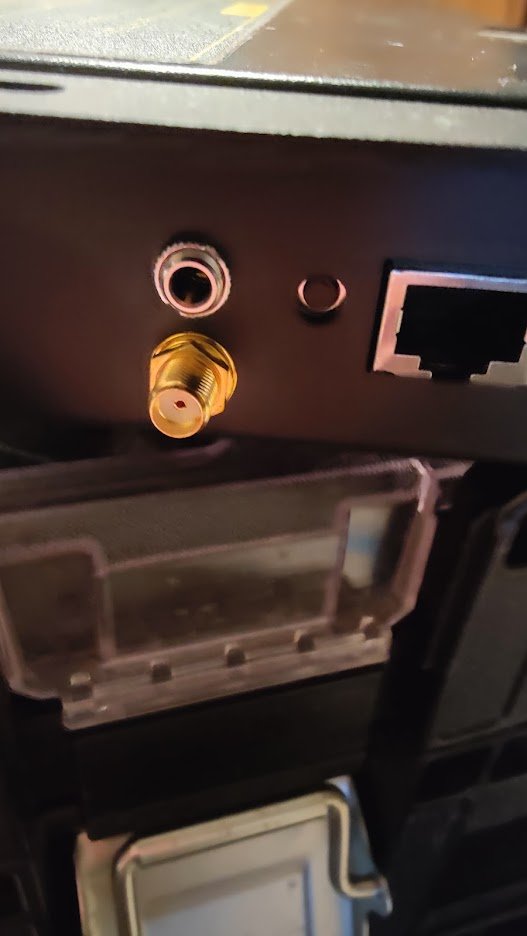
Also, I decided to rewire the actual sensor and stuff it directly into the case. If you open the bottom of the power switch, the small daughterboard will be visible, which connects to the main logic board of the controller. There are pin headers here that can be directly soldered to, then the sensor can be tucked inside the unit for further durability. Six Phillips screws can remove the bottom of the case and the boards are exposed.
Caution! The capacitors may contain residual charge!
Mine has been relocated to the spot on the far end of the case, away from the power supply, for the most accurate reading.


