Building My Watchy
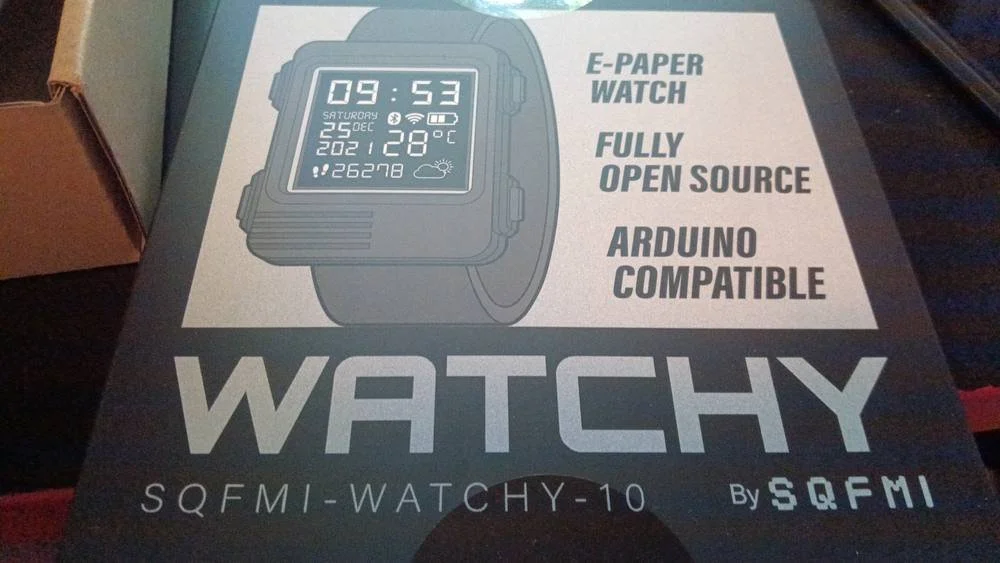
SQFMI-WATCHY-10. E-paper watch. Fully open source. Arduino compatible.
An e-paper smartwatch kit from SQFMI. Fully open source. Arduino compatible. One very empty anti-static bag.
I'd been eyeing the Watchy for a while. It's an open source, Arduino-compatible, e-paper smartwatch you build yourself — which is either a selling point or a warning sign depending on your disposition. I decided it was a selling point.
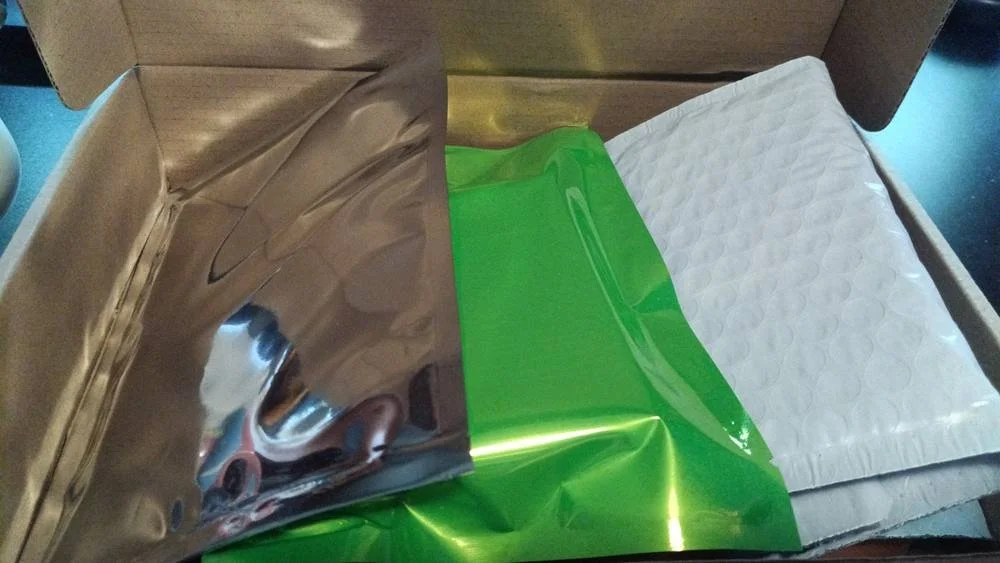
The shipping box contains three packages, one of which is a decoy (packing material.)
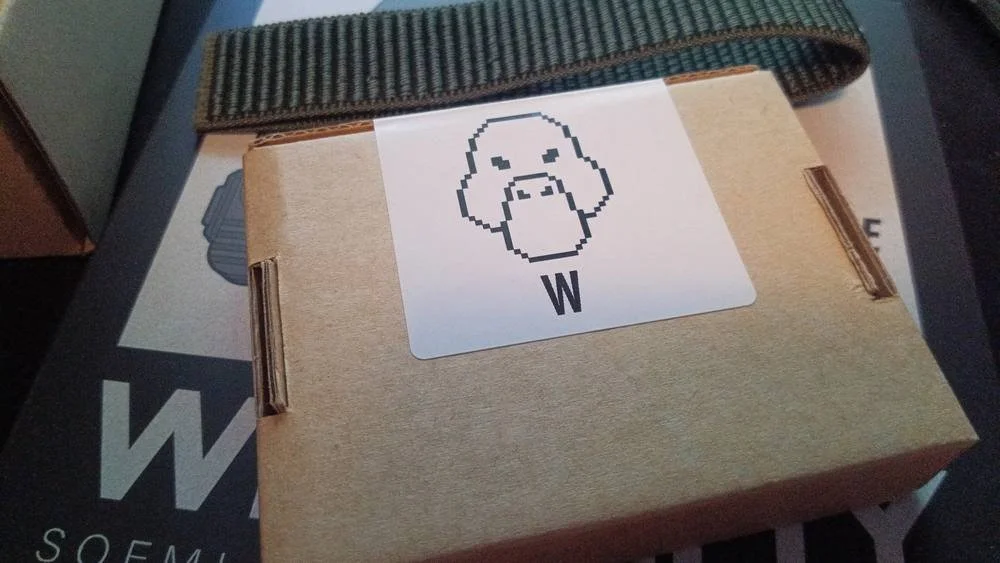
The Almadilonium case box. That's the Watchy mascot.
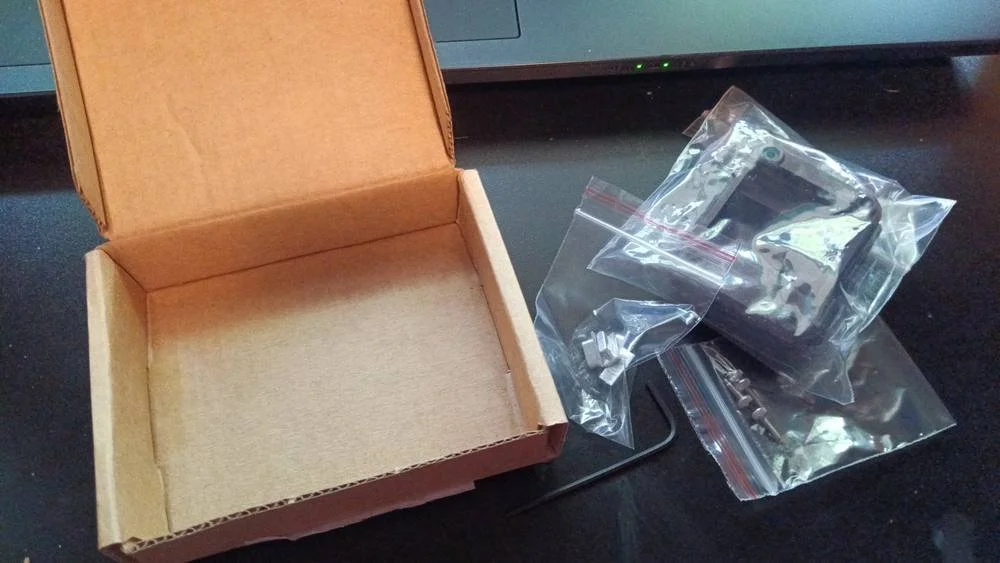
The kit arrived in a plain cardboard shipping box, but inside things got more interesting fast. Three packages were nested together: a silver anti-static bag, a bright green anti-static bag, and a white bubble mailer. The white one turned out to be completely empty. A decoy, apparently. The green bag contained a small cardboard box labeled "Almadilonium — Gun Metal" by SQFMI — that's the metal case. The silver bag held the watch strap, a dark olive nylon velcro band.
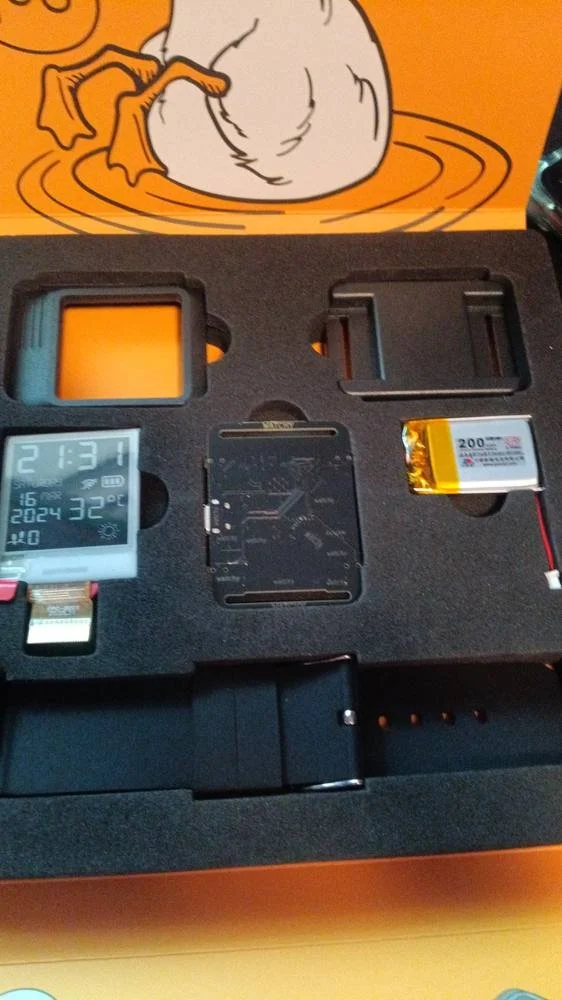
Everything in its place: screen, PCB, 200mAh LiPo, plastic case pieces, silicone band.
Underneath all of that was the main event: the official Watchy kit box, model SQFMI-WATCHY-10. The front advertises what's inside: e-paper watch, fully open source, Arduino compatible. The back has a clean technical diagram pointing out the key components — ESP32 with WiFi and Bluetooth, 200×200 e-paper display, 3-axis accelerometer with gesture detection, vibration motor, tactile buttons, LiPo battery connector, and micro USB.
Opening the main box is a proper little moment. The inside lid is printed with the duck mascot — this time full color on an orange background, saying "Woo" while apparently diving headfirst into water. The foam interior is custom-cut and holds everything in its own slot.
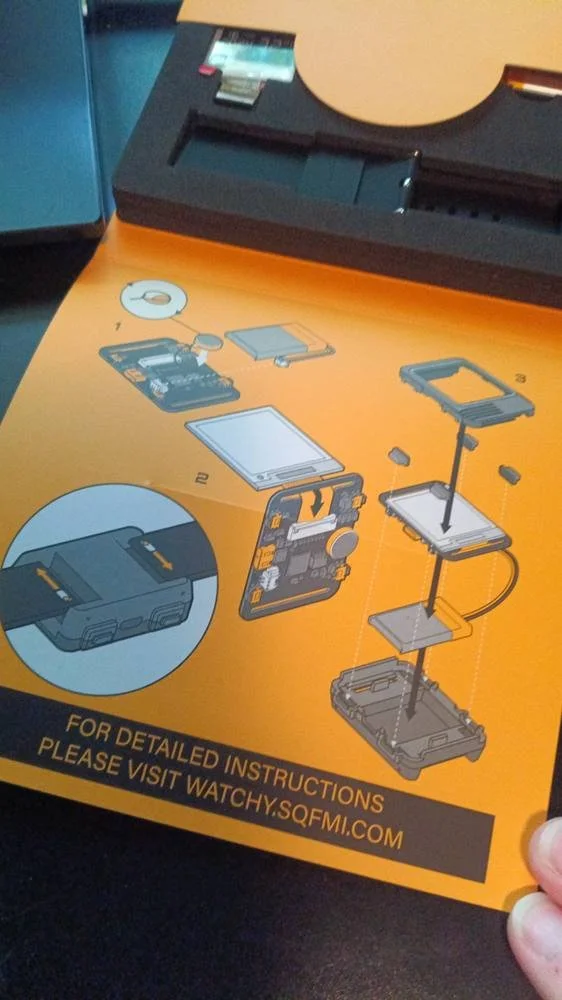
The "instructions." are really three steps. Fine print points you to watchy.sqfmi.com for anything more detailed.

Screen connected. Still showing the factory demo image — the battery isn't in yet.
The assembly instructions are printed on a single orange card — a clean exploded-diagram in three steps. Attach the vibration motor, connect the screen, stack everything into the case. It's really just an overview, but the diagram is clear enough that you could figure it out without the website.
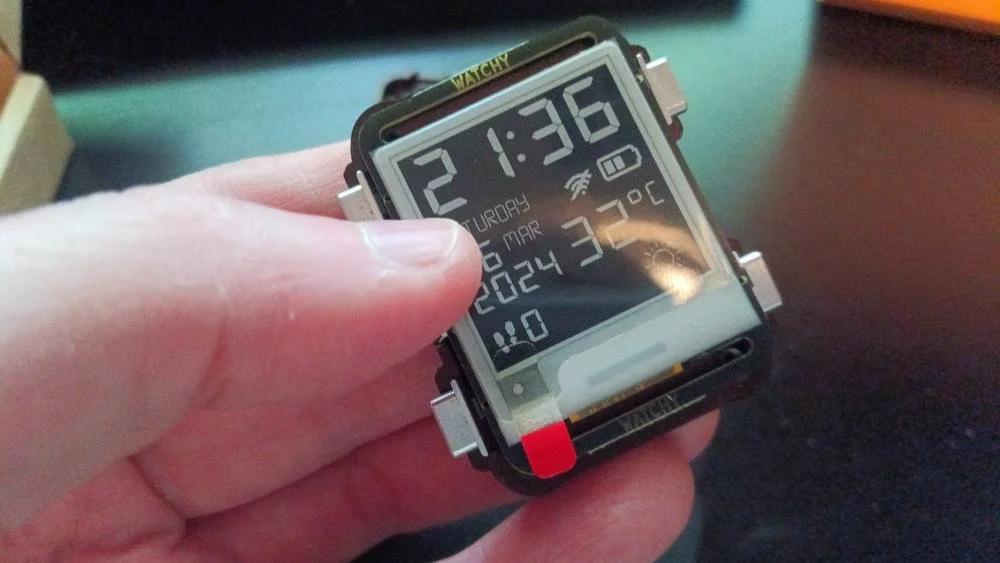
All four aluminum buttons seated. 21:36. It's actually running.
Assembly
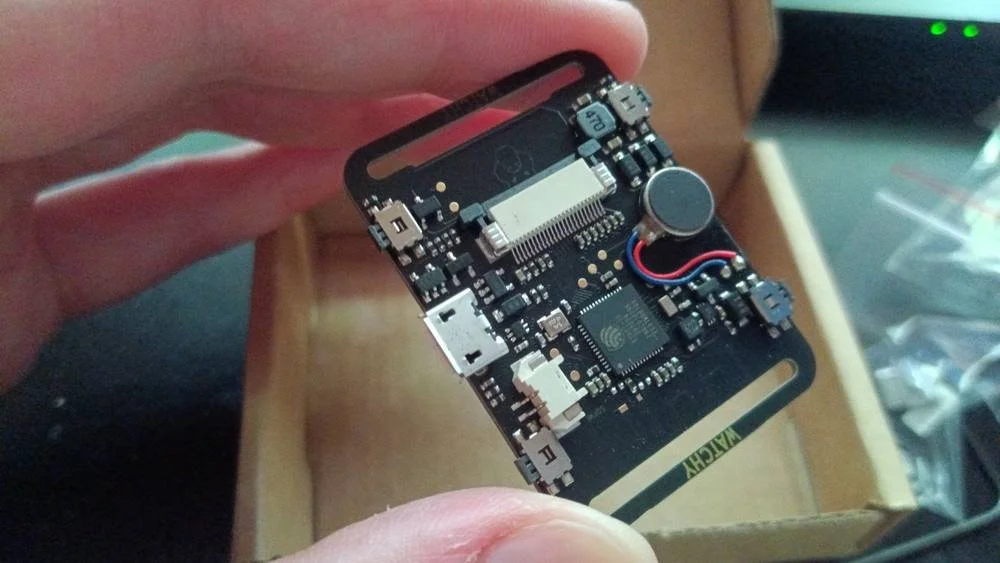
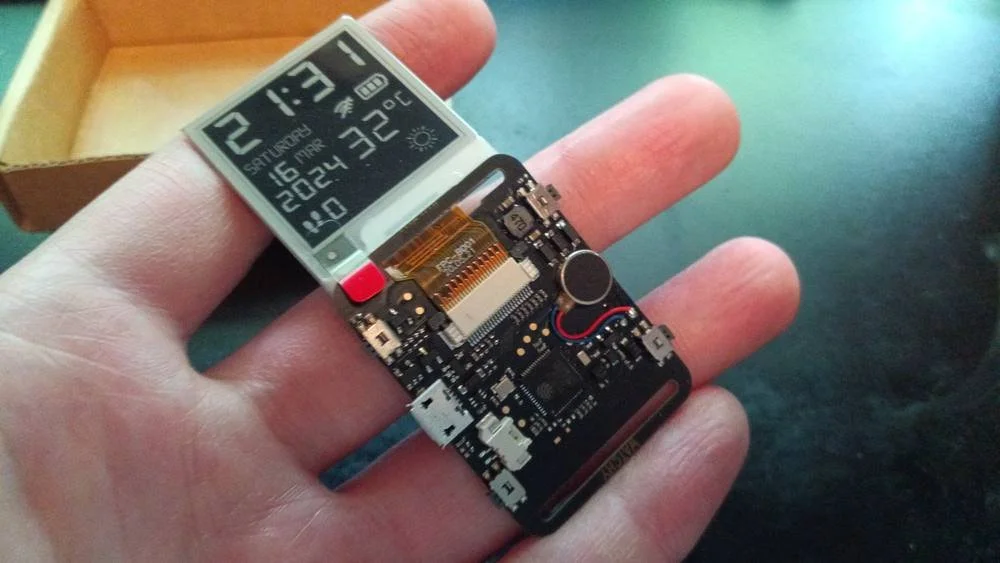
The PCB up close. Vibration motor top right, ESP32 center, FPC screen connector along the top edge.
First step: attach the vibration motor to the PCB using the adhesive backing. Except mine came with it already mounted, red and blue wires and all. Whether that's standard now or a happy accident, I'll take it. One step down, nothing done.
Next: connecting the e-paper screen. This involved feeding the ribbon cable through a slot in the PCB and pressing it into the FPC connector — which sounds simple until you're doing it with your fingernails on a connector the size of your thumbnail. It took a few minutes of fiddling. I was fairly sure it was latched all the way. Fairly sure.
I deliberately left the battery disconnected until the screen was in. Messing with a fragile ribbon cable connector while the board is live seemed like a bad idea. E-paper holds its last image indefinitely without power — that's part of what makes it great for a watch — so the factory demo screen just sat there patiently while I worked.
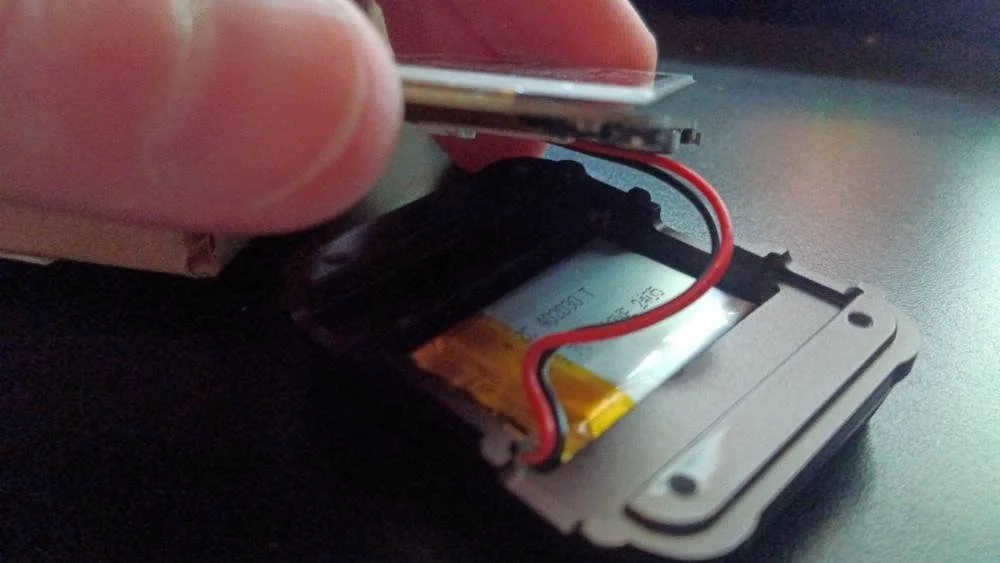
Battery connection was straightforward: a small JST connector that plugs into the board with a satisfying click. Then the real puzzle: getting everything into the plastic case bottom. Battery in first, then coaxing the wire to sit neatly before lowering the PCB and screen assembly on top.
Somewhere in that process, the Watchy woke up. The screen was no longer showing the frozen factory demo — it was showing a live, updating time. The ribbon cable had latched after all.
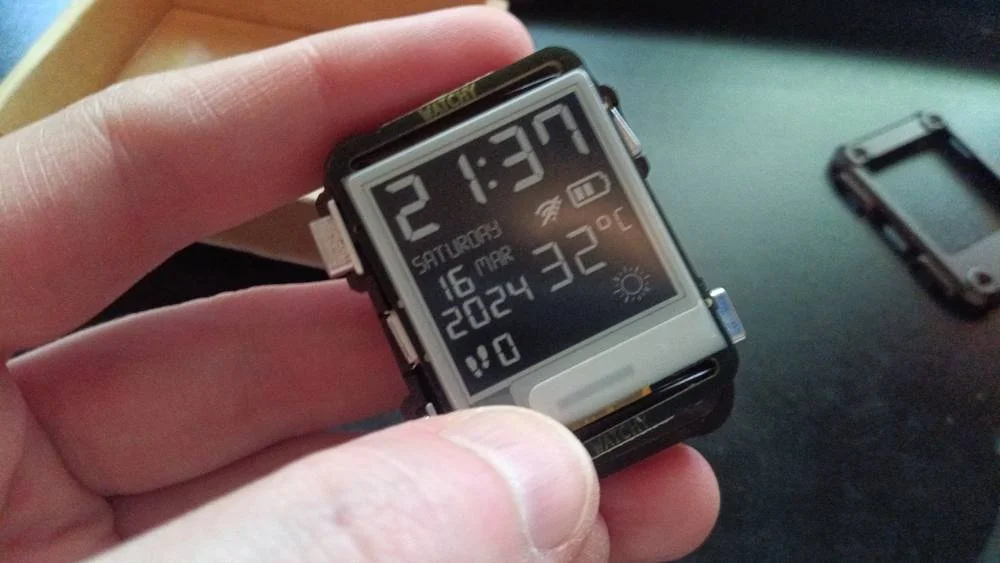
Getting the aluminum buttons into the case was straightforward — they just drop into their positions in the frame. The watch was ticking away, unbothered by the assembly happening around it.
Getting the Almadilonium case on took a couple of tries. The aluminum buttons kept dropping out of their slots every time I tried to lower the top half into place. It's a juggling act, keeping everything aligned while the two halves come together. Eventually it clicked, and once clamped together it felt solid and substantial in a way the plastic shell alone didn't.
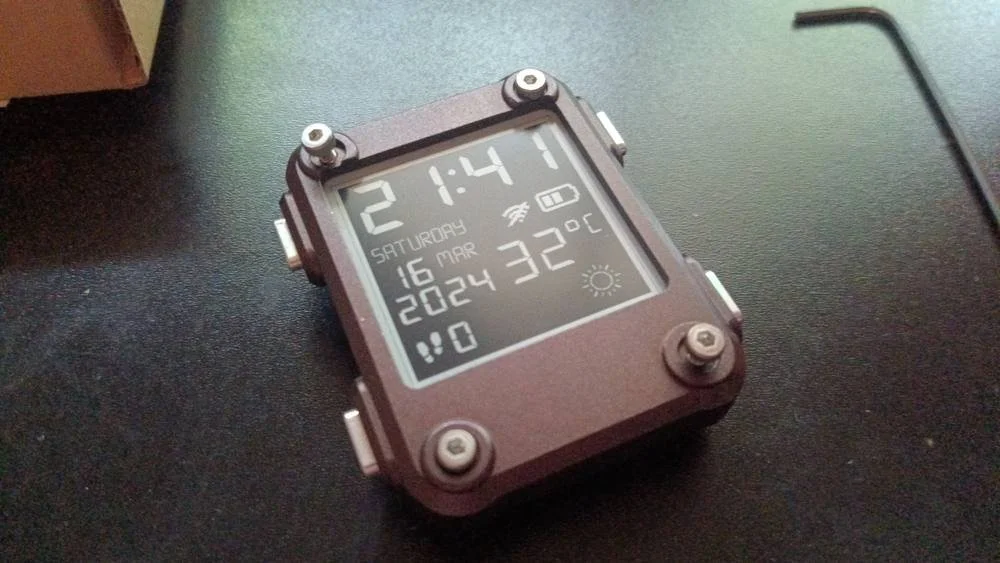
Four hex screws in, case closed. It's a watch.
Then it was just a matter of threading in the four hex screws with the included Allen key, one in each corner. Satisfying in the way tightening the last screw on anything always is. The gun metal Almadilonium finish has a nice matte texture, and the exposed hex screw heads at all four corners give it an almost field-watch aesthetic — chunky, purposeful, a bit industrial. Not bad for something that was a pile of components twenty minutes ago.
Getting it online
13:07, Monday 06 Apr 2026. The correct date, at least.
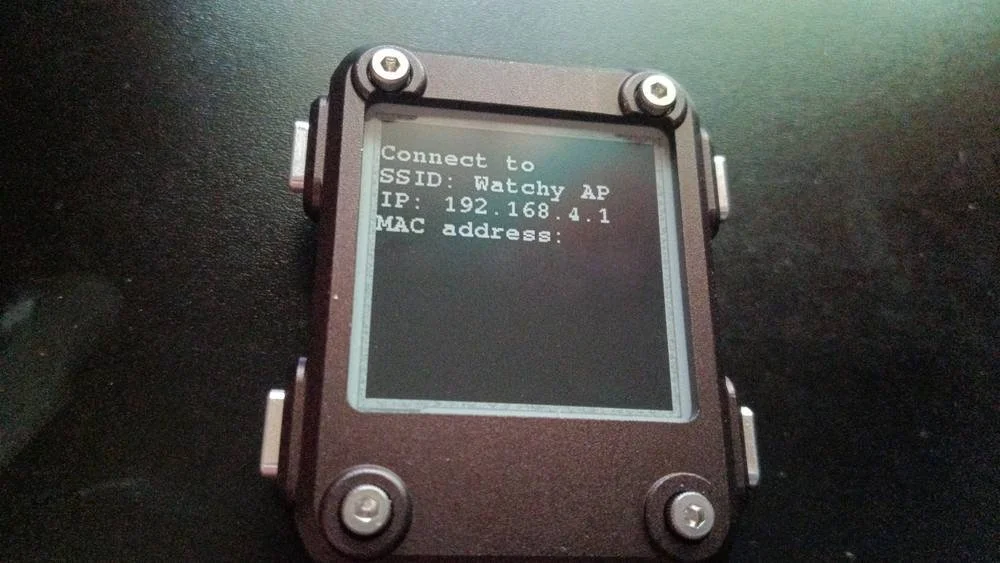
With the hardware done, the Watchy needed to know where it actually was in time. Pressing the button to activate WiFi setup mode had it broadcast its own access point called "Watchy AP" — with instructions right on the screen.
The watch tells you exactly how to connect to it. Clean.
Connect to the Watchy AP, navigate to 192.168.4.1, enter your home WiFi credentials on the simple config page that appears. Within moments the watch had connected, synced, and pulled down the default time for the factory-set location code. The temperature readout and weather are currently a bit creative — it's reading the default which appears to be the internal sensor, without wifi connected, rather than actual weather data. The location hasn't been configured yet. That's a job for once I track down a microUSB data cable with data lines in it, not just charge.
Note: The charge-only microUSB cable trap is real. If you're building one of these, confirm your cable carries data before you get to this step. The Watchy needs to be flashed via Arduino IDE to set the correct timezone, city, and weather API key.
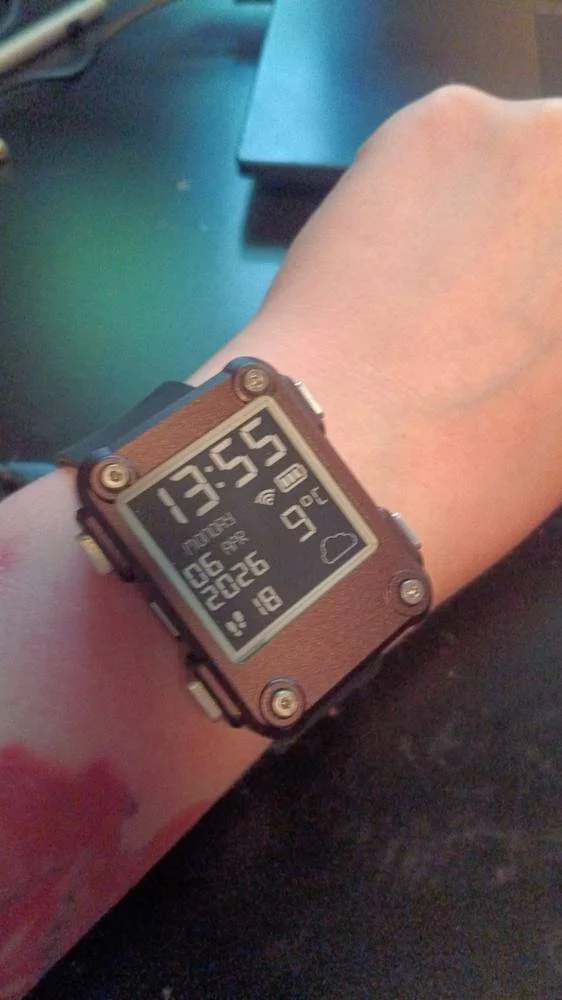
On the wrist. 13:55. Step count already ticking up.
The whole build, start to finish including the WiFi setup, took under an hour. The trickiest part was the FPC connector for the screen and keeping the buttons aligned while closing the case — neither was difficult, just fiddly. Everything else was intuitive.
Next up: getting a proper data cable, flashing the firmware with the correct timezone and location, and exploring what custom watch faces look like. But that's a post for another day. For now, I built a watch, and it works.